
21 Non Christmas Winter Decor DIY Projects for Cozy Spaces
Most January decorating advice is just Christmas with the red removed, and it falls flat by the second week. A non christmas winter decor diy plan works better when it leans on texture, low light and natural materials instead of leftover tinsel energy.
Below are 21 projects you can build with hand tools and a free Saturday. Each one lists a difficulty level, a time estimate and what you’ll need, so you can pick by skill and not by wishful thinking.
Non christmas winter decor diy projects to build this weekend
Birch log candle holders
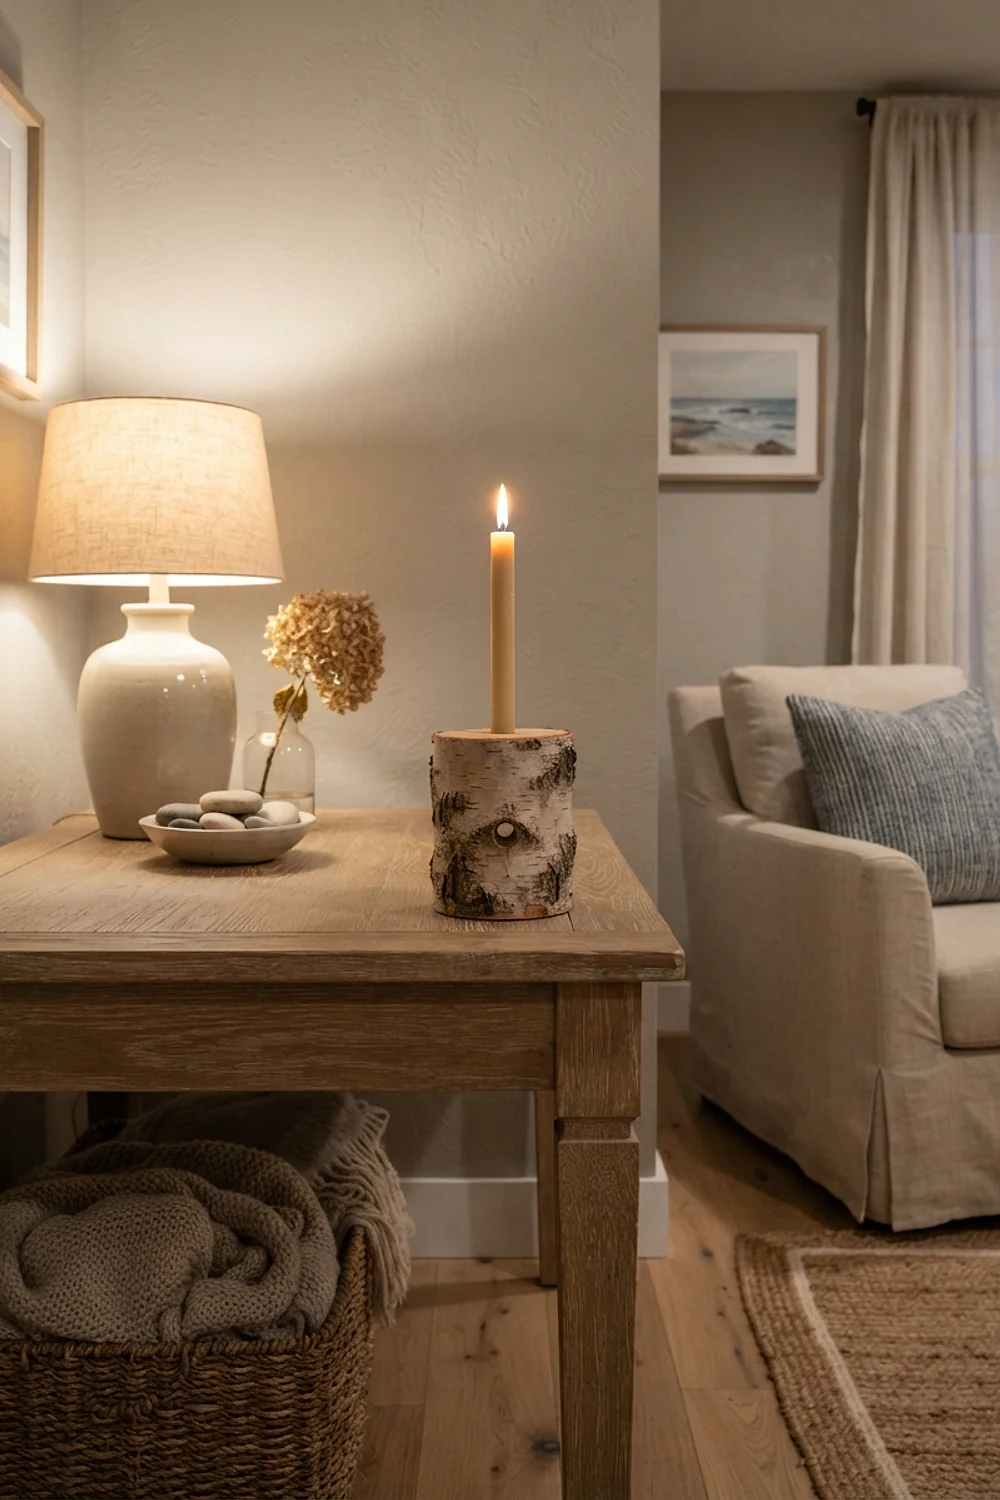
A 4-inch-diameter birch log cut to 5 or 6 inches tall becomes a candle holder with a single hole. Drill a 1.5-inch Forstner bit about an inch deep, drop in a tea light, and the white bark glows against a dark mantel. Difficulty: beginner. Time: 20 minutes for a set of three. Tools: drill, bit, hand saw.
Bark has a papery texture that catches candlelight at 4pm, when winter rooms turn blue-gray. Grouped in odd numbers, these suit mantels and dining tables. Use LED tea lights around kids or cats, because open flame beside dry bark is a real fire risk.
Dried eucalyptus and cotton stem bundle
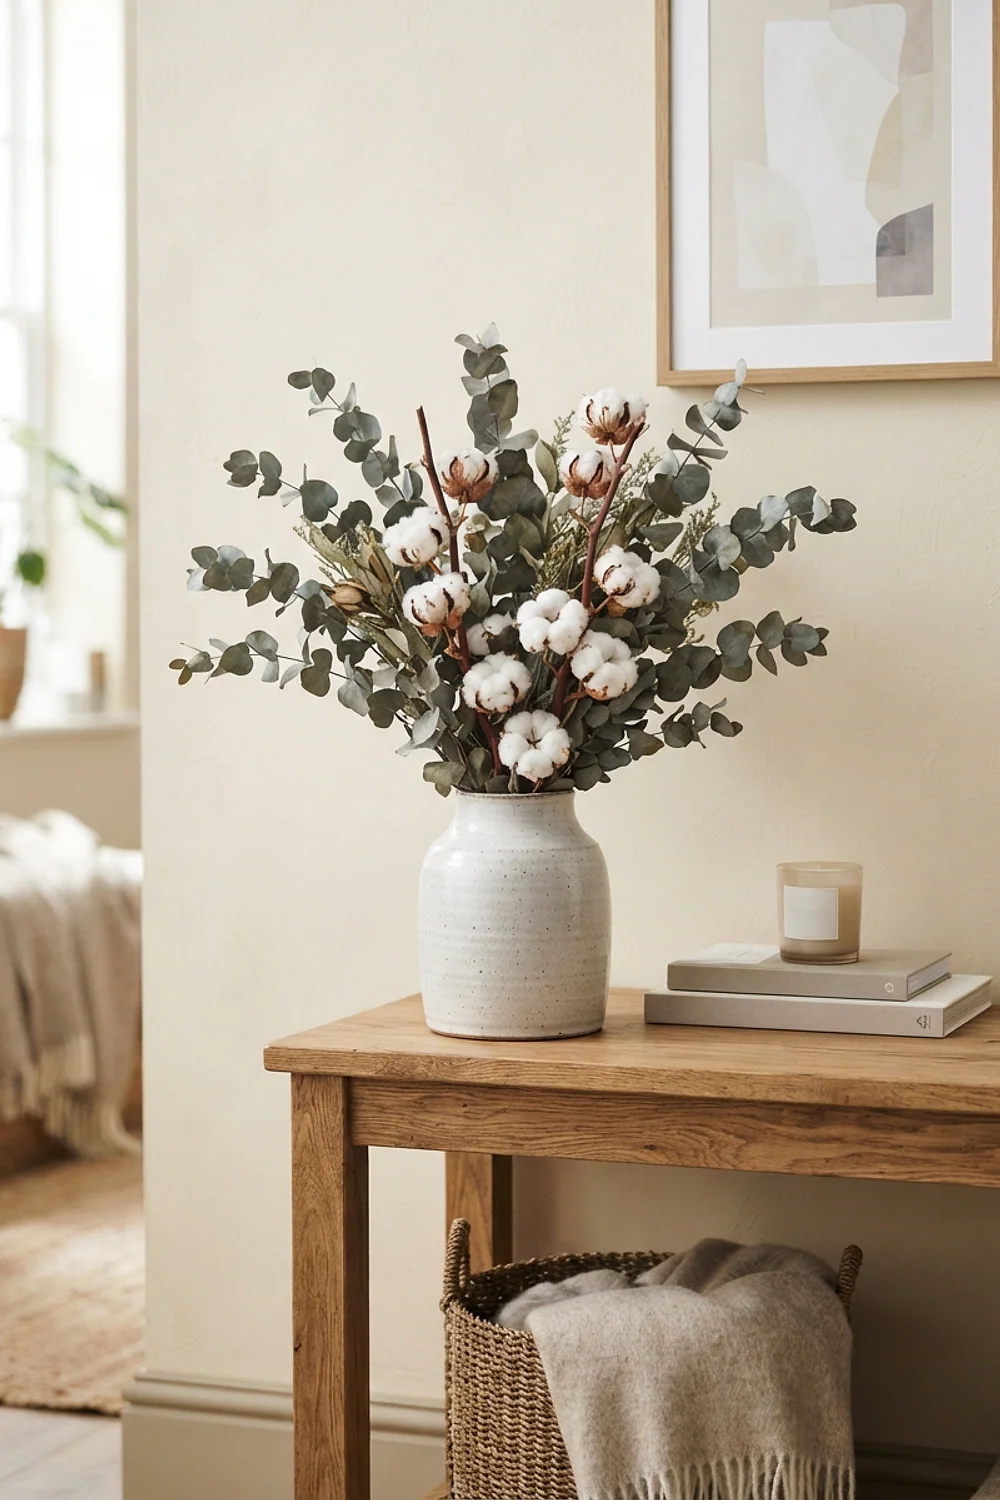
Hanging fresh eucalyptus in a humid bathroom is the common mistake, and it molds within a week. Dry the stems upside down in a bedroom closet or dry hallway for 10 to 14 days, then tie 8 stems with twine. Difficulty: beginner. Time: 10 minutes of work, two weeks of waiting.
Add 3 dried cotton stems for a soft, matte contrast to the silvery leaves. The bundle fits a narrow vase on a bedside table and smells faintly of camphor for about a month.
Rice-filled draft stopper
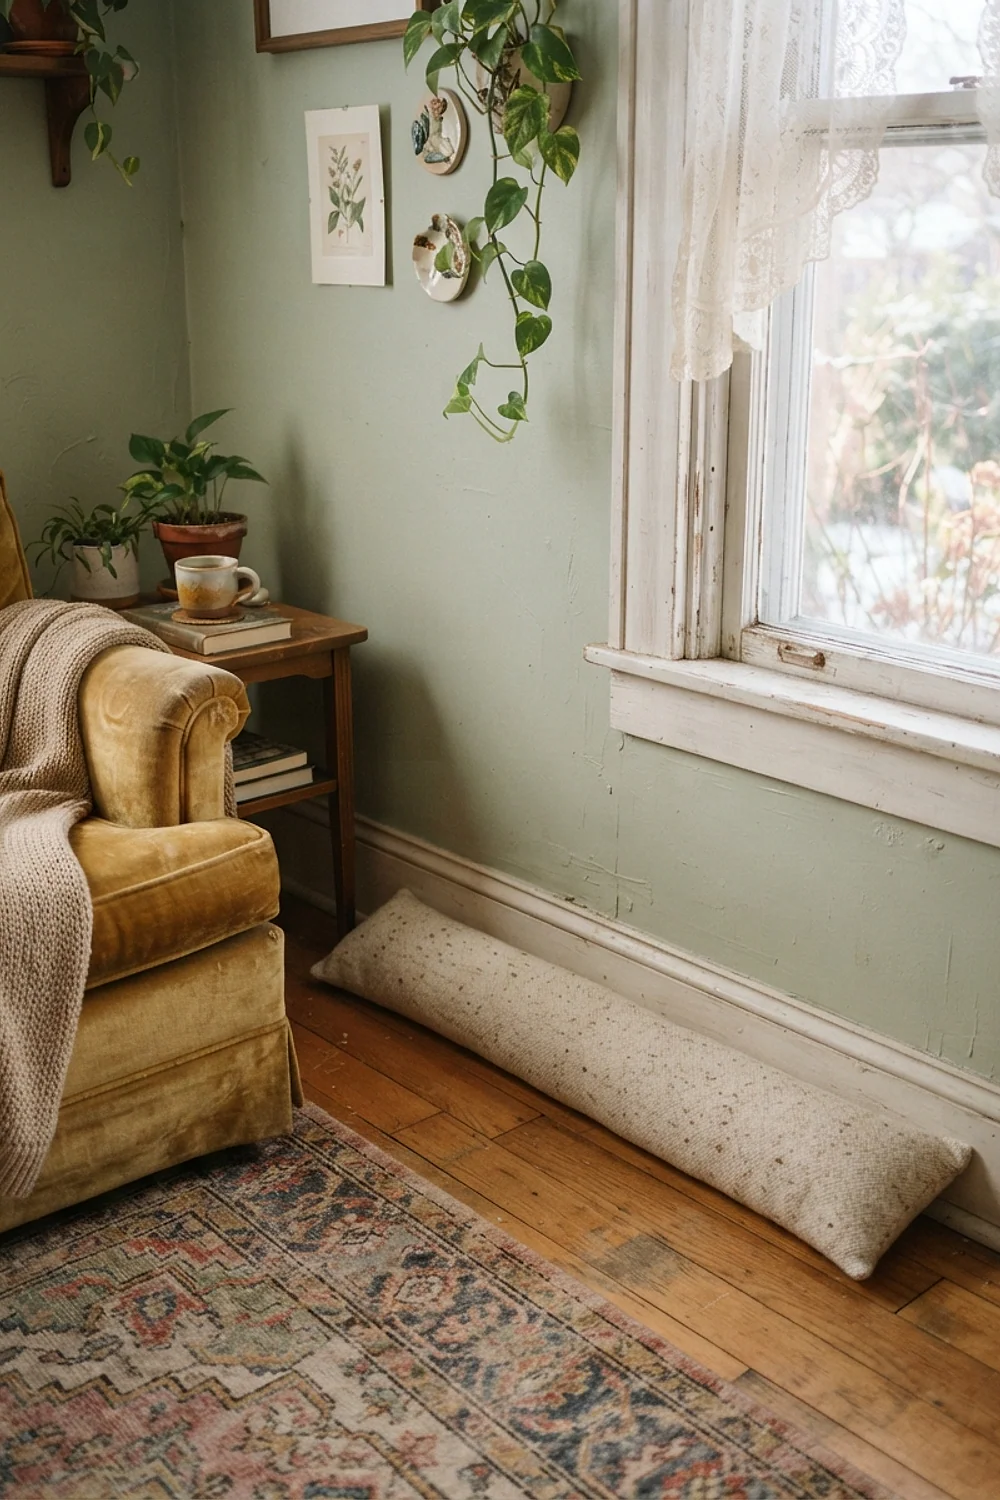
A 36-inch fabric tube filled with long-grain rice sits along a door bottom and blocks the cold air that seeps in at 40°F. Sew one long seam (or use iron-on hem tape), fill, and close the end. Difficulty: beginner. Time: 30 minutes. Tools: iron or needle, funnel.
In a house with a dog and muddy boots at the door, choose a washable cotton canvas, not velvet. Rice gives it the weight of a garden hose full of water, which keeps it from sliding when the door swings.
No-sew flannel pillow covers
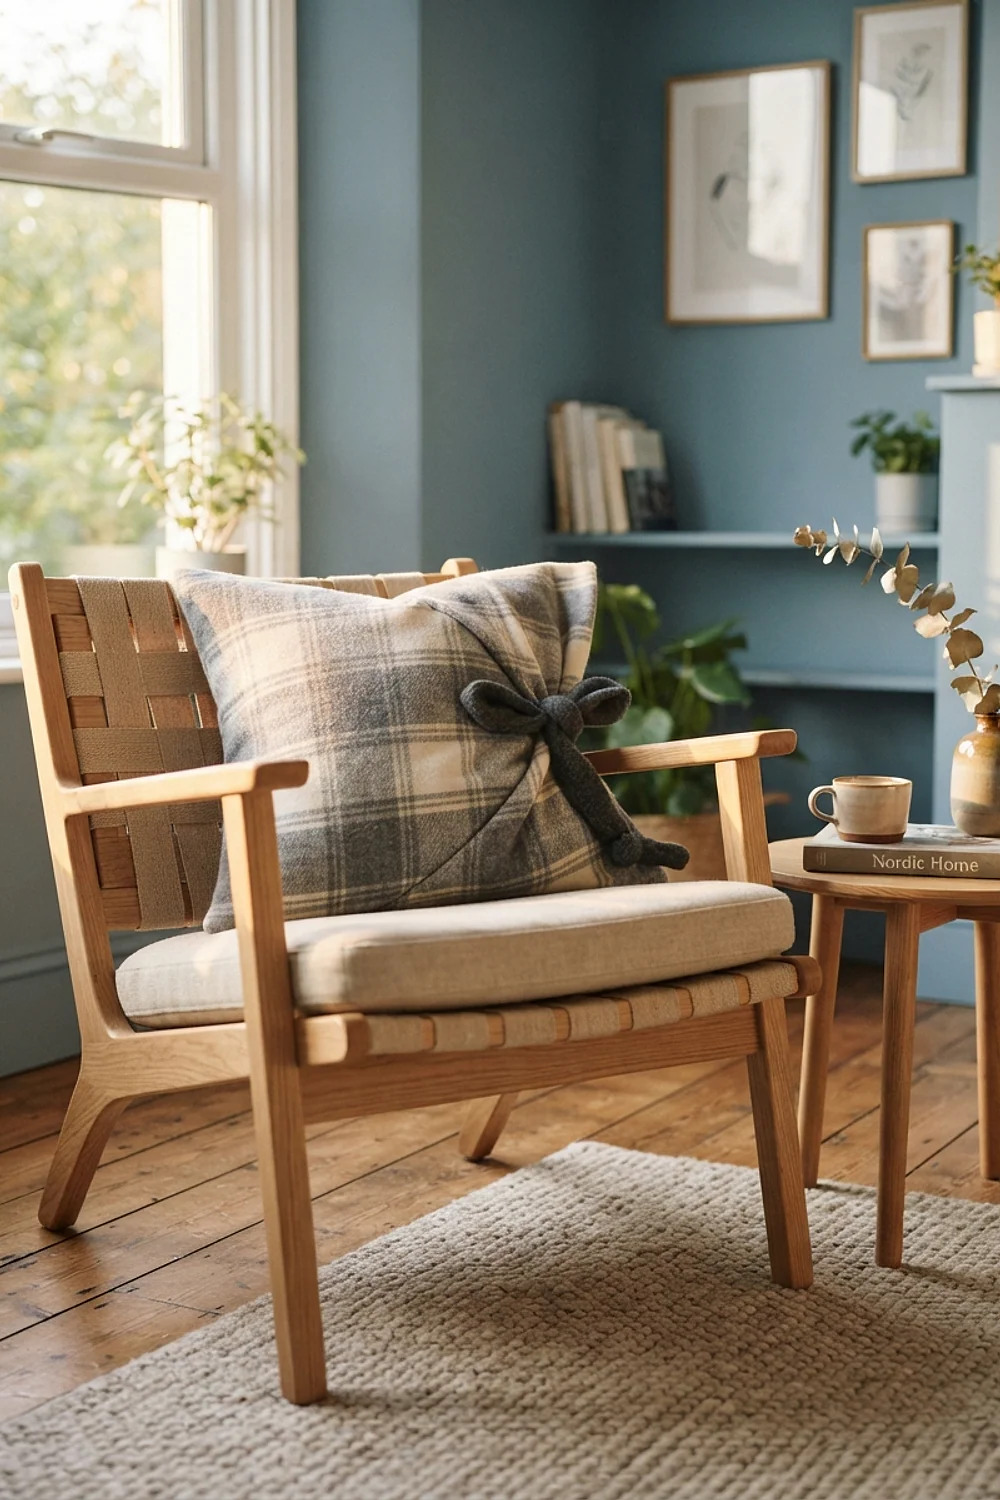
Flannel at 5 to 6 ounces per yard feels like a worn shirt under your palm. Wrap an 18-inch pillow insert in a 20 by 40 inch piece, fold the ends to overlap like an envelope, and secure the edges with fabric glue. Difficulty: beginner. Time: 15 minutes per cover.
Plaid in oatmeal and charcoal suits a sofa that gets daily use. Skip heavy brushed fleece, which pills after two washes and looks tired by March.
Frosted jar luminaries
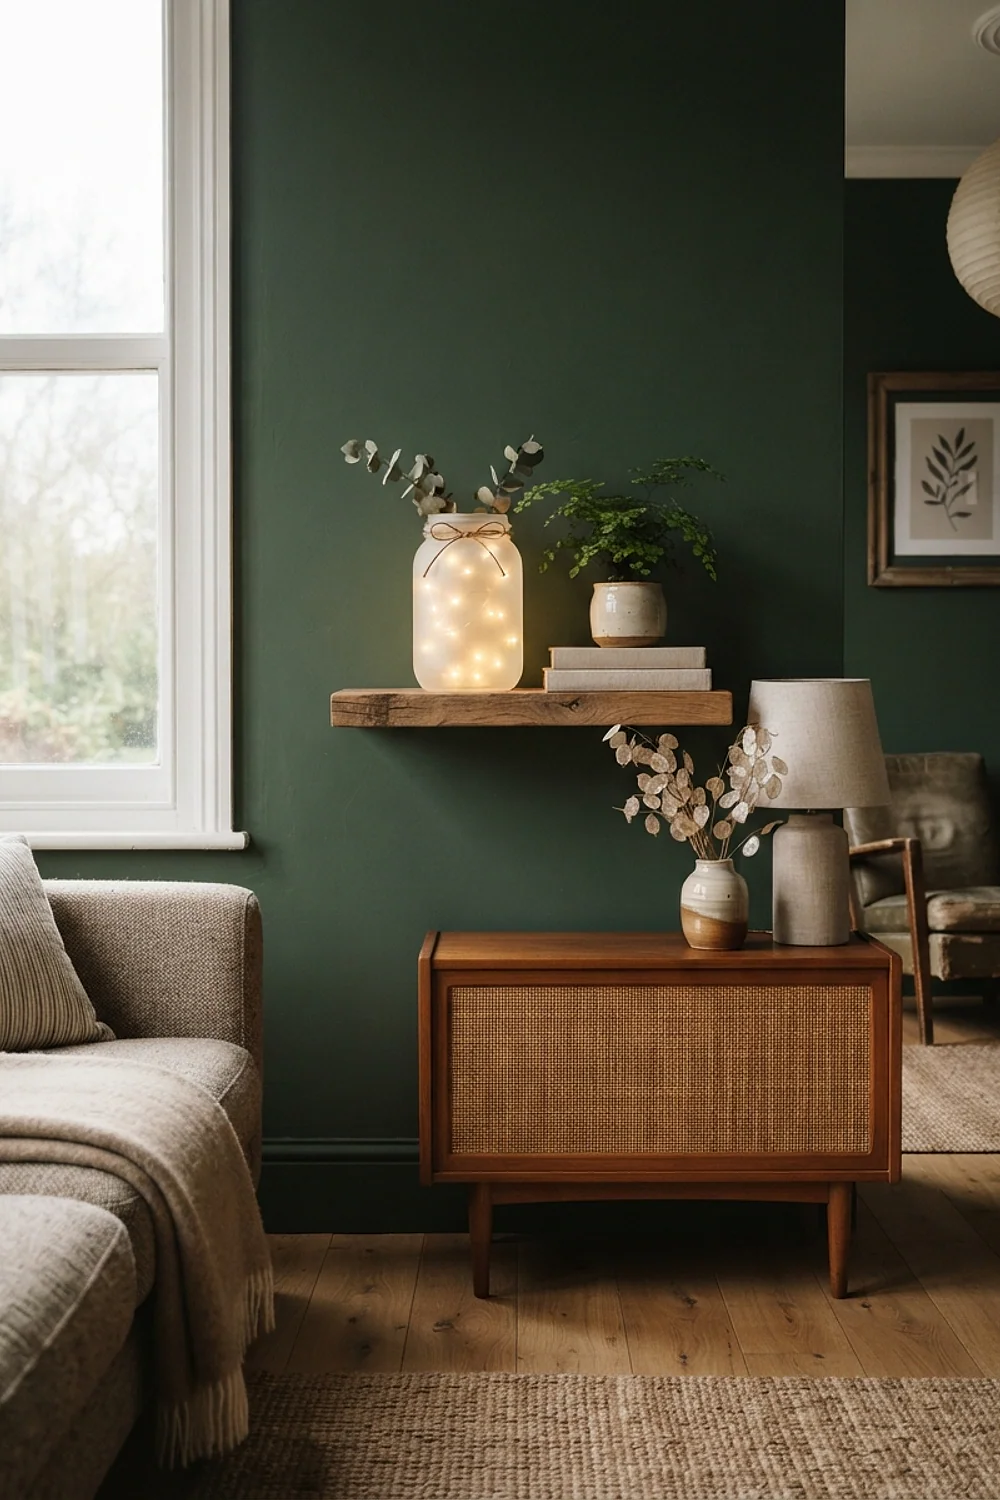
Thrifted pickle and jam jars (free to $1 each) become glowing luminaries with a brush of Mod Podge and a dusting of Epsom salt. Let each coat dry for 30 minutes. Difficulty: beginner. Time: about 45 minutes for six jars, plus drying. Tools: foam brush, tray.
The salt crystals scatter a tea light into a soft frost pattern, like a snow-covered window. Keep them on trays away from damp spots, because humidity turns the salt cloudy.
Wood slice trivets with beeswax finish
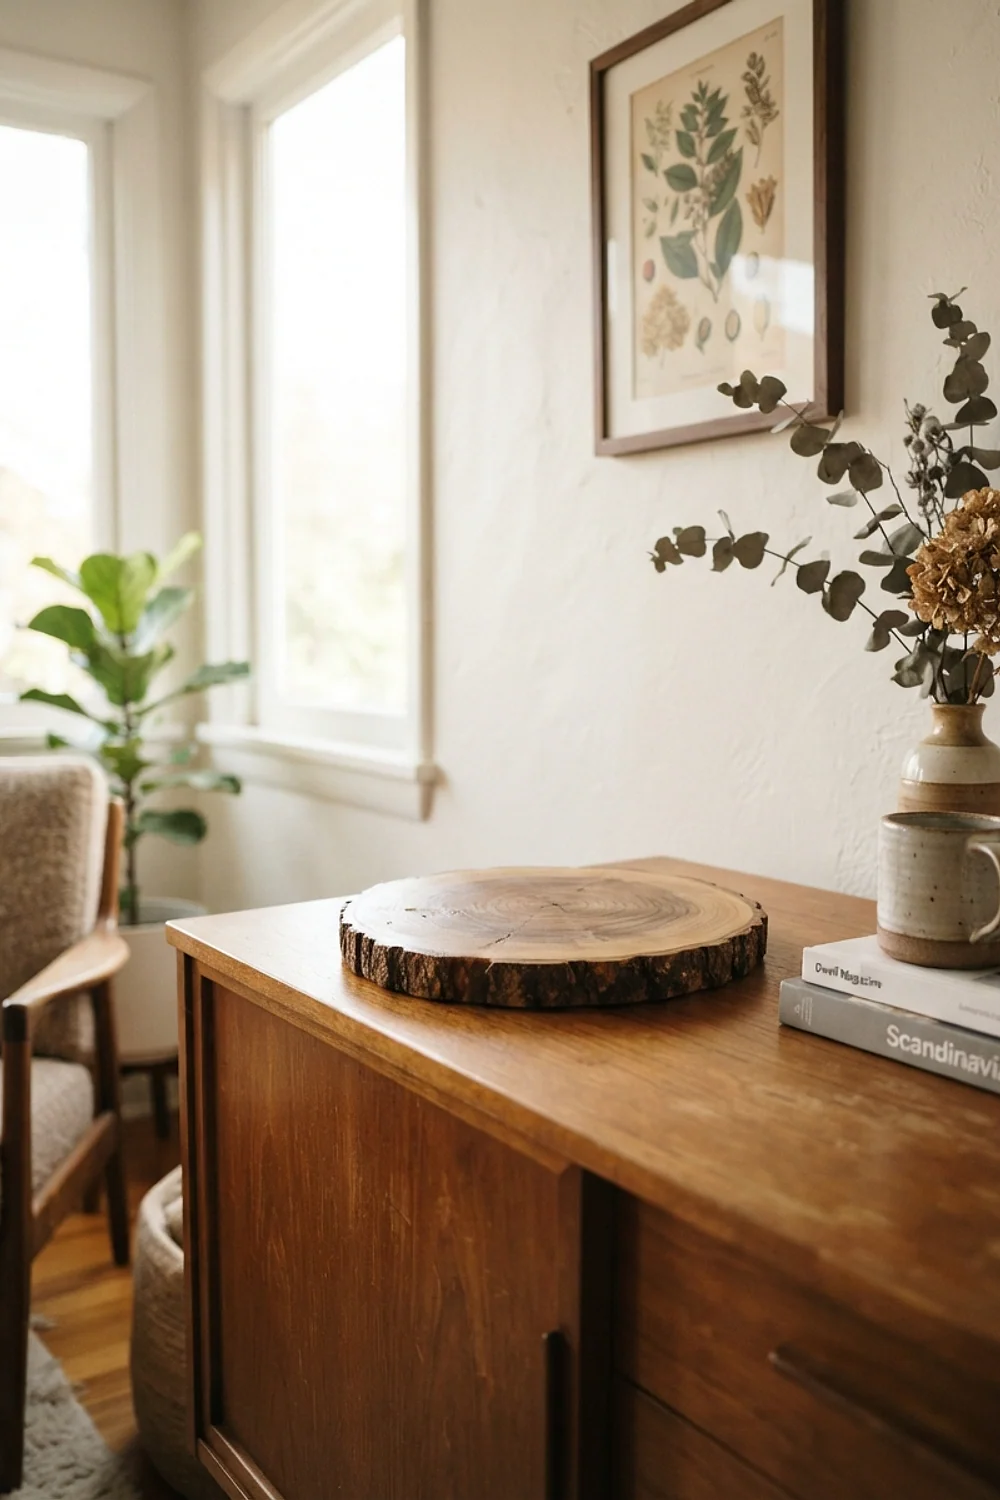
Birch or maple slices about 8 inches across and 3/4 inch thick make trivets that handle a hot teapot. Sand to 220 grit, then rub in beeswax polish with a lint-free cloth. Difficulty: beginner. Time: 25 minutes. Tools: sanding block, cloth.
Raw wood cracks as indoor heating dries the air, so pre-sealed slices from a craft store save frustration. The beeswax gives a faint honey smell and a low sheen that tolerates water rings.
Oversized textured canvas

A 24 by 36 inch canvas (about $20) covered in joint compound turns into wall art that looks like drifted snow. Spread the compound with a 6-inch putty knife in horizontal sweeps, let it dry for 24 hours, and paint it soft white. Difficulty: intermediate. Time: 1 hour of work.
Big, quiet art balances a living room wall that feels empty after the holiday greenery comes down. Keep the layer under 1/4 inch thick, or it cracks as it dries.
Peg rail for hats and mittens
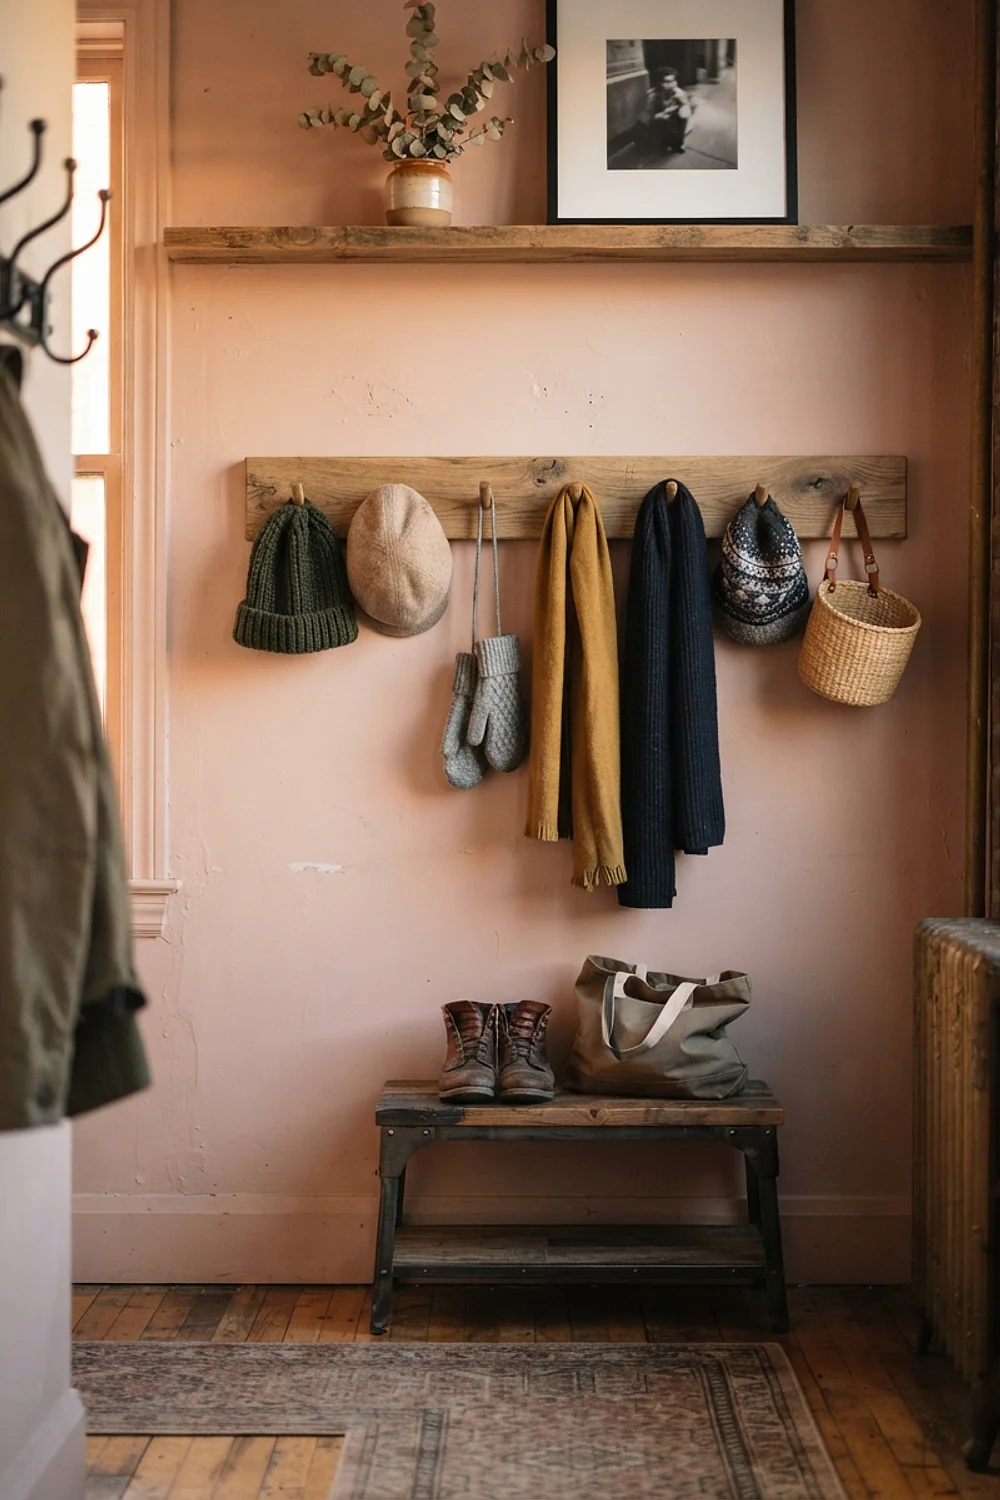
A 30-inch pine board with four Shaker pegs spaced 6 inches apart solves the pile of winter gear on the entry bench. Sand, stain with a walnut tone, drill the peg holes, and mount into studs with 2.5-inch screws. Difficulty: intermediate. Time: 90 minutes plus drying. Tools: drill, stud finder, level.
The common failure is mounting into drywall alone, and wet wool coats weigh more than you’d think. A rail suits narrow halls where a bench won’t fit.
Paint-dipped wooden bowls in deep green
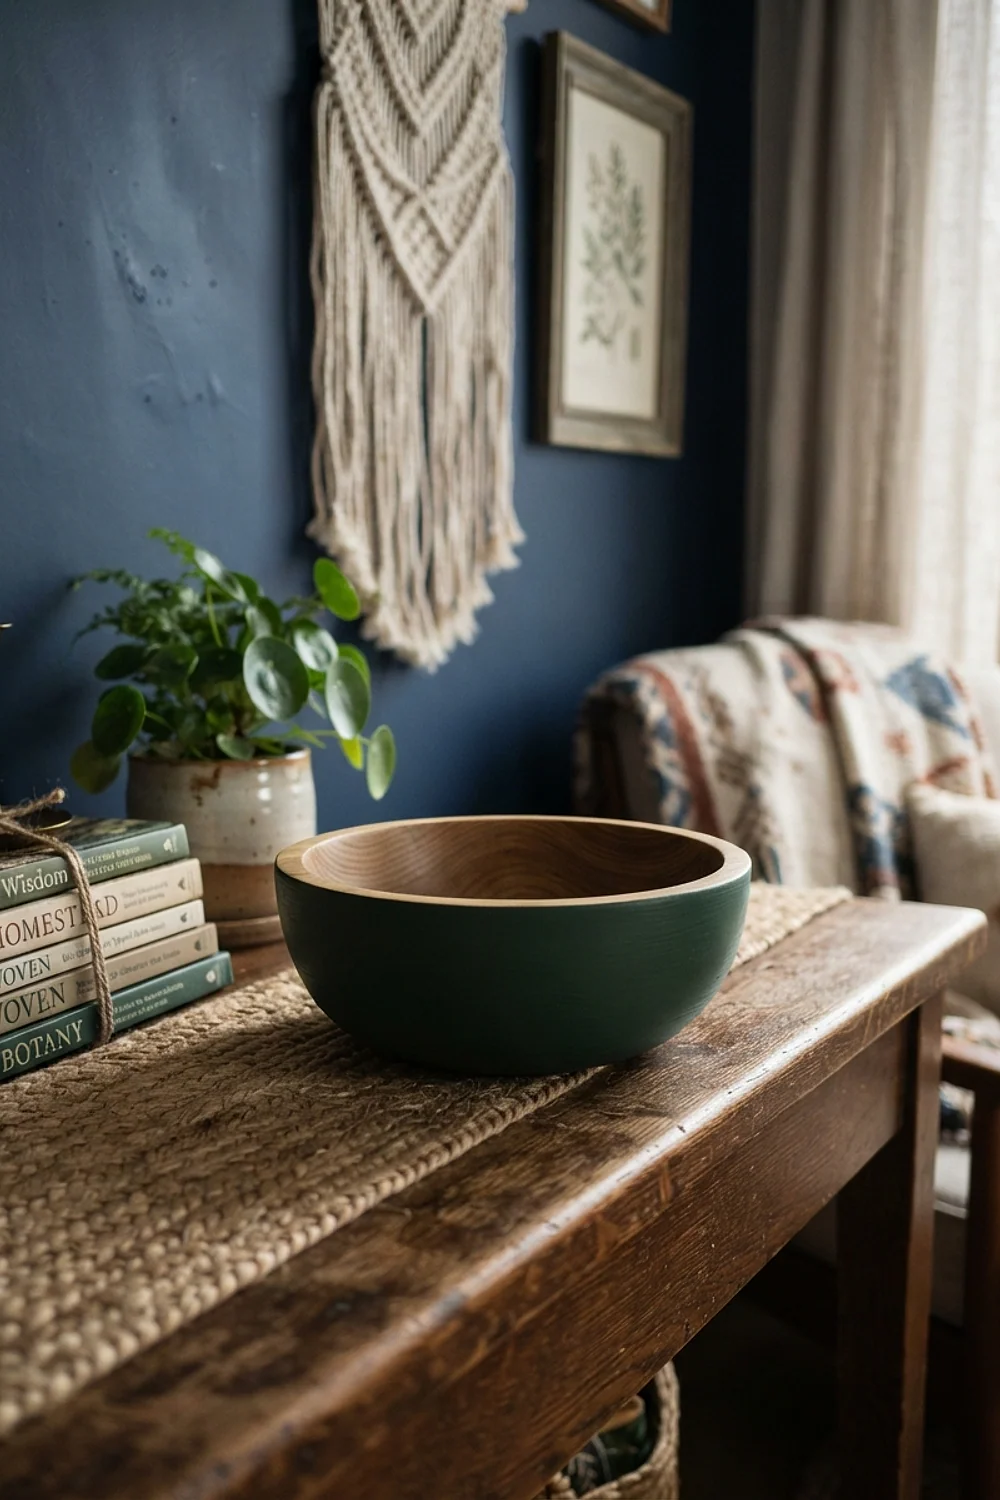
Dipping the bottom third of a plain wooden bowl in forest green paint gives it a two-tone look that reads as intentional. Tape a straight line, brush on two coats of matte acrylic, and seal with water-based varnish. Difficulty: beginner. Time: 40 minutes, plus drying overnight.
Here’s a counterintuitive point: dark green warms a north-facing room more than cream does. Cream goes gray in January light, while deep green holds its color. Test a swatch on the wall at 4pm before committing.
Forced paperwhite tray on a console
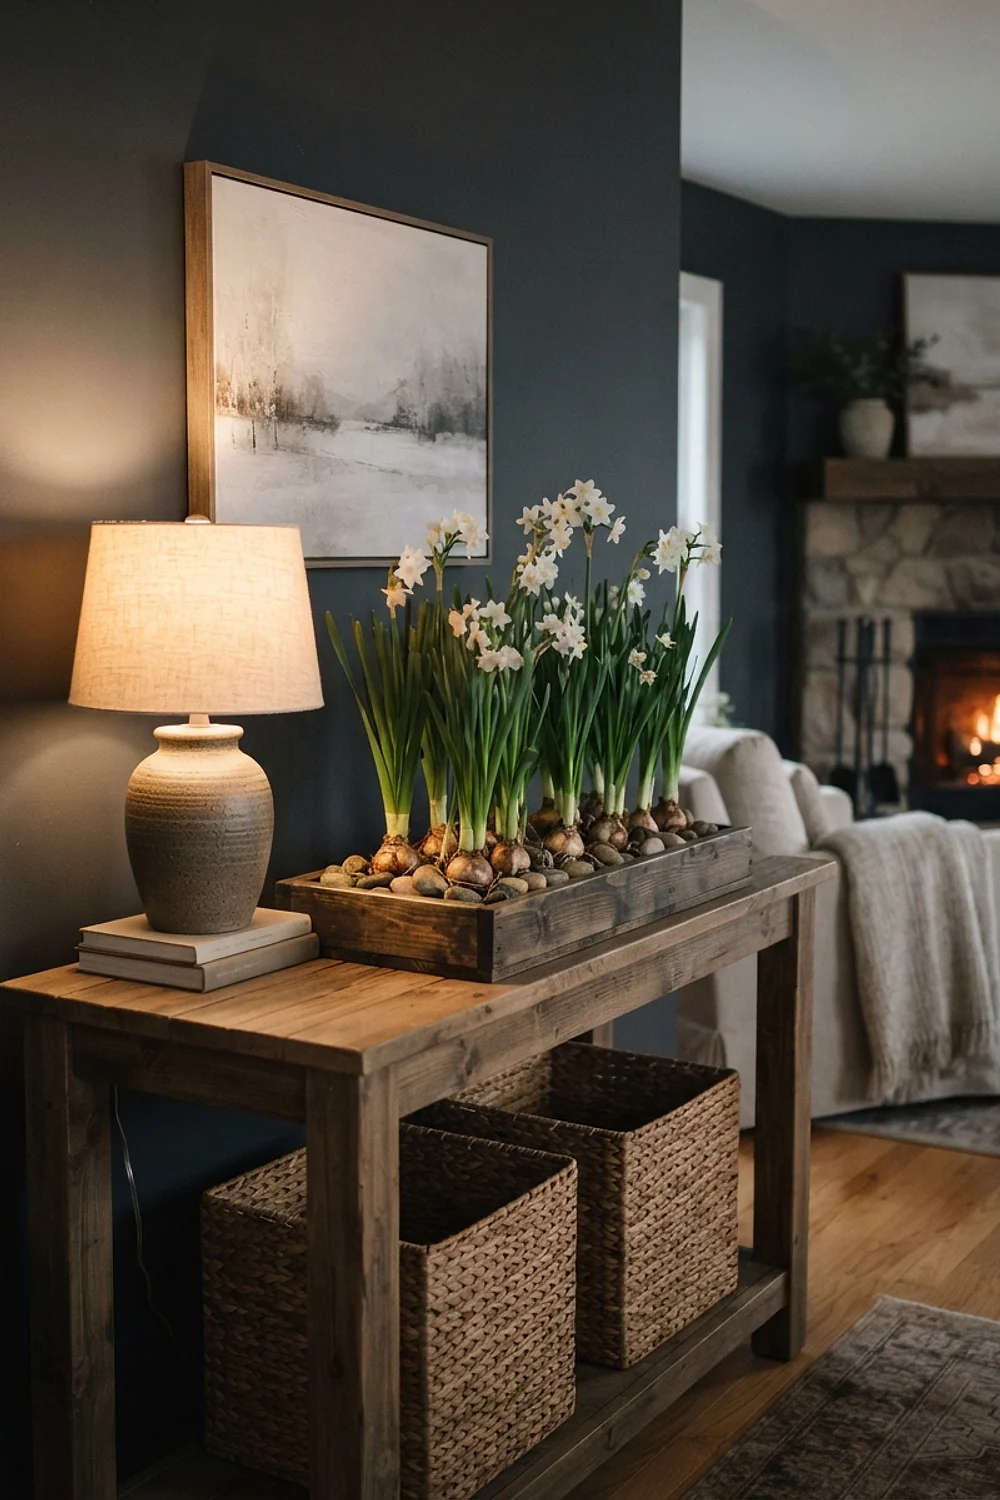
A shallow thrifted wooden dough bowl, 14 inches across, holds five paperwhite bulbs nestled in river stones and water. Bulbs sprout in about two weeks and flower around week four. Difficulty: beginner. Time: 15 minutes. Tools: bowl, stones, bulbs.
Place the bowl at one end of a console, not the center, and let a lamp or a stack of books balance the other end. The scent is strong, so skip this in a small bedroom and use it in a hallway or entry.
More non christmas winter decor diy for light, scent and texture
Felted wool ball garland
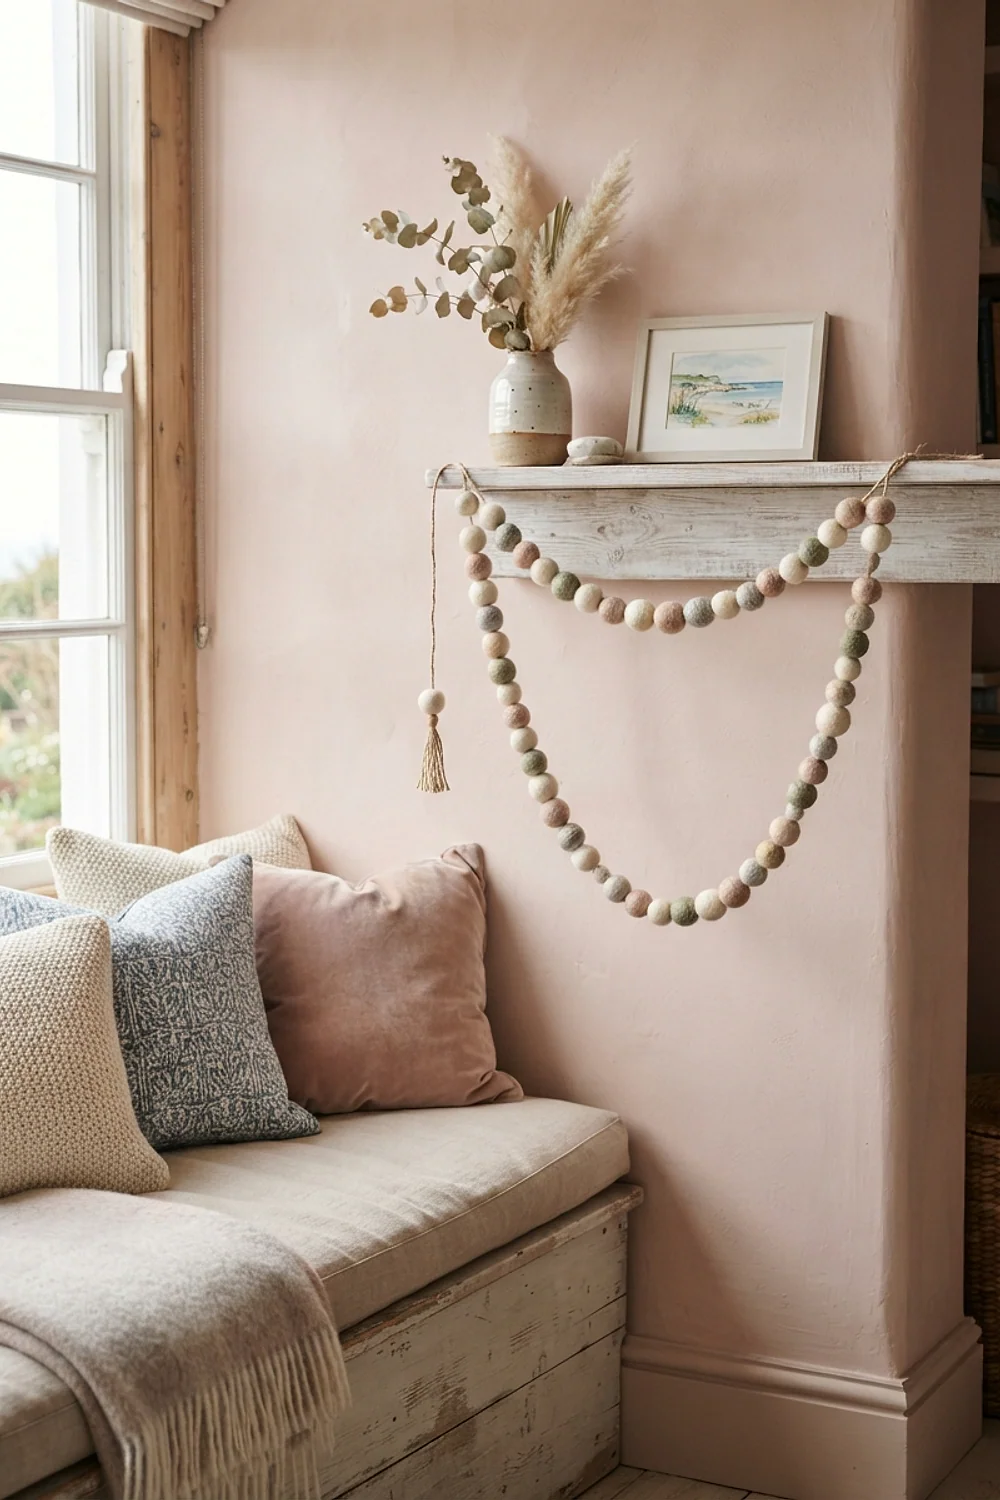
Wool roving felted into 1.5-inch balls and strung on 6 feet of waxed cotton thread drapes over a mantel like soft stones. Felting needles and a foam pad do the work. Difficulty: intermediate. Time: about 2 hours for 30 balls.
Choose a palette of three neutrals, such as oatmeal, charcoal and dusty blue. Real wool traps dust, so shake it out monthly and keep it away from the fireplace opening.
Soy candles in thrifted teacups
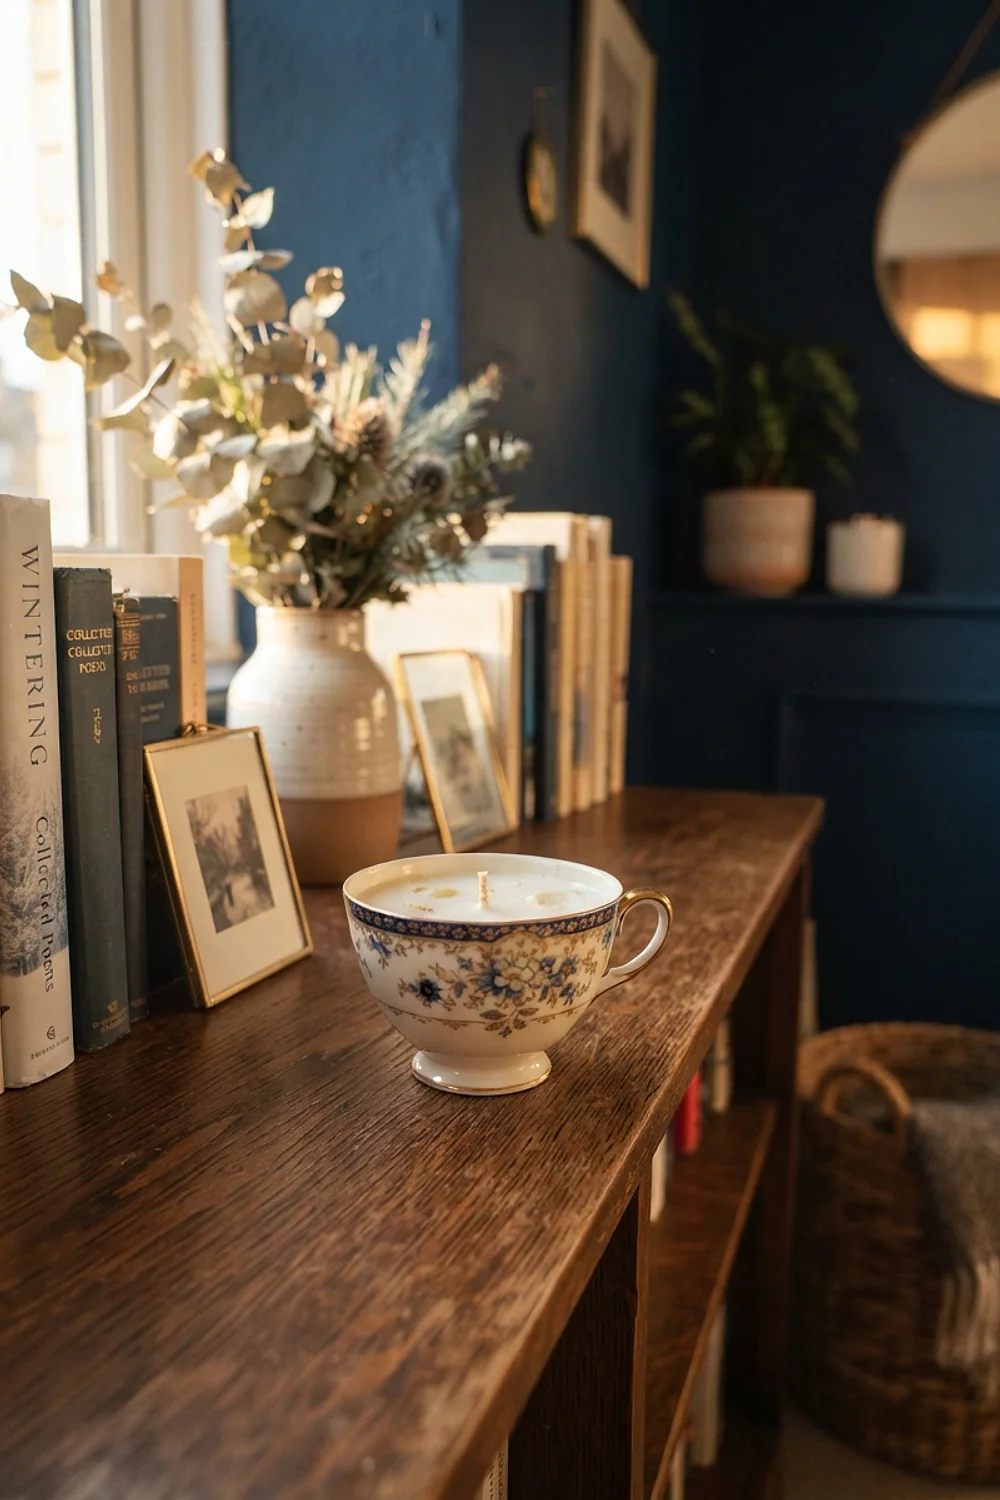
Mismatched teacups ($1 to $3 each at thrift stores) hold soy candles that last 15 to 20 hours. Melt flakes to 135°F in a pouring pitcher, set a wick at center, and pour. Difficulty: intermediate. Time: 45 minutes plus 24 hours to cure.
The mistake that ruins these is using a wick that’s too thick for a 3-inch cup, because it burns hot and cracks the china. Choose a wick rated for 2 to 3 inches of diameter.
River rock boot tray
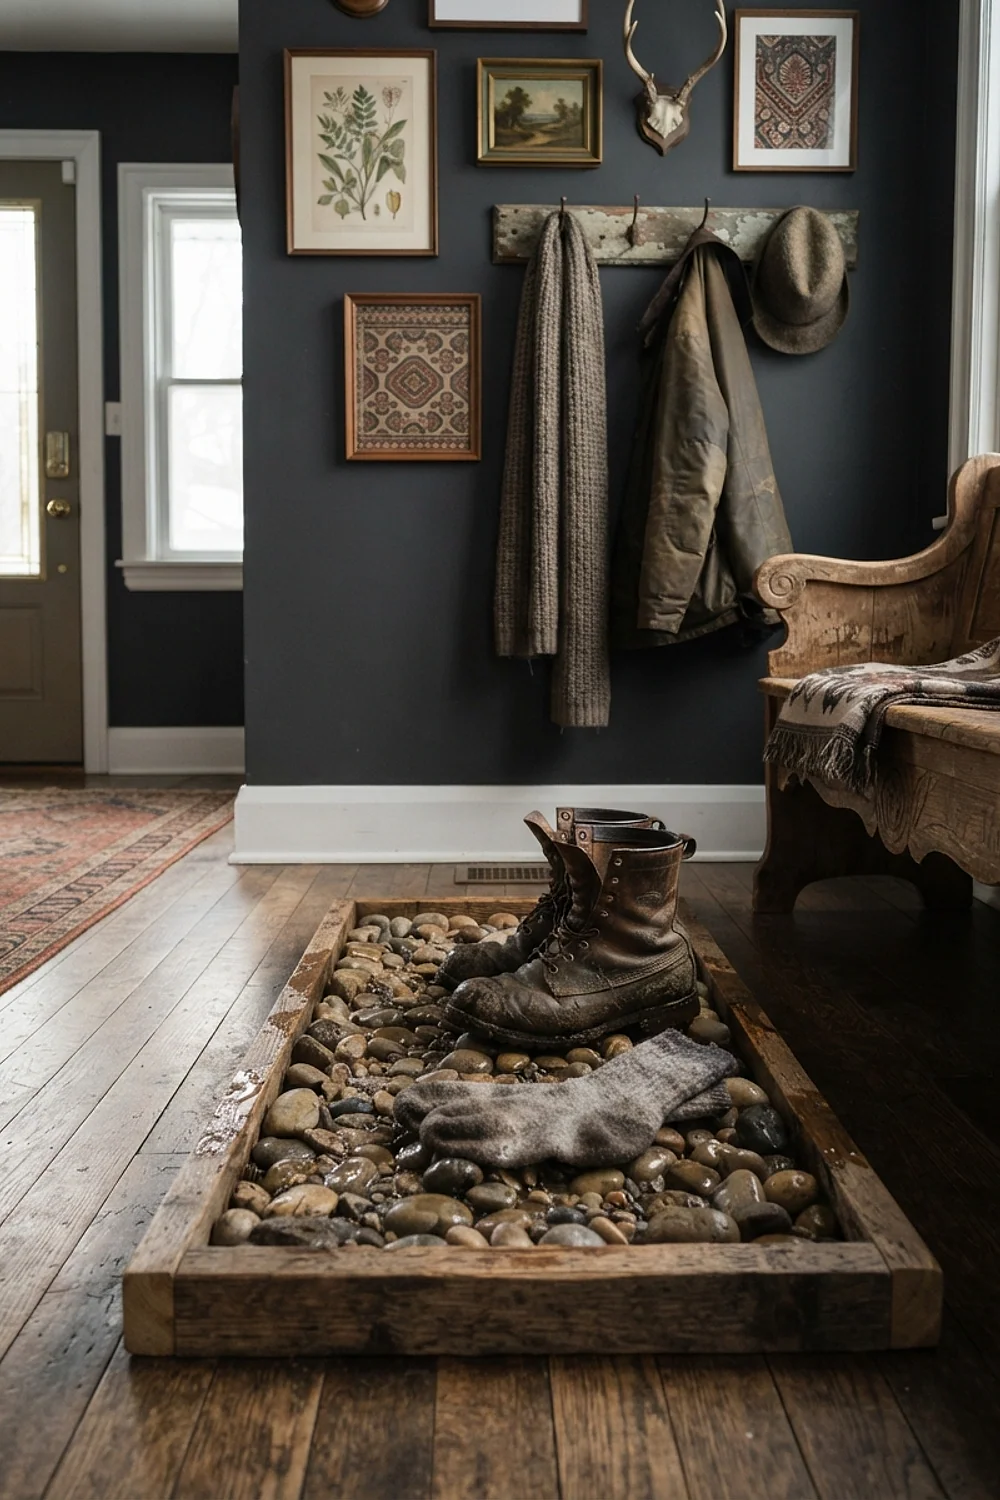
A 30 by 15 inch plastic tray filled with 2 inches of washed river rocks holds wet boots without a puddle on the floor. Water drains between stones and dries in about three hours. Difficulty: beginner. Time: 10 minutes.
In a busy entry with three pairs of boots and a wet dog, rocks outlast felt or cork, which stay soggy. Rinse the stones every month under the hose.
Flannel curtain liners with hem tape
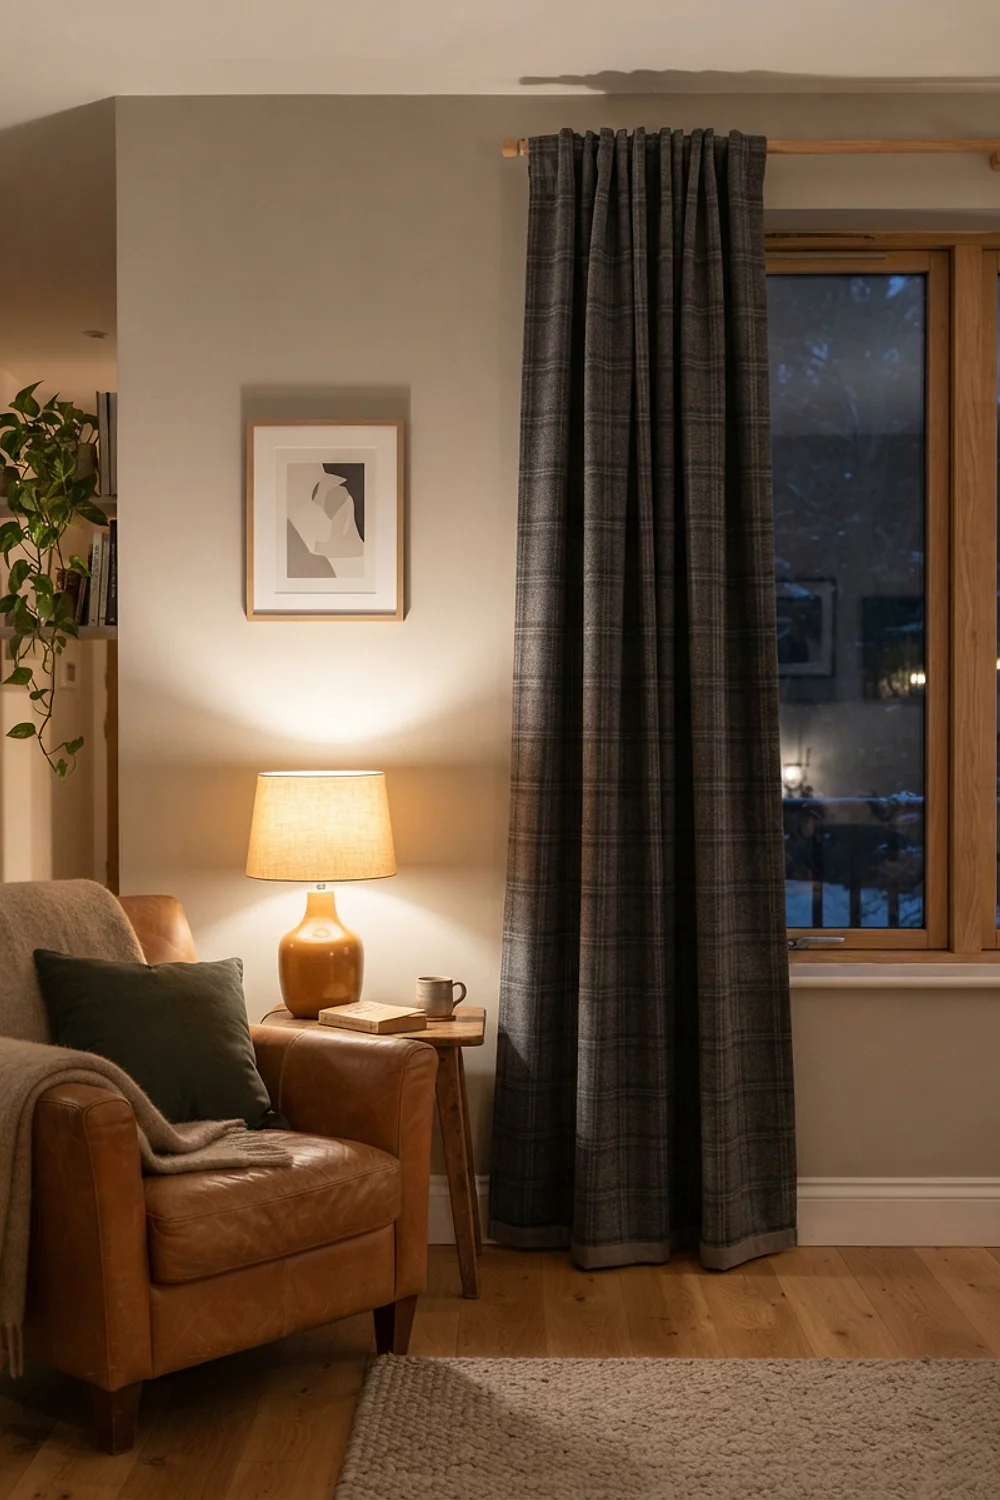
A lining of cotton flannel, attached to existing curtain panels with iron-on hem tape, adds a layer that blocks window chill and softens morning light. Cut the flannel 1 inch narrower than the curtain. Difficulty: intermediate. Time: 1 hour per panel. Tools: iron, scissors, tape measure.
A hot glue gun handles most of these projects… actually, no, scratch that. A low-temp glue gun is better, because high-temp guns burn fingertips and melt synthetic fabrics. Skip glue here entirely and use tape.
Branch arrangement with LED fairy lights
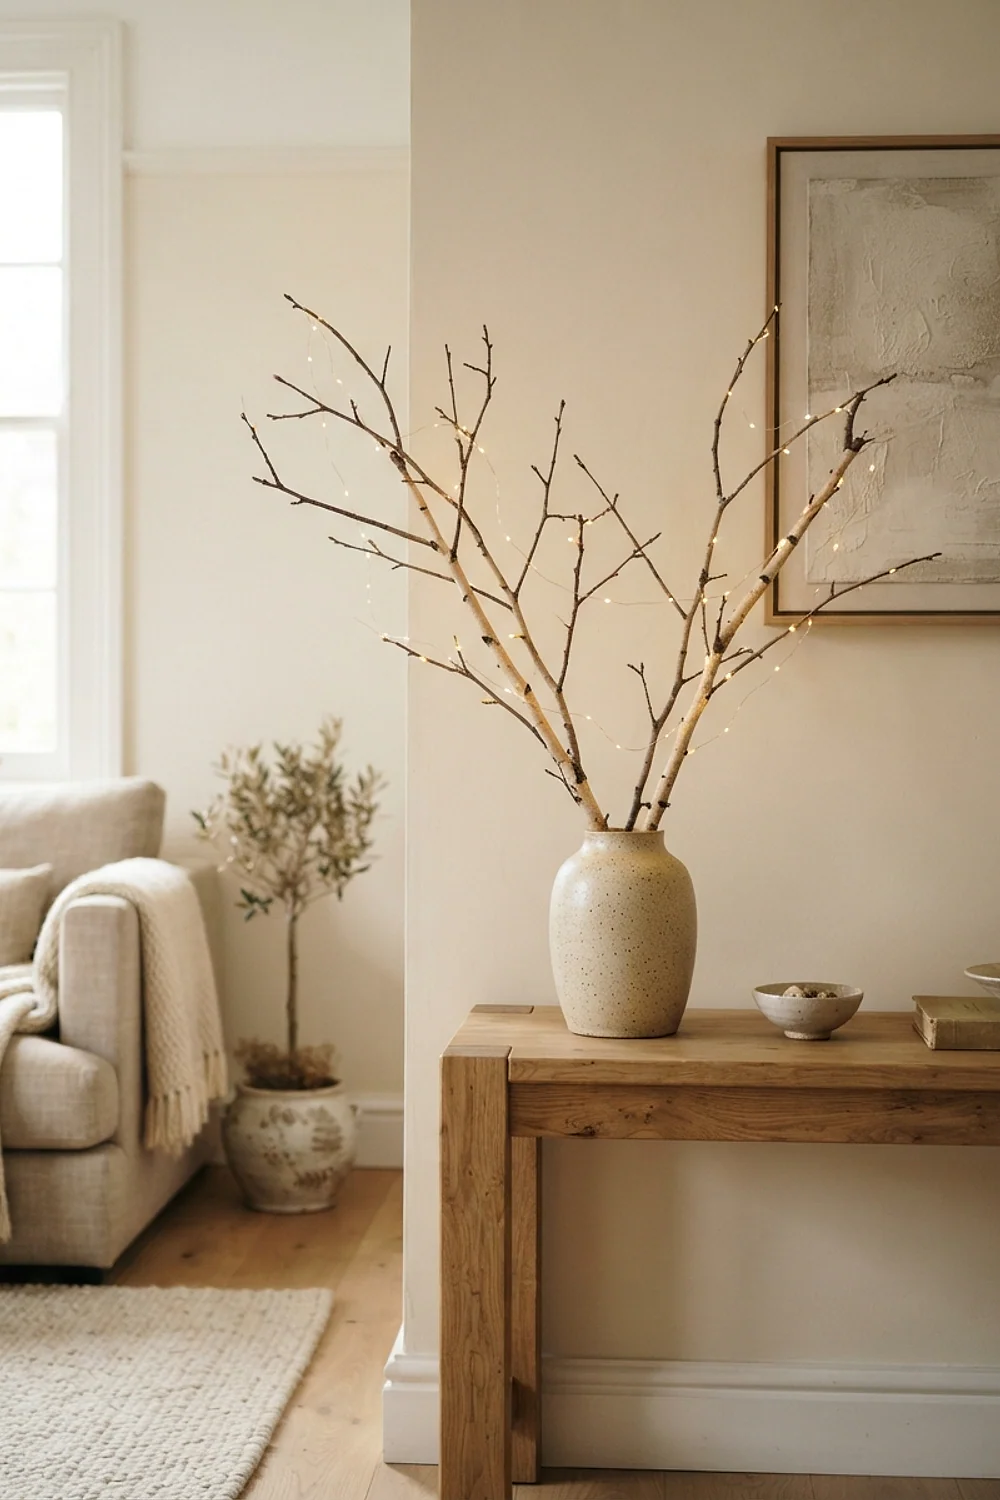
Five bare birch branches, 30 inches tall, in a ceramic vase hold a string of 2700K micro LEDs (the color temperature of a classic bulb). Wrap the string loosely around each branch and hide the battery pack behind the vase. Difficulty: beginner. Time: 20 minutes.
Cool white LEDs look clinical against bare wood, so check the box for 2700K. This arrangement works on a sideboard where you want evening light without a lamp.
Frayed-edge linen table runner
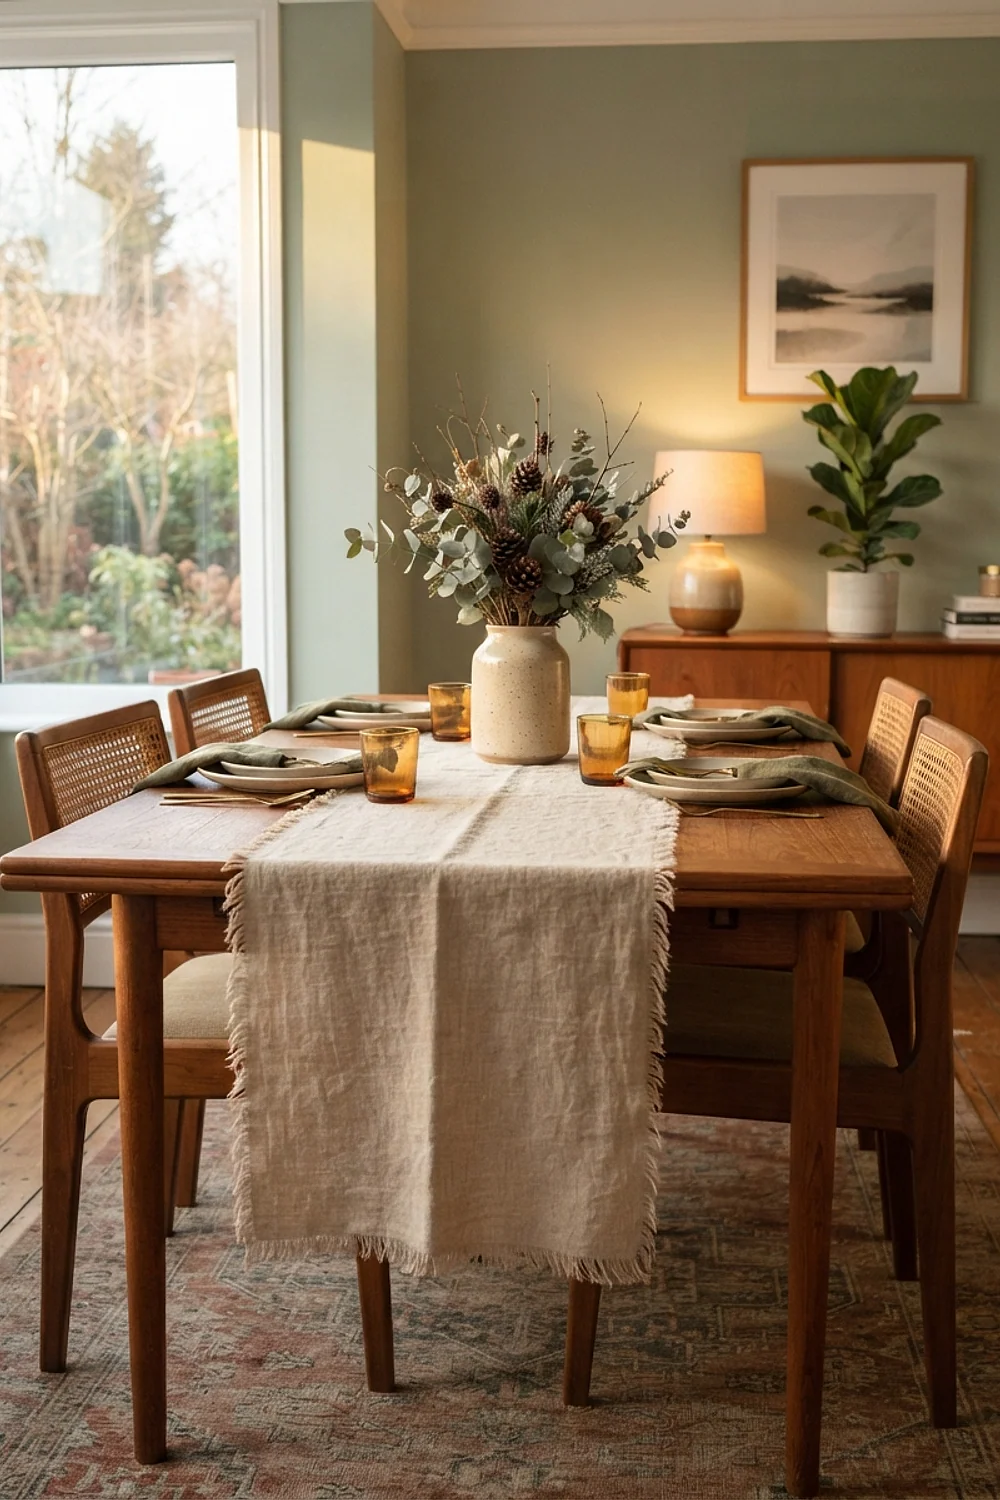
Stonewashed linen (about $12 per yard) torn to 14 by 72 inches gives you a runner with natural, soft edges. Tear along the grain, fray by pulling threads for 1/2 inch, and press flat. Difficulty: beginner. Time: 20 minutes.
Linen wrinkles easily, and that’s part of its charm on a casual table. Avoid blends with polyester, which feel slick and don’t fray cleanly.
Tall branch arrangement in a floor vase

Branches cut to 40 to 48 inches in a 20-inch floor vase fill the empty corner left behind by a tree. Use dogwood, curly willow or birch, and weight the base with 2 pounds of stones. Difficulty: beginner. Time: 15 minutes.
This suits rooms with 9-foot ceilings, where a smaller arrangement disappears. In a low-ceilinged room, drop the height to 30 inches or the branches crowd the space.
Plywood log crate for the hearth

A 16 by 16 by 14 inch crate built from 1×4 pine boards (about $18 in lumber) holds firewood or rolled blankets. Cut eight boards with a hand saw, glue and nail into a frame, and sand the edges. Difficulty: intermediate. Time: 2 hours. Tools: saw, hammer, wood glue.
Rough bark sheds on a bare floor, so line the base with a rubber mat. Keep only a two-day supply of logs inside, as stored wood can bring in insects.
Tea-dyed muslin throw
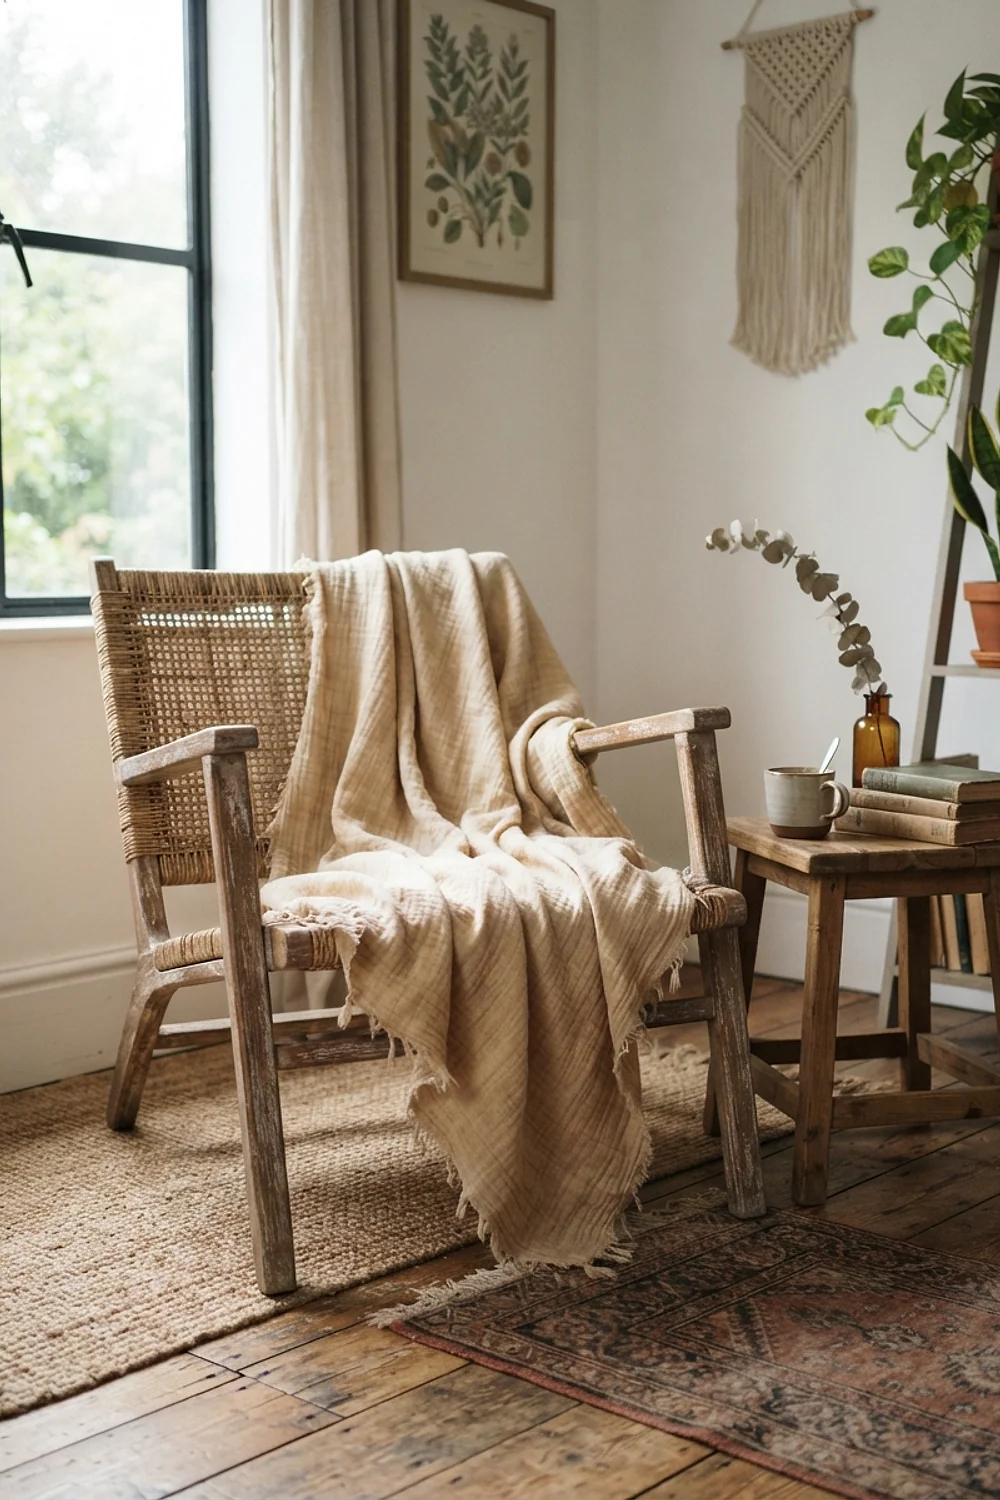
Eight black tea bags steeped in a large pot for 20 minutes dye a 50 by 60 inch muslin piece into a soft parchment tone. Soak for 30 minutes, rinse, and dry flat. Difficulty: beginner. Time: 1 hour, plus drying.
Color varies from patchy to even depending on stirring, so decide early if you want an uneven, antique effect or a smooth wash. Wash separately the first two times, because tea bleeds.
Pressed leaf frame grid
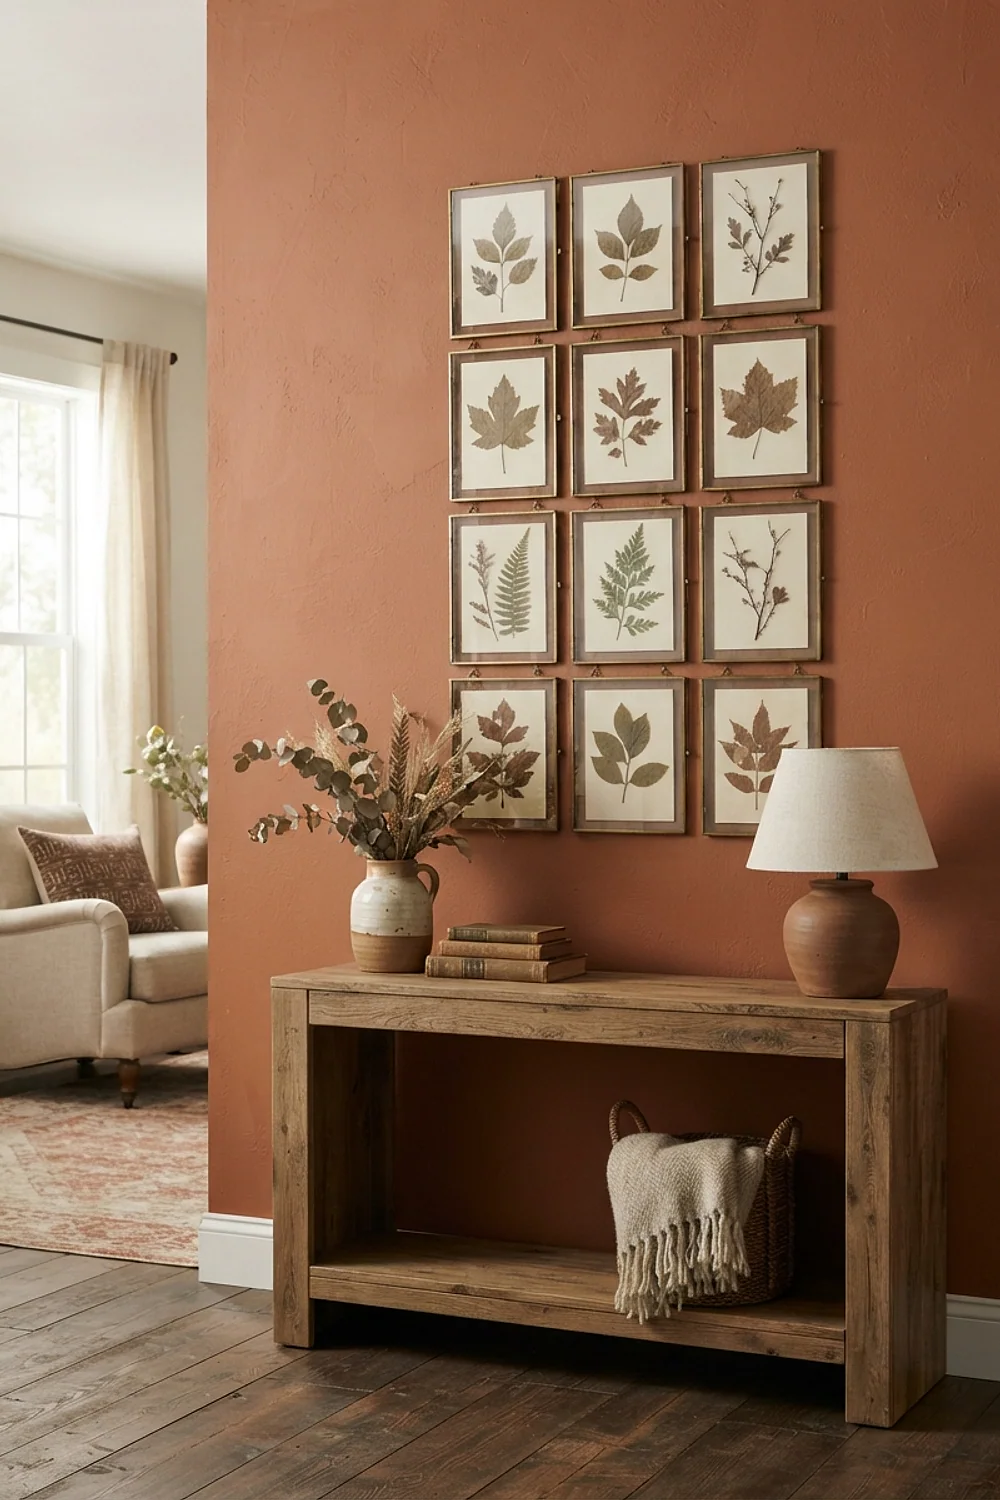
Six 5 by 7 inch thrifted frames ($2 to $4 each), arranged in a 2-row grid with 2-inch gaps, hold leaves pressed for 7 days in a heavy book. Mount each on white cardstock. Difficulty: beginner. Time: 45 minutes plus pressing.
Measure and mark the layout on kraft paper first, then tape it to the wall as a template. Frames arranged by eye drift out of line, and a shoebox lid makes a quick spacer.
Hand-dipped beeswax tapers
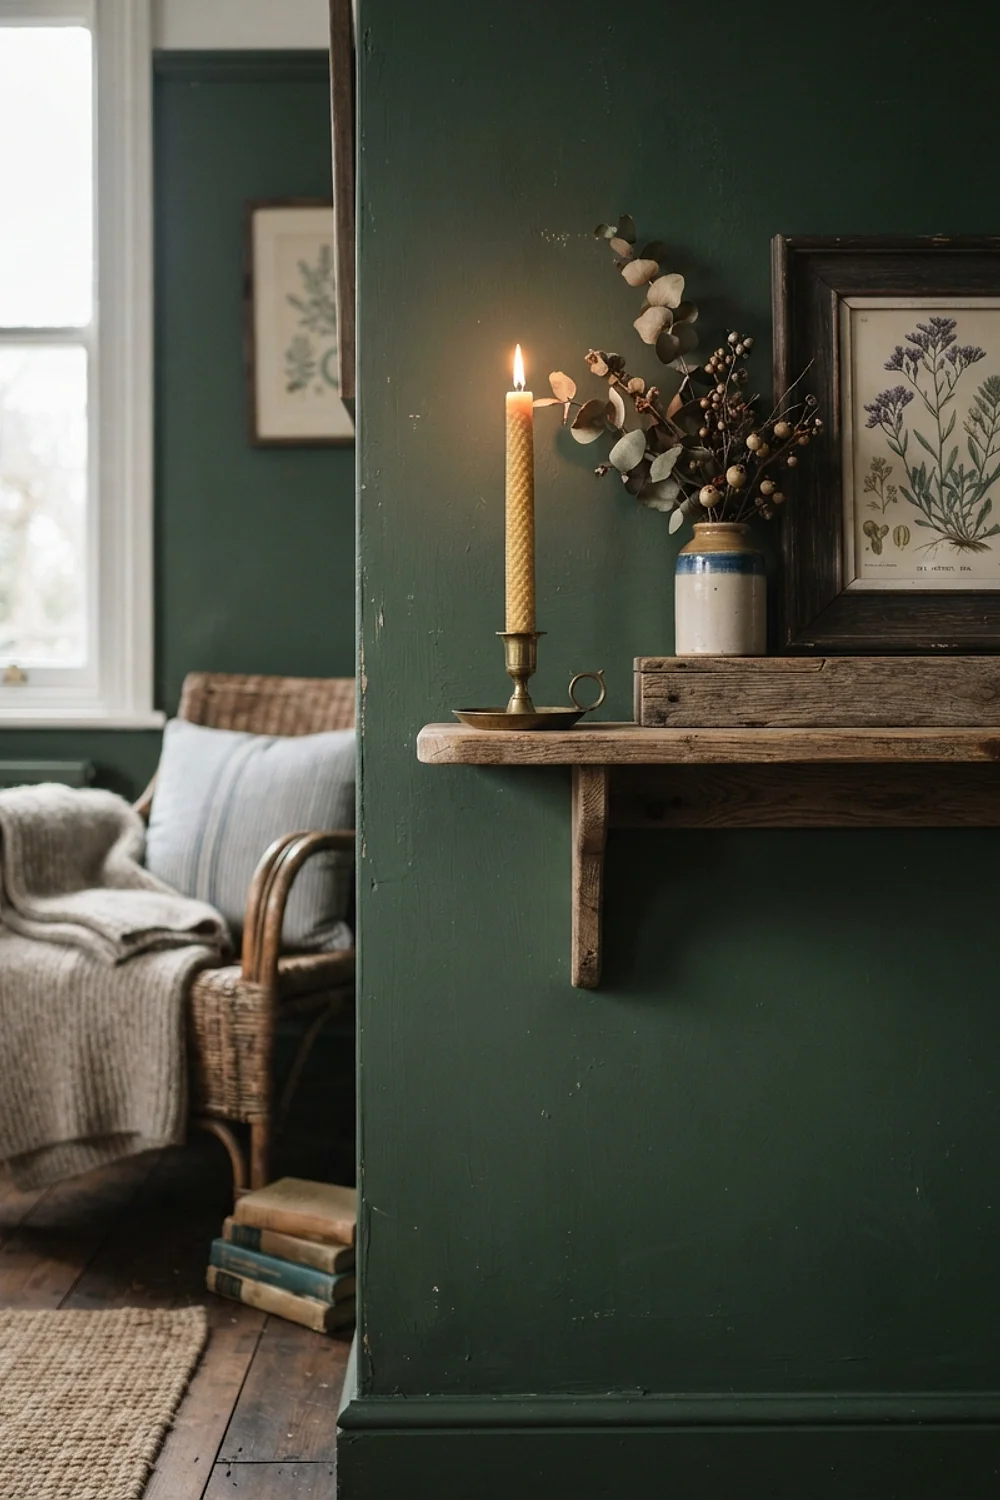
Beeswax melted to 160°F in a tall pitcher builds taper candles one dip at a time, about 20 dips for a 10-inch candle. Hang the wick from a dowel and let each layer set for 30 seconds. Difficulty: intermediate. Time: 90 minutes for a pair.
Beeswax burns longer and drips less than paraffin, so these suit a dining table for long dinners. Use a double boiler setup, never direct heat, since wax overheats fast.
Key pieces and where to find them
Non christmas winter decor diy projects share a short toolkit, and most of it fits in one shoebox. Buy the basics first, then add specialty items only when a project calls for them.
- Cordless drill with a 1.5-inch Forstner bit
- Hand saw and 220-grit sanding block
- Low-temp glue gun and fabric glue
- Iron and iron-on hem tape
- 6-inch putty knife and foam brushes
- Matte acrylic paint in deep green, white and navy
- Beeswax polish, soy flakes and wicks
A glue gun is the toaster of the craft world: it does one job quickly, but it burns you if you’re careless. Buy a low-temp model at around $12 and you’ll use it for years.
Thrift stores cover jars, teacups, frames and bowls. Check the glassware aisle on a weekday morning, when stock has just turned over.
When DIY isn’t worth it
Some projects lose to a store-bought version, and pretending otherwise wastes a Saturday. The honest rule is to build when the material is the point, and buy when precision matters.
- Skip hand-dyeing if you need a matching set of four curtain panels, because batch variation shows.
- Skip building furniture-grade shelving without a table saw, since hand-cut joints rarely sit square.
- Skip electrical lighting beyond battery LEDs. Hardwired fixtures belong with an electrician.
Candles are a gray area. Hand-dipped tapers are worth the 90 minutes, but a bulk pillar candle at a hardware store costs less than the wax.
Pick one project and start Saturday
The best non christmas winter decor diy projects ask for patience and a few hours, not special talent. Light, texture and a deep color do more for a room in January than any amount of faux snow.
Save or pin this list so it’s ready on the next gray Saturday. Start with the birch log candle holders, and measure your mantel before you cut anything.
Frequently Asked Questions
What is the easiest winter decor DIY for beginners?
The birch log candle holders and the dried eucalyptus bundle are the easiest starting points. Both take under 30 minutes of hands-on work, and neither needs sewing or painting.
Can I do these projects in a rental?
Yes, most of them sit on surfaces and need no wall damage. For the peg rail and the canvas, use removable hanging strips rated for the weight, or lean the canvas on a shelf.
How do I keep winter decor from looking like leftover Christmas?
Skip red, gold and glitter, and stick to natural materials like wood, wool and linen. A non christmas winter decor diy palette of green, oatmeal and charcoal reads as seasonal without any holiday cues.
When should I take winter decor down?
Leave it up through late February, since the dark weeks last longer than the holidays. Swap in spring branches or bulbs in March so the rooms change with the light.