Designer Kitchen Decor Inspiration on a Real Budget
Buying accessories before fixing the big surfaces is the most common way a kitchen refresh goes sideways. A $40 canister set can’t rescue orange-toned cabinets and a flat ceiling light.
Good kitchen decor inspiration starts with surfaces, light, and the hardware your hands touch daily. This post follows a typical before-and-after makeover, then breaks it into seven changes and the lessons behind each one.
Kitchen decor inspiration: Where the inspiration comes from
Kitchen decor inspiration earns its place when it changes how the room looks at 7 a.m. and at 4 p.m., not just in a photo. A designer scanning a before picture looks for three things first.
- Large surfaces that are cheap to change, like cabinet faces and walls
- Light sources at two different heights, ceiling and counter
- Touchpoints your hands meet constantly, like pulls, faucet handles, and the mat at the sink
Everything else is secondary. A ceramic crock looks great on a counter, but it can’t fix a room that’s lit like a parking garage.
The order matters more than the shopping list. Spend on the biggest visual area first, the smallest touchpoints second, and objects last.
The before: honey oak, almond laminate, one fluorescent box
Picture a typical 1998 builder kitchen, roughly 11 by 12 feet. Honey oak cabinets with an orange cast, almond laminate counters, vinyl flooring, and a single fluorescent panel overhead.
Nothing in it is broken. It’s just uniformly mid-tone, so the eye has nowhere to land.
The budget ceiling here is about $1,500, which rules out new cabinets and new counters in one move. That limit is useful. It forces the changes with the best return, and those are the seven below.
The swaps that carried the transformation
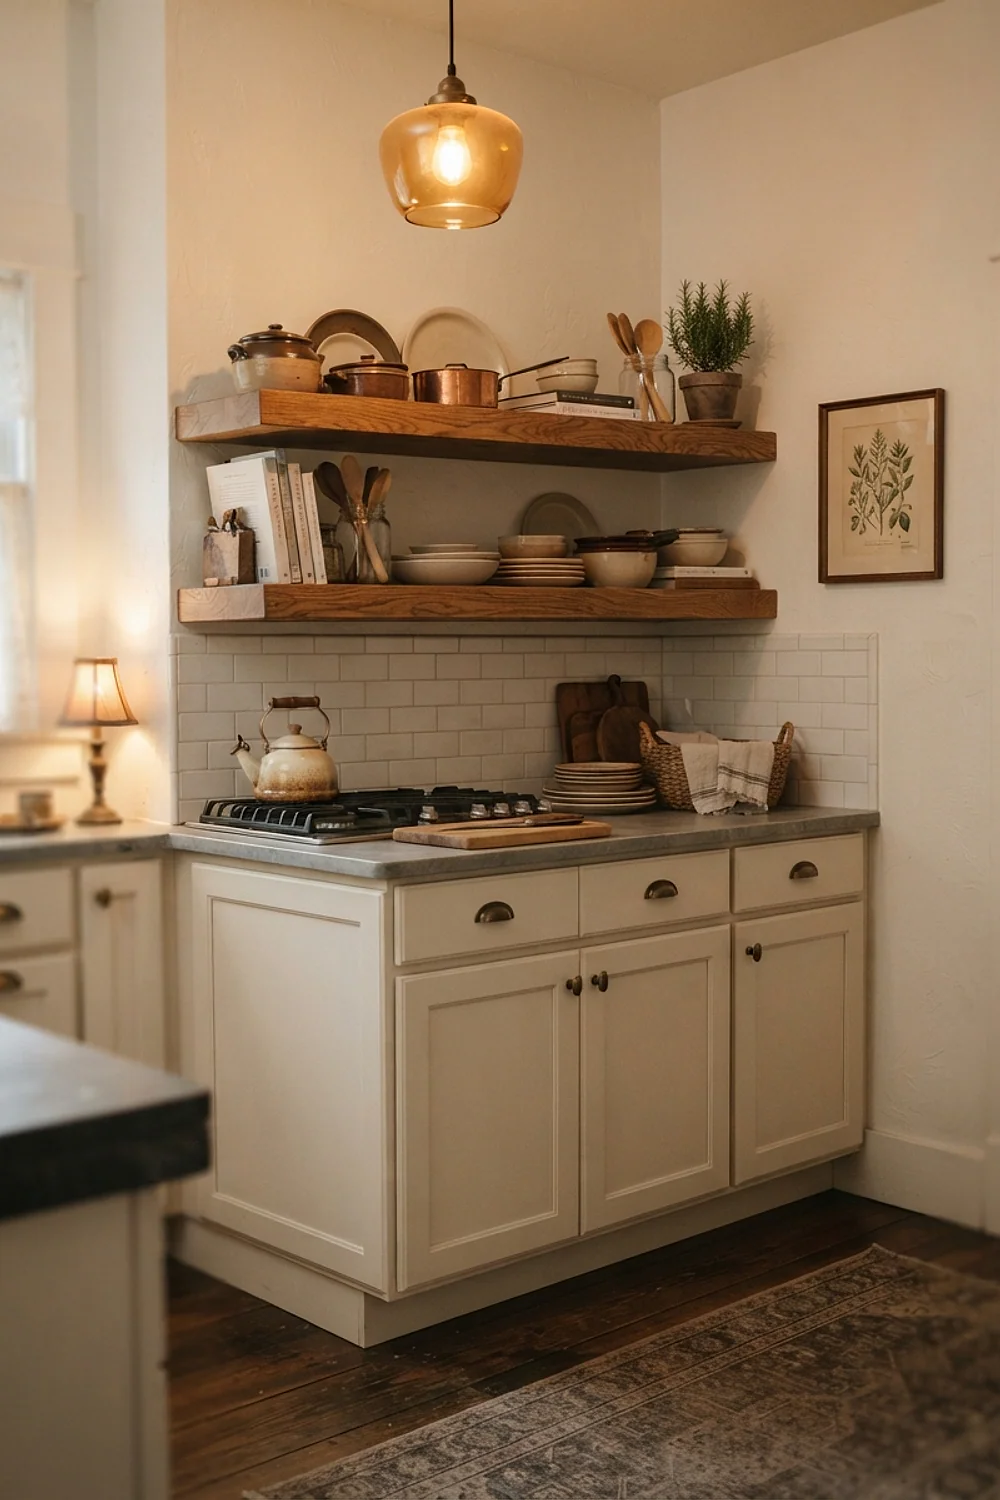
Two upper cabinets traded for one oak shelf run
Removing two 30-inch uppers beside the window and hanging a 10-inch-deep oak shelf opens the whole wall. Light reaches the backsplash instead of stopping at a cabinet door.
This suits narrow or galley kitchens under about 120 square feet, where a wall of uppers feels like a hallway. Anchor the brackets into studs, not drywall, because a loaded shelf of stoneware is heavy.
Keep the uppers nearest the range, though. Open shelves there collect a film of grease within weeks.
Hardware sized to the drawer, not to the catalog photo
Undersized hardware is the mistake that sinks a good paint job. A 1.25-inch knob on a 24-inch door looks lost, and a pull should run roughly one third of a drawer’s width.
The eye lands at hand height first, so pulls change a kitchen more than most people expect. A cabinet door with no hardware is a toaster with no lever: complete on paper and useless in practice.
Solid brass pulls at $4 to $6 each cost about $120 for 24 pieces. Designer-label versions of the same shape start near $15 apiece, and the finish difference is invisible from two feet away.
Three objects on the counter, deliberately
Conventional advice says clear every counter. For a 24-inch stretch beside the range, that advice backfires, because a bare run of laminate reads like a showroom nobody lives in.
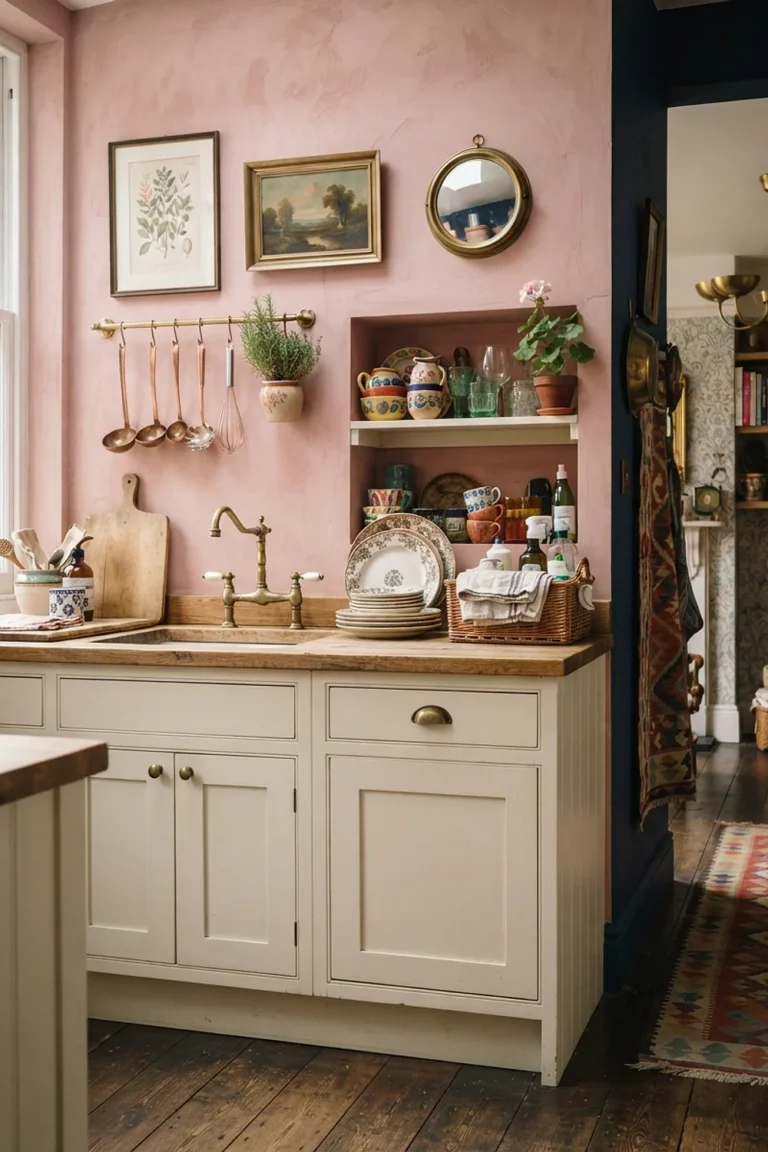
Three objects at three heights do better: a 12 by 18 inch end-grain board leaned against the backsplash, a 7-inch stoneware crock, and one glass bottle. They stay in use, so they stay dust-free.
Stop at three. A fourth object turns the vignette into clutter, and anything sticky belongs in a drawer.
Cabinets painted a deep, gray-leaning green
Painting honey oak a muted green such as Sherwin-Williams Evergreen Fog kills the orange cast and gives the room one dominant color. Two gallons of Benjamin Moore Advance at roughly $70 each cover about 30 doors and drawer fronts.
Replacing or refacing those same doors runs $4,000 to $8,000, which is why paint wins for any budget-limited kitchen with solid frames. It’s best for rooms with decent daylight.
Sand with 180 grit, degrease, and use a bonding primer. Then leave the doors alone for about 30 days while the enamel fully cures.
Ideas worth borrowing
Plug-in LED strips under the uppers
A diffused LED strip at 2700K under the remaining uppers puts light on the counter where hands work. On a gray February afternoon, that warm wash makes the difference between a dim room and a lit one.
Skip bare strips, which throw a row of bright dots across glossy backsplash. Choose ones with a frosted channel, and run them plug-in style so a rental or a no-electrician budget still works.
Avoid 4000K bulbs here. They turn painted green flat and a bit clinical.
One large print instead of a gallery wall
A single 24 by 36 inch print in a 2-inch oak frame calms a wall that six small frames would crowd. Kitchens are already full of hard lines, cabinet edges, and appliance handles, and one big shape gives them a counterweight.
Hang the center at about 57 inches from the floor. Use acrylic glazing instead of glass, and keep it at least 36 inches from the range so grease and splatter stay away from the paper.
This suits a bare wall above a table or banquette. It’s a poor fit for a wall full of switches and outlets.
A washable runner that stays flat
A 2.5 by 8 foot flatweave runner in front of the sink spares feet on hard vinyl or tile. A polyester or cotton weave goes straight into the washing machine, which matters because water lands here daily.
Stop the rug about 4 inches short of the toe-kick. And add a felt-and-rubber pad, since a runner with curled corners behaves like a garden hose left out in the sun.
Raw rubber backing can stain vinyl over time, so the felt layer is worth the extra few dollars.
The step-by-step process
Mixing finishes works when one choice clearly leads. A reliable split is about 70 percent one metal and 30 percent another.
- Pick one dominant metal, like brass on pulls and faucet, and let a second finish appear only on a lamp or frame.
- Limit wood tones to two, such as the oak shelf and a darker cutting board.
- Repeat the main color in three places at different scales: cabinets, a print detail, a runner stripe.
- Mix three textures, matte paint, glossy glaze on a crock, and woven fiber underfoot.
Kitchen decor inspiration photos tend to hide how much repetition they use. Look closely and nearly every polished room repeats one color three times.
The pieces that earn their place
Spend on what gets touched, soaked, or sat on daily. A solid brass faucet and good drawer slides last decades, and a cheap faucet leaks into your cabinet base within a few years.
Trend pieces belong in the reversible category. Patterned peel-and-stick tile, a colored small appliance, or a pendant in this year’s finish can all be removed in an afternoon.
Paint is the cheapest trend there is, since a $60 gallon is reversible in a weekend. That’s why it ranks above new fixtures for anyone who rents or might sell in five years.
Common mistakes
- Fix the cabinets and light before buying a single decorative object.
- Measure drawer fronts before ordering hardware, then order one sample first.
- Test paint on a door’s inside edge and look at it at 4 p.m., not noon.
- Keep the last 10 percent of the budget for objects, because they’re the easiest to change later.
The biggest surprise is how little of the finished look comes from new products. Most of it comes from removing orange tone, adding warm light, and sizing hardware correctly.
Where to start this weekend
Kitchen decor inspiration is only useful once it turns into a sequence: paint, hardware, light, then objects. Do the order in that direction and each step makes the next one cheaper and easier to judge.
Save or pin this list so it’s handy when the paint sample is dry. Start by measuring your drawer fronts and one door, since that single set of numbers decides the hardware and the paint quantity.
Frequently asked questions
How much does kitchen decor inspiration cost to turn into a real makeover?
A paint-and-hardware makeover on a mid-size kitchen lands around $400 to $600 in materials. Adding LED strips, a runner, and one print pushes it toward $1,000, still far under new doors or counters.
Can I use these kitchen decor inspiration ideas in a rental?
Yes, with limits. Plug-in LED strips, a runner, a print, and the counter vignette are all reversible. Get written approval before painting cabinets, and keep the original knobs in a labeled bag so you can swap them back.
Do I need to remove cabinet doors to paint them?
Yes. Painting doors flat on sawhorses avoids drips and lets you coat edges evenly. Label each door and hinge position with painter’s tape so everything goes back where it started.
Will dark green cabinets make a small kitchen feel smaller?
Not if the room has daylight and warm 2700K lighting. A deep color blurs cabinet edges and makes walls recede, which can feel larger than white cabinets that stop at stark lines. In a windowless kitchen, go one shade lighter.