
14 Dollar Tree Crafts DIY Christmas Decor Ideas That Look Expensive
The most common mistake with dollar tree crafts diy christmas decor is buying twenty different things in twenty different colors and hoping they’ll sort themselves out. They won’t. A cart of red, lime green, royal blue, and glitter-gold plastic reads as clearance aisle, not holiday.
The fix costs nothing: pick two colors and one metal finish, then choose projects that repeat them. The 14 ideas below do exactly that, with real measurements, materials, and the pitfalls that make dollar-store projects look homemade in the wrong way.
Why dollar tree crafts diy christmas decor don’t have to break the bank
At $1.25 per item, a full mantel, door, and tree can come in well under $50. The savings only hold if the finished pieces look intentional, and that comes down to repeating colors, matching finishes, and getting the sizes right.
Here’s a counterintuitive truth: shiny plastic is what looks cheap, not plastic itself. A coat of matte paint turns a glossy ornament into something closer to ceramic.
Matte beats shiny.
Plan on a palette of deep green, cream, and brushed gold, and keep every project below inside it. The first four items cover the biggest visual wins.
Matte-painted ornament sets
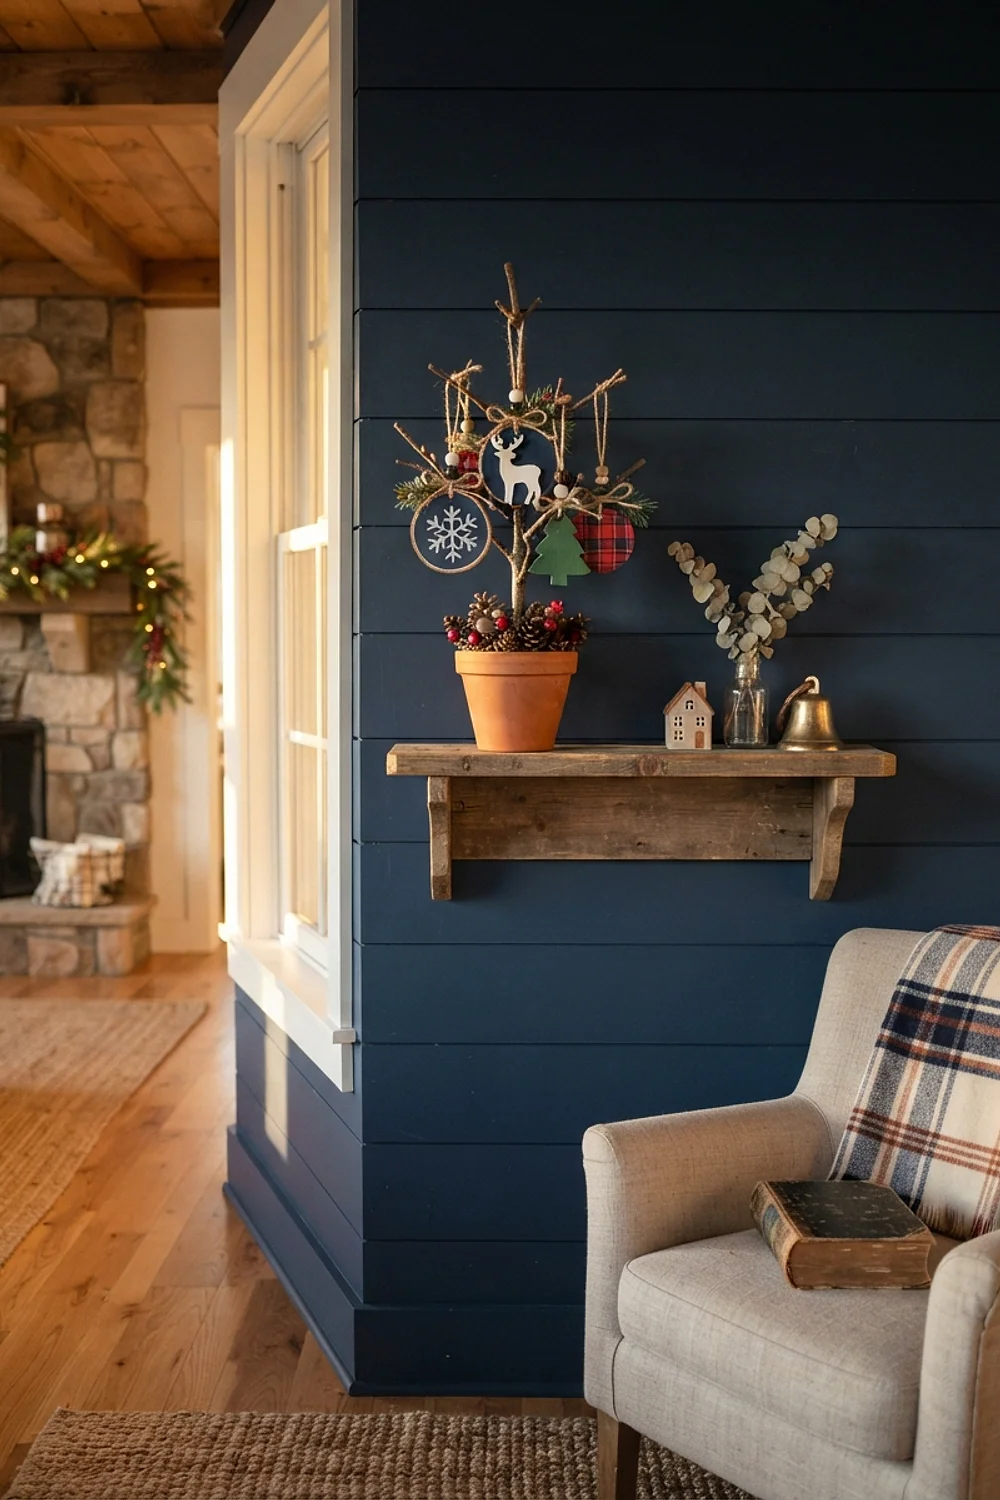
A bag of mixed glossy plastic ornaments looks like a bargain bin until every ball gets the same matte coat. Wipe each one with rubbing alcohol first, because spray paint beads up on slick plastic, then apply two thin coats about 10 inches away.
One $7 can of matte spray paint covers roughly 6 packs at $1.25 each. That suits anyone with a tree that needs 30 to 40 ornaments and a patch of garage floor with newspaper on it.
Mirror-effect glass cylinders
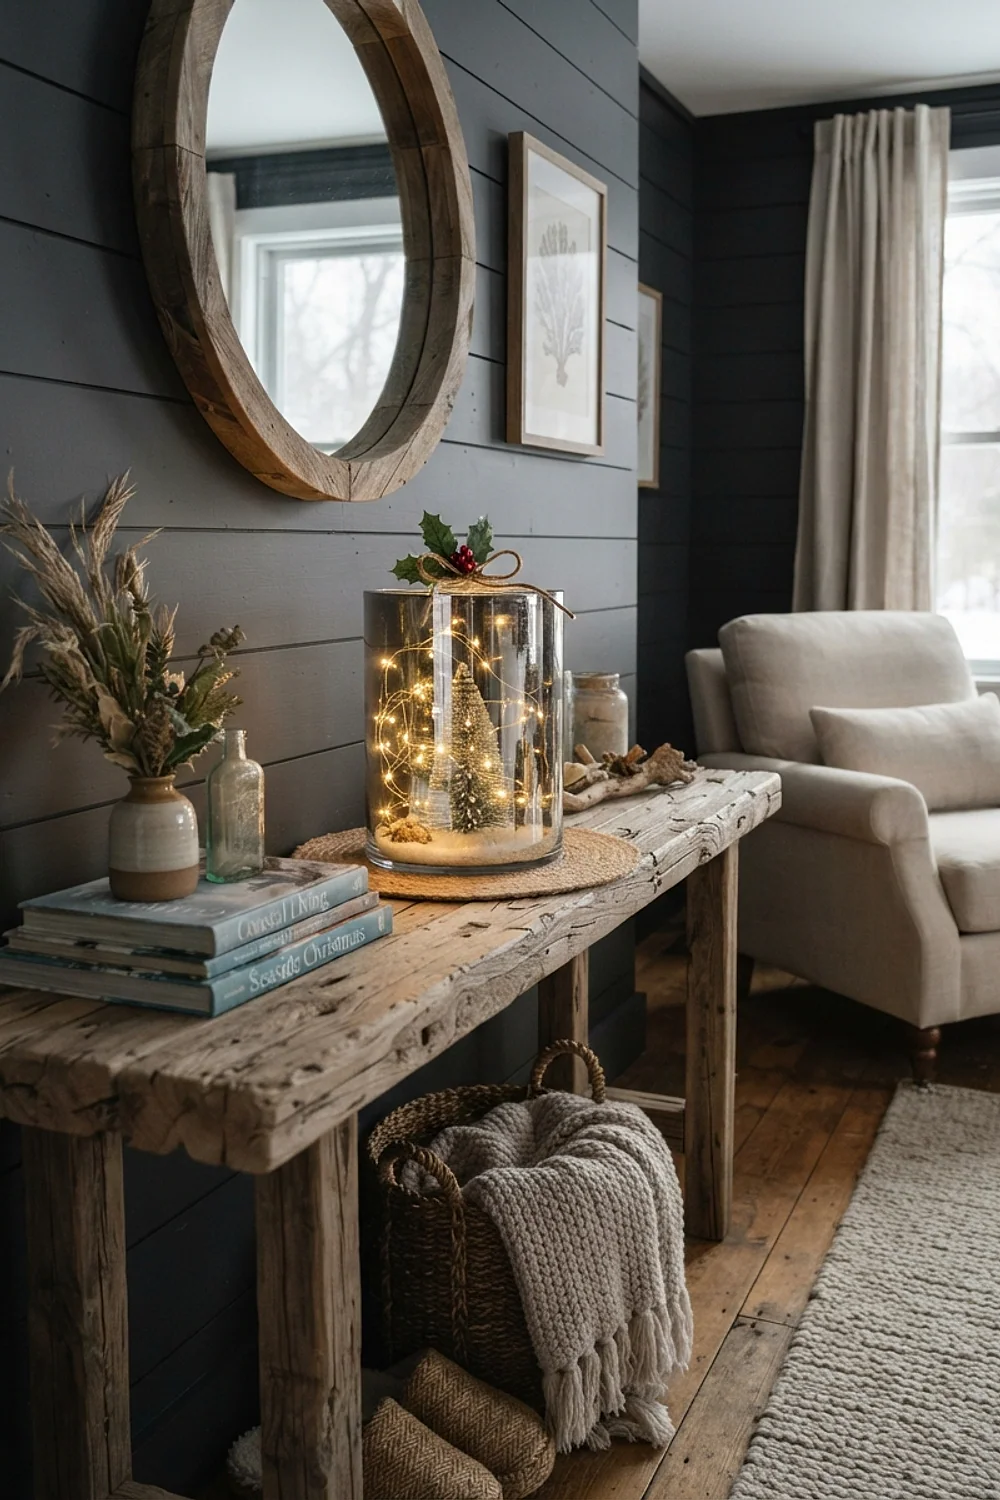
Clear 8-inch glass cylinder vases turn into antique-silver or soft-gold lanterns with a mirror-effect spray applied to the inside only. Spray, let it dry 15 minutes, then mist a second light coat for a mottled, aged finish.
Gold suits warm, wood-heavy rooms, while silver sits better beside gray walls or white trim. The common slip is spraying the outside, which scratches off the first time someone moves the vase.
Yarn pom-pom garland
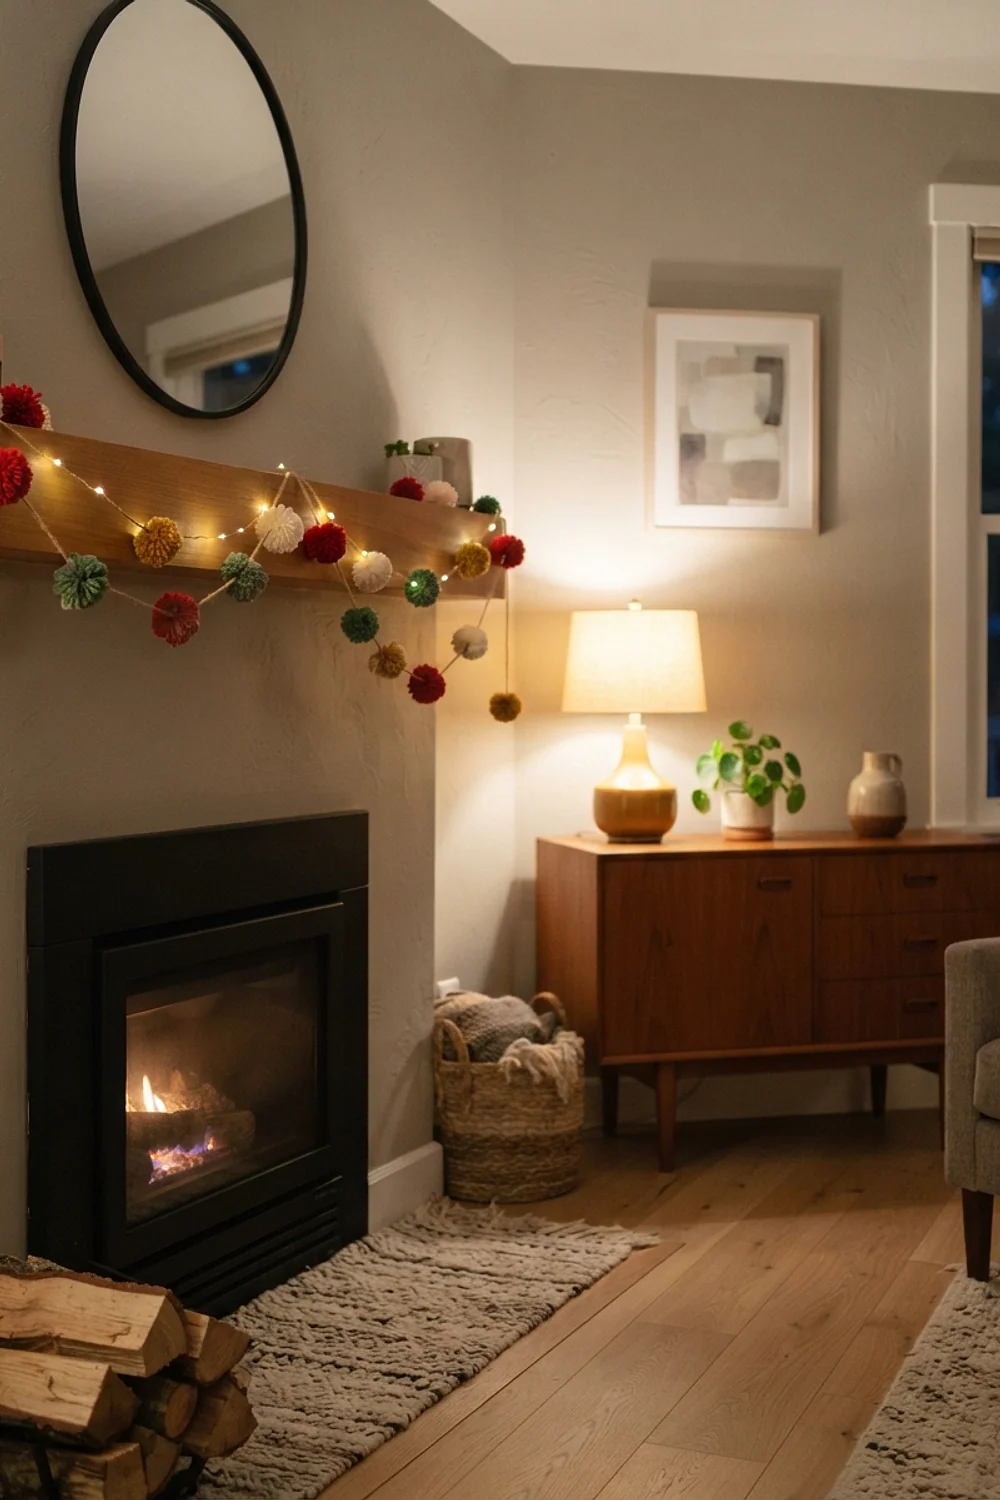
Wrap cream yarn around a 3-inch piece of cardboard about 60 times, tie the middle, and snip the loops. The result is a soft, squishy pom-pom that feels far more expensive than the plastic garlands sitting two shelves over.
Thread 12 of them onto a 9-foot length of twine for a mantel or bookshelf edge. This is ideal for kids’ rooms and reading nooks, where texture matters as much as color, though it isn’t a great choice near a candle flame.
Double-stacked foam wreath
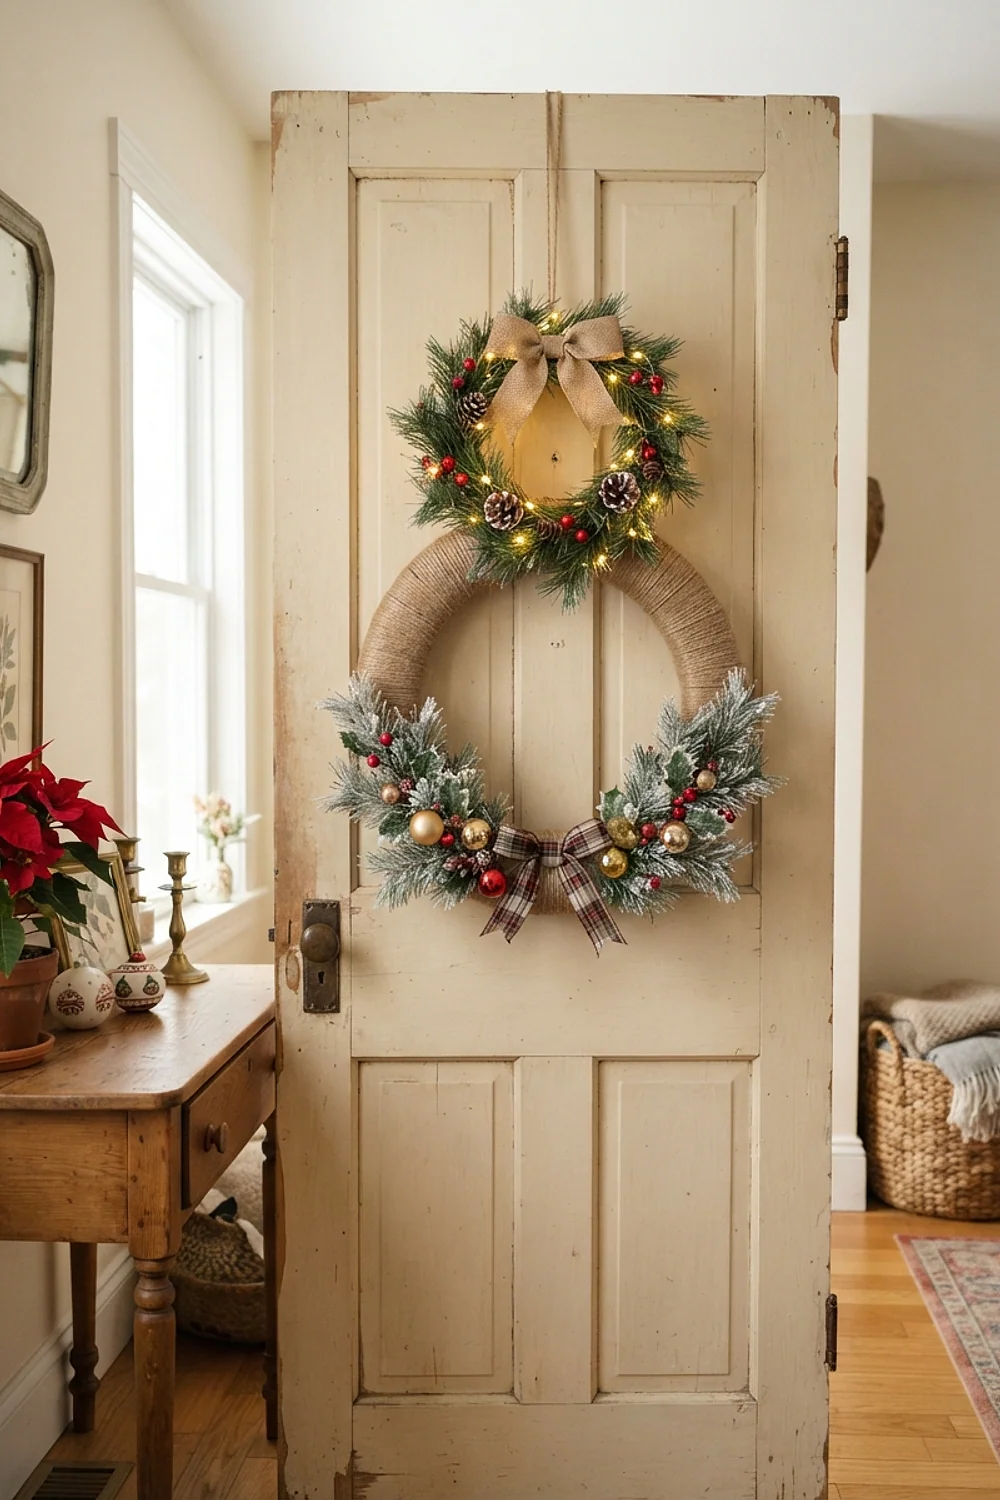
One 12-inch foam wreath form looks undersized on a standard 36-inch door. Glue two forms together, offset slightly, and wrap the pair in 3 yards of wide burlap or velvet ribbon to reach roughly 20 inches across.
Materials land near $2.50 plus ribbon. Use low-temp hot glue, since the high-temp kind melts foam and leaves craters you’ll spend ten minutes filling.
Light, mantels, and everyday function
Four more projects handle the practical jobs: holding cards, glowing at dusk, dressing a mantel, and storing everything when January arrives. These are the ones that get used daily from late November on.
Clothespin card display
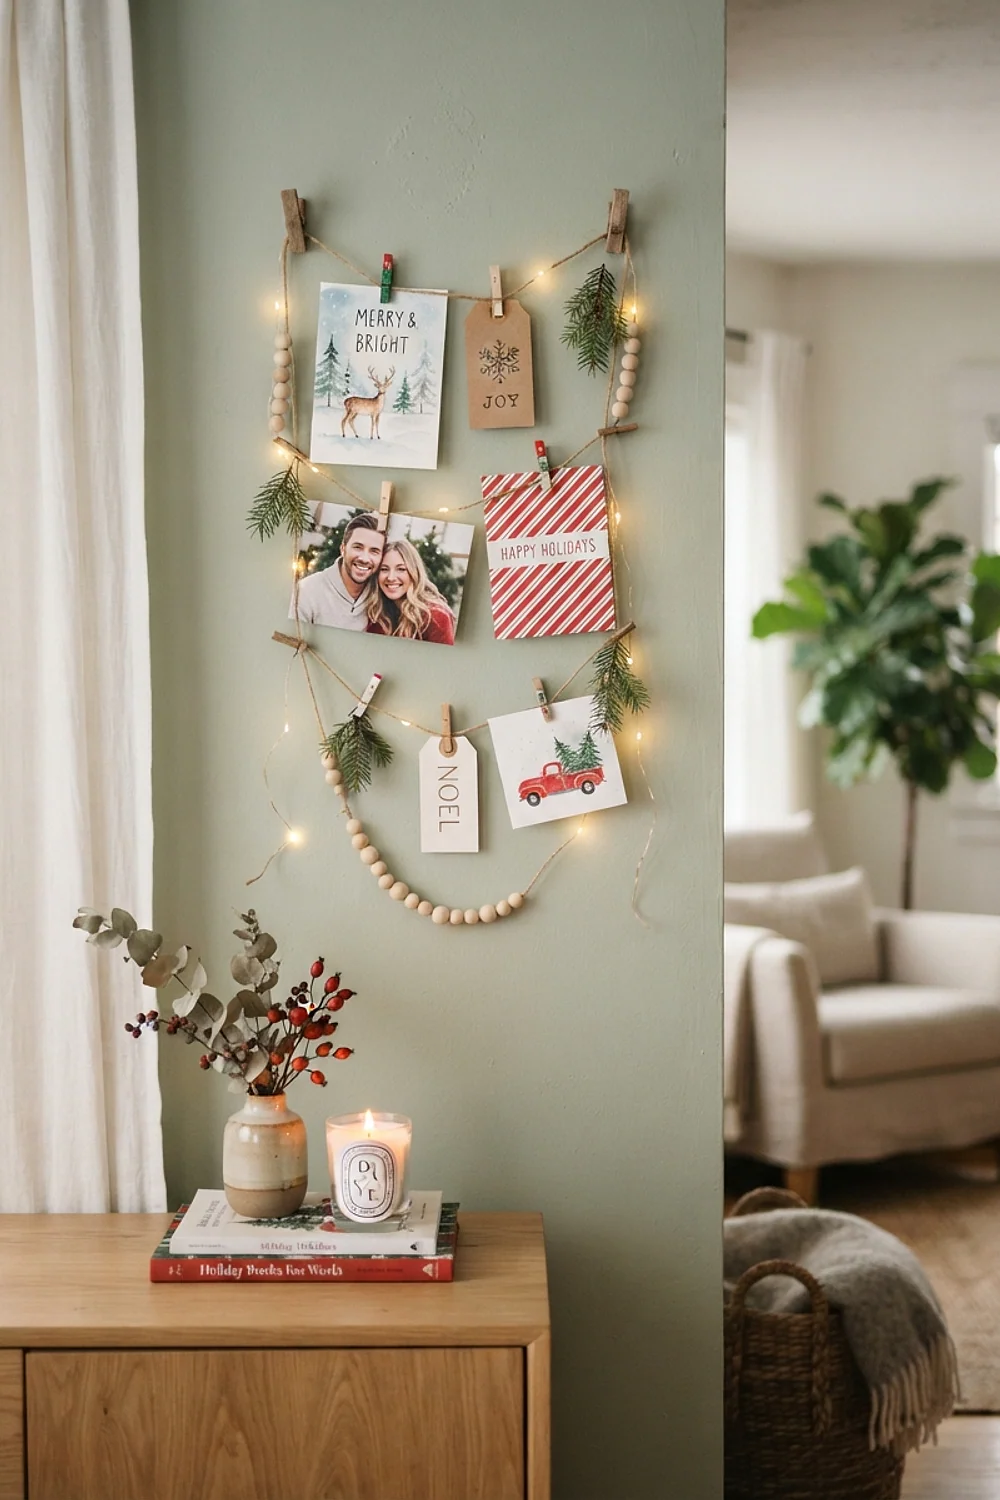
A 30-inch span of jute twine pinned to the wall with two small nails becomes a card holder once mini clothespins are clipped along it. Space the pins about 4 inches apart so each card has room to lean without overlapping.
It suits entryways and hallways where cards otherwise pile up on a console. Skip tape on painted walls, because it lifts paint, and use removable hooks rated for at least 1 pound.
Fairy lights in a vase

A 10-foot battery-powered string of warm white LEDs coiled loosely inside an 8-inch glass vase gives off a candle-like glow with none of the fire risk. Choose warm white over cool white, since cool tones look like office fluorescents at 4pm when the winter sun starts to drop.
Leave the battery pack at the bottom, tucked behind a few faux berries or pinecones. A timer-equipped pack runs 6 hours on, 18 off, which saves flipping the switch every night.
Staggered mantel candle line
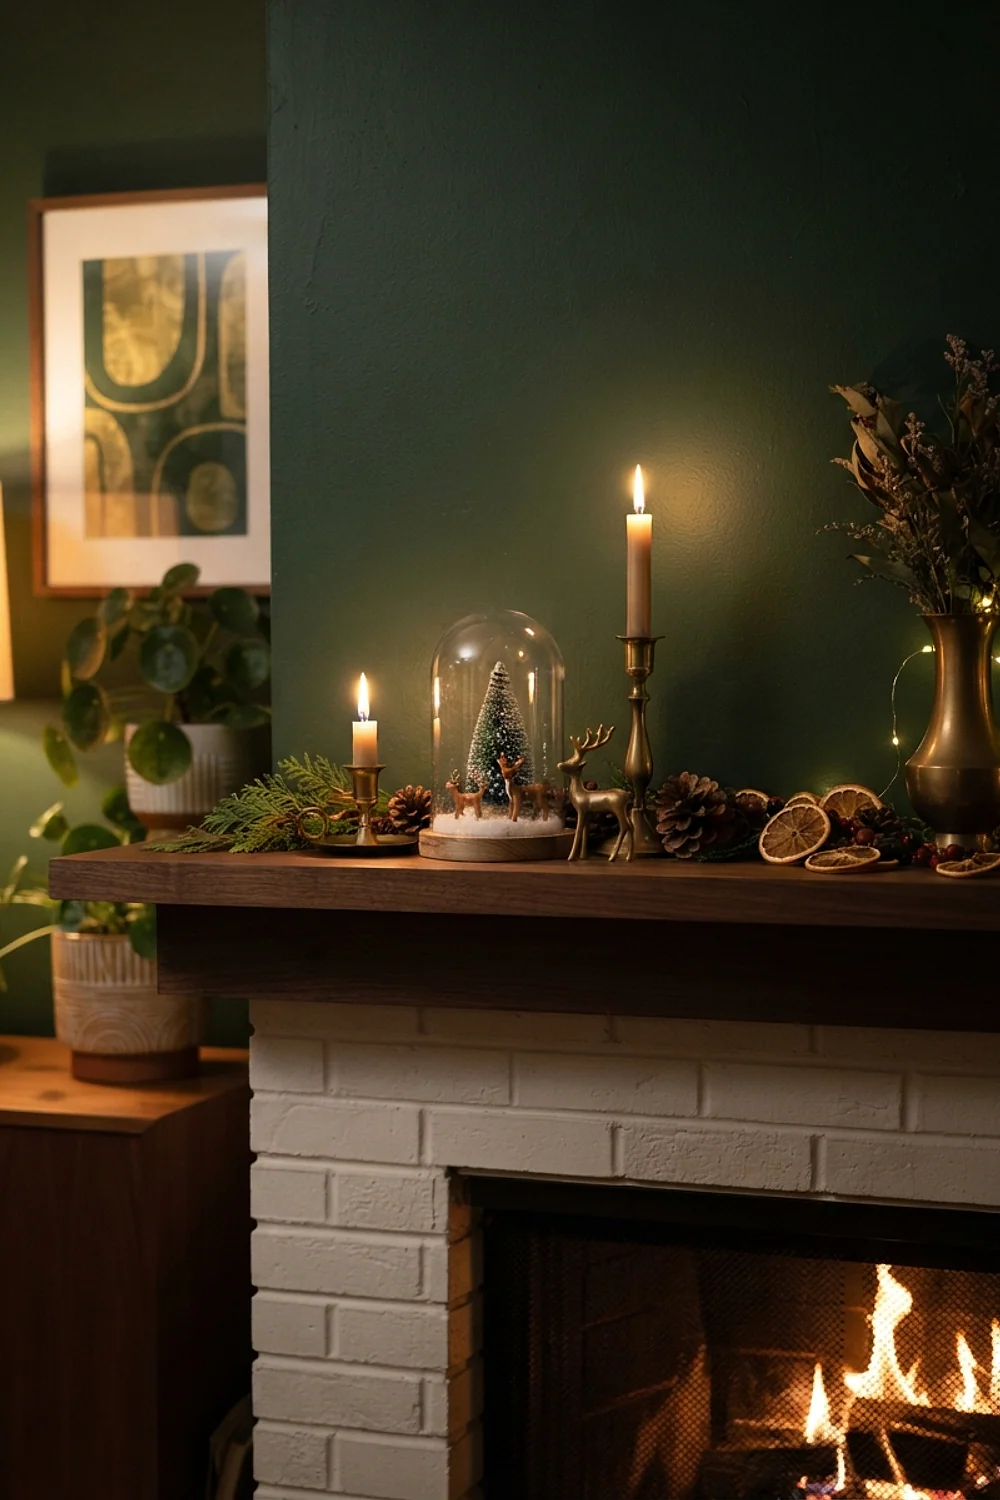
A 48-inch mantel looks tidy with three glass cylinders at 14, 9, and 5 inches, spaced about 6 inches apart and slightly off center. Even spacing and equal heights read as a shelf display, not a mantel.
Fill them with LED pillar candles, faux cranberries, or cream ornaments. The common mistake is lining everything flush against the wall, so pull items forward 2 inches to catch the light.
Clear bin storage system
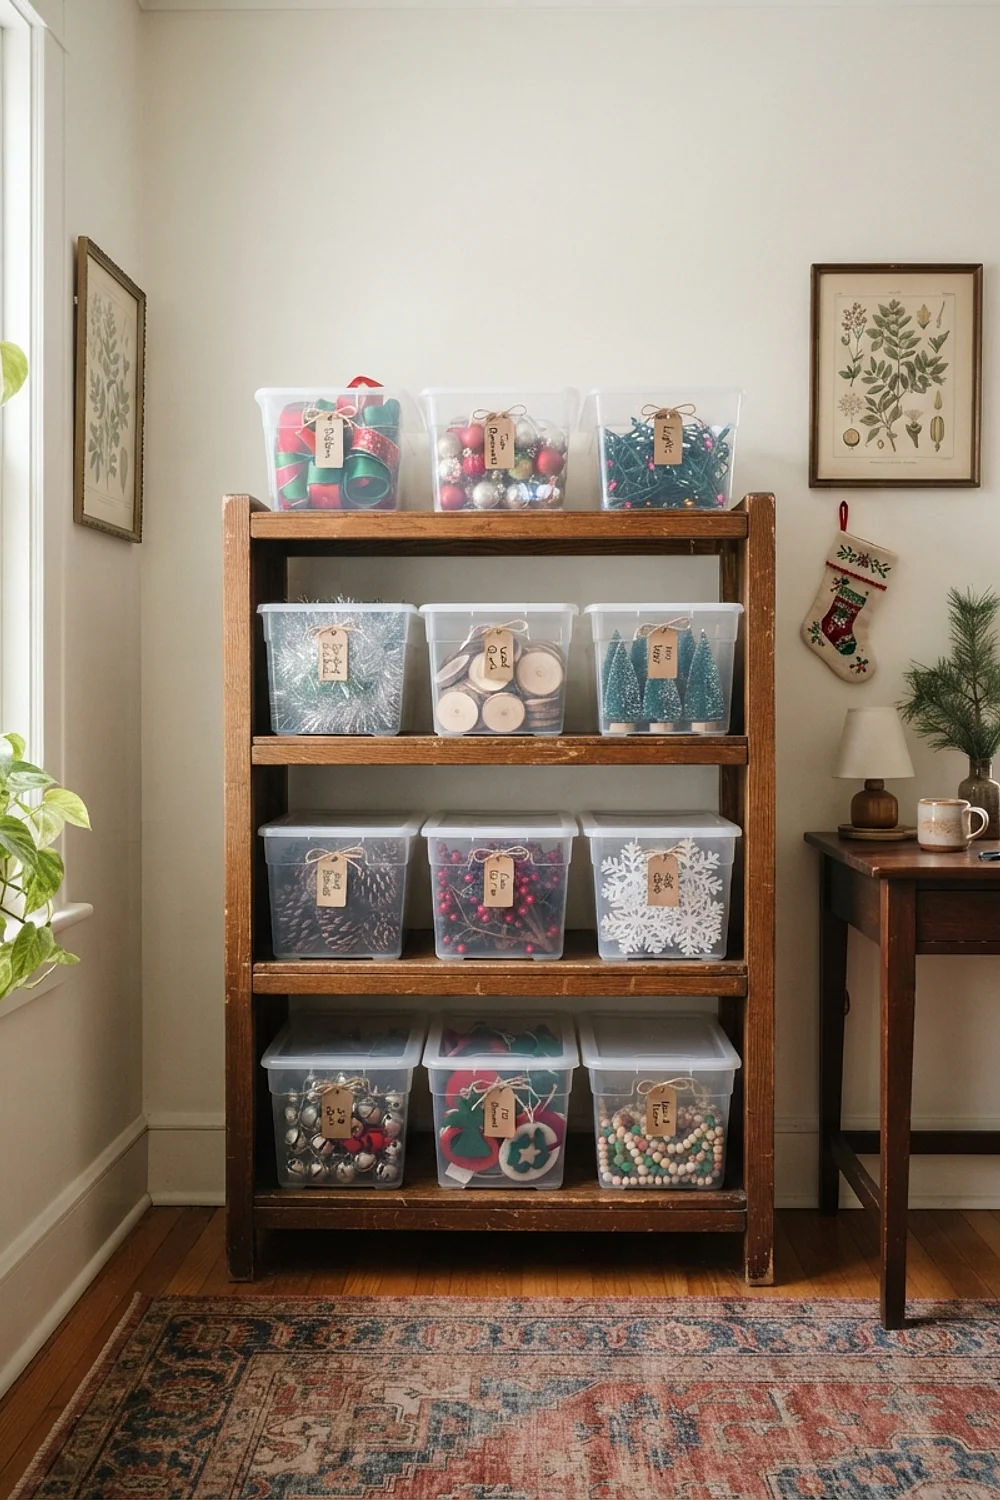
Plastic shoe boxes around 13 by 7 by 4 inches store painted ornaments in rows when cardboard dividers are cut to fit. Label each box on the short end so the label is readable when stacked three high on a closet shelf.
This protects the matte finish, which scuffs if ornaments tumble together in a bag. It matters most for anyone in a small apartment with a single 24-inch-deep closet.
Hand-finished pieces for trees and doors
Handmade details are what make a tree look collected instead of boxed. These three need drying time or patience, but they use materials that run pennies per piece.
Stamped air-dry clay tags
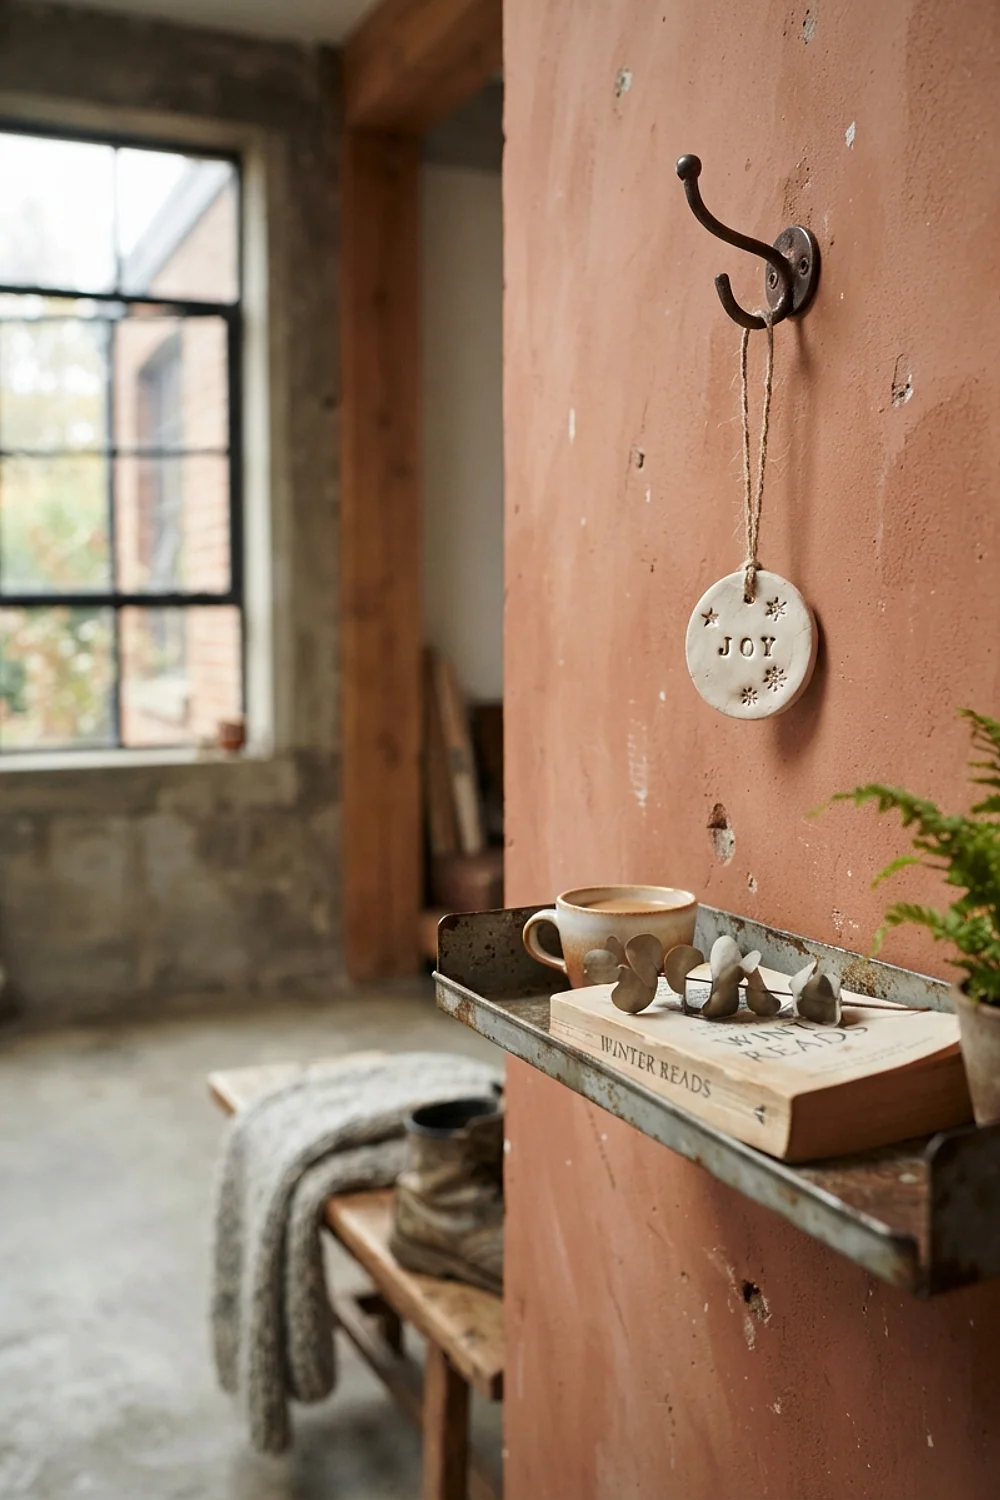
Roll air-dry clay to 1/4 inch thick, press a fresh pine sprig or a piece of lace into the surface, and trim into 3-inch ovals. Poke a hole at the top with a straw, then let the tags dry flat for 24 to 48 hours.
One $1.25 block of clay makes roughly 10 tags. They work as ornaments or gift labels, but keep them dry, because damp clay softens and warps.
Faux pine bundle centerpiece

Gather five faux pine picks, trim the stems to 8 inches, and tie them with velvet ribbon around a 3-inch pillar candle. The bundle’s slightly irregular shape looks more natural than a pre-made arrangement.
It’s best on a dining table, where the candle sits at about 4 inches and clears eye line for conversation. Keep the candle LED, since dry faux greenery and flame is a bad pairing.
Craft stick snowflakes
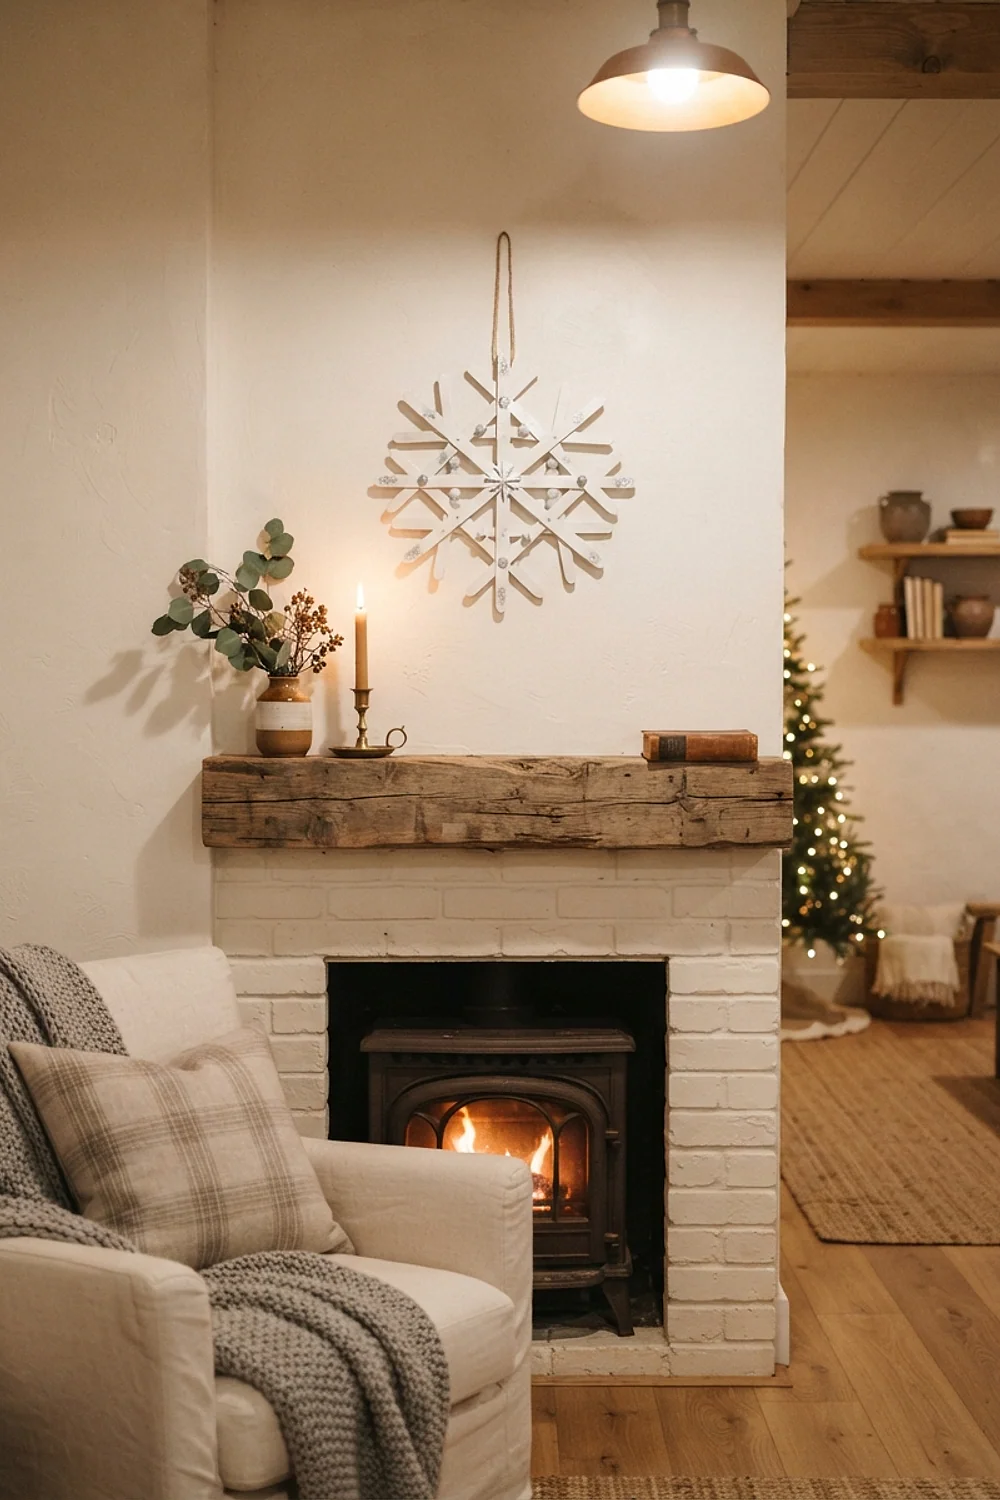
Six wooden craft sticks glued in a star shape and painted white become a 6-inch snowflake in about 10 minutes. Use tacky glue or tiny dots of hot glue, because blobs show through the paint and give the piece away as homemade.
Hang them from clear fishing line at 8, 14, and 20 inches in a window. The staggered lengths catch afternoon light at different moments, which keeps the display moving.
Gift wrap, scent, and big-impact greenery
The last three ideas cover what guests notice first: the pile under the tree, the smell near the door, and the garland on the stairs. They’re also the easiest to scale up or down depending on the room.
Kraft paper and one ribbon color
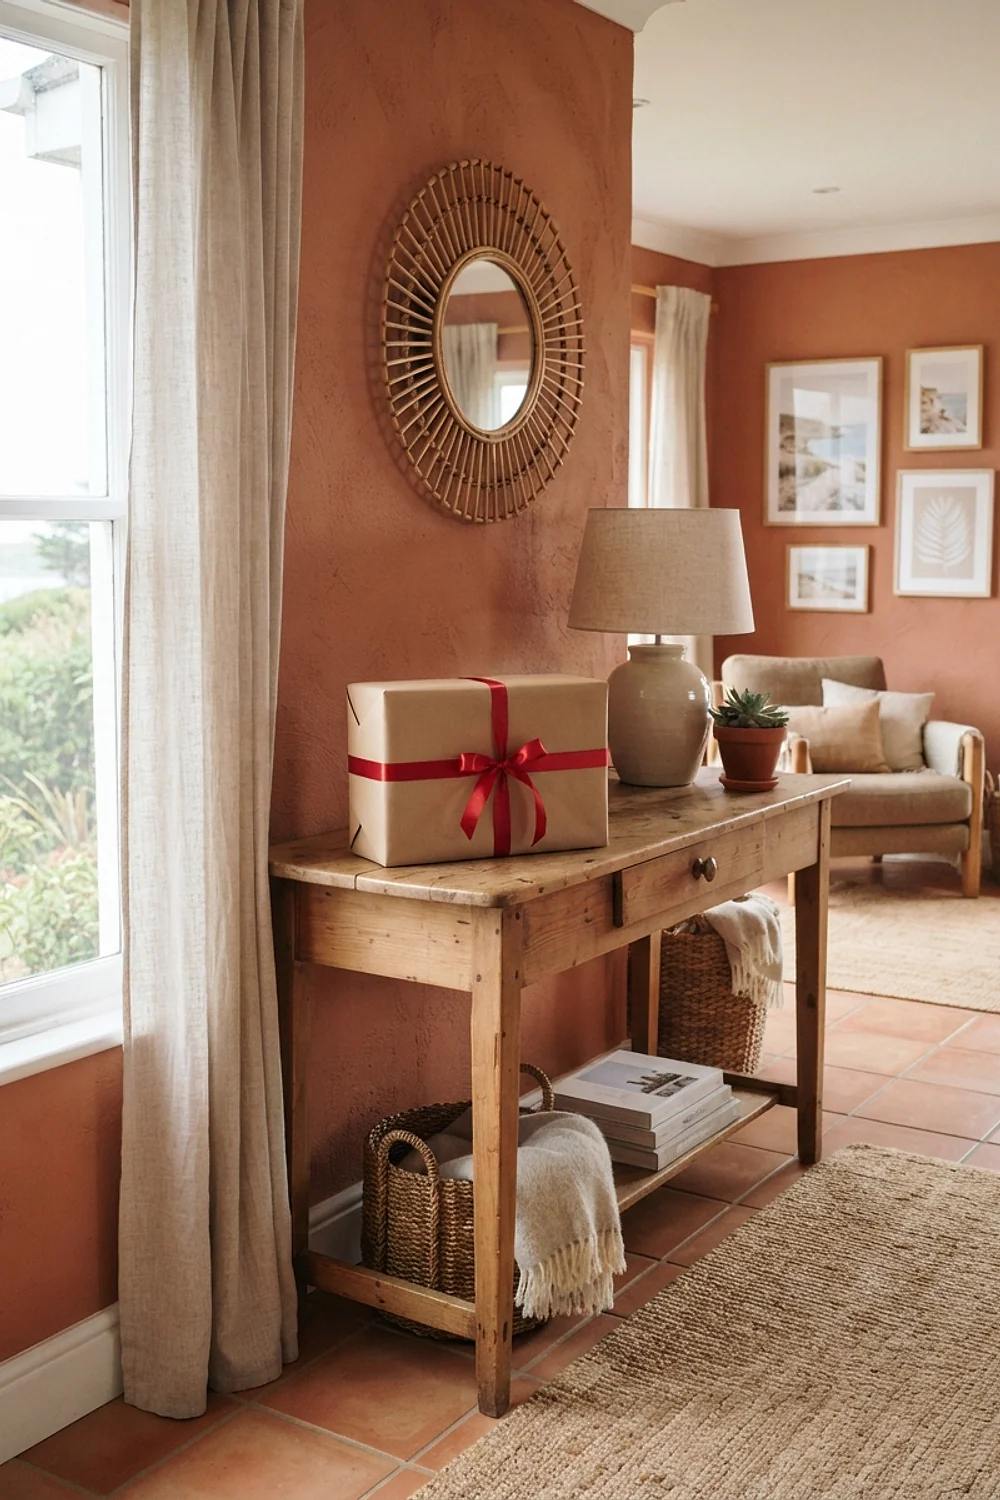
A roll of brown kraft paper plus a single deep red ribbon makes a dozen packages look like a boutique display. Mixing five wrapping papers competes with the tree; one paper keeps the pile calm.
A kraft roll and two spools of ribbon cost about $5. Cut ribbon at 36 inches per box so the bow has a full 6-inch loop on each side.
Cinnamon stick candle wraps
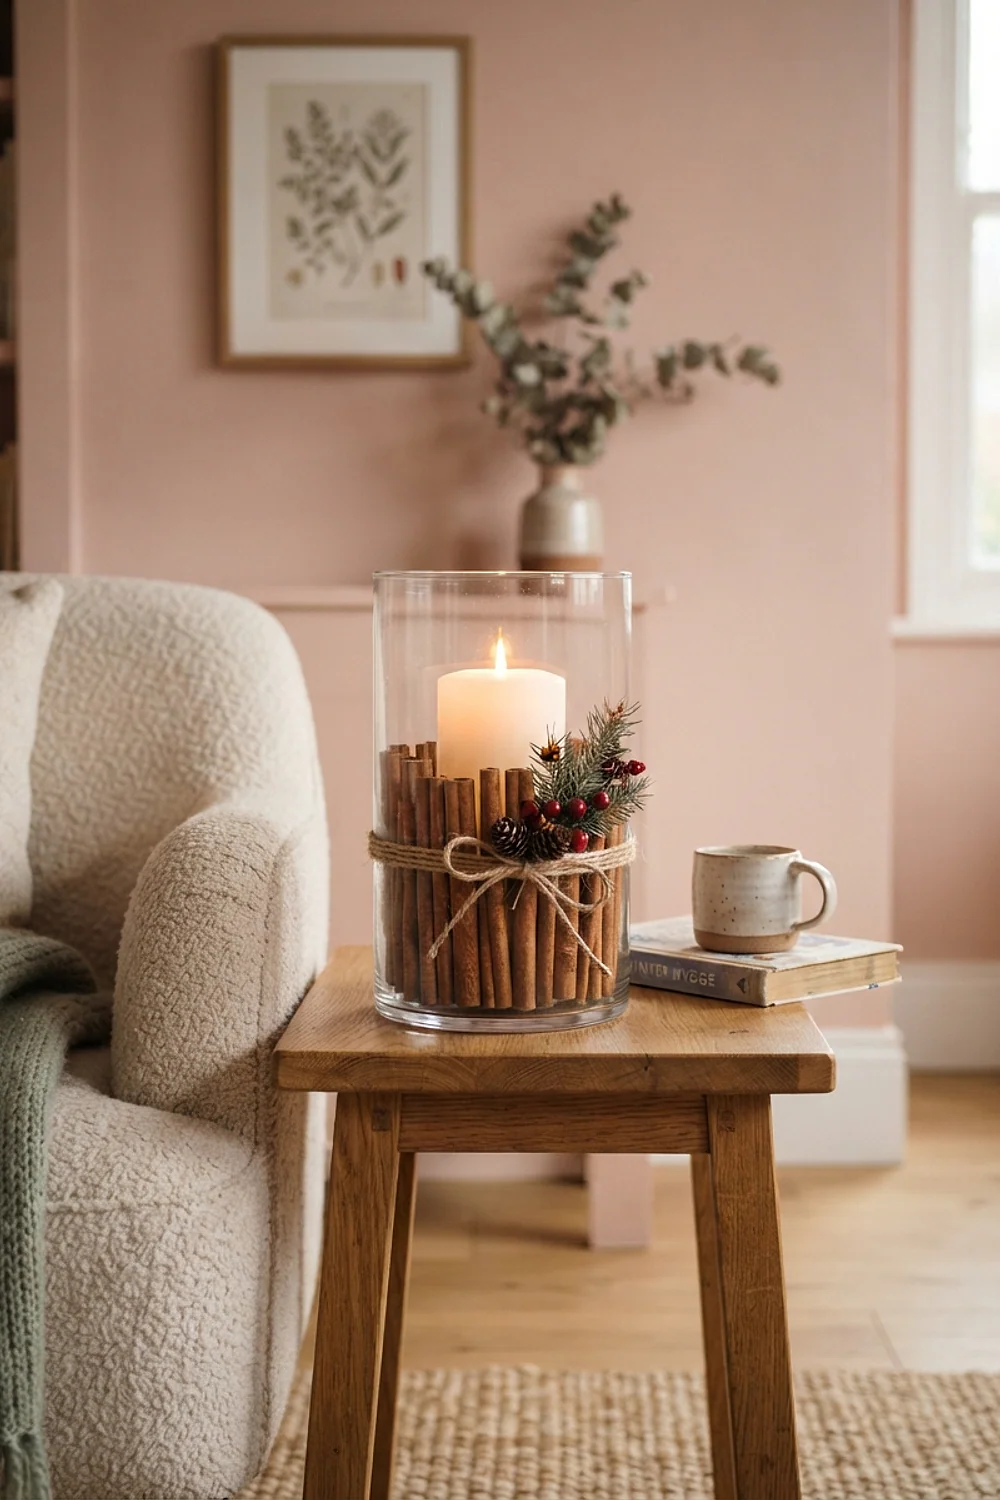
A dozen 3-inch cinnamon sticks bundled against a glass candle holder with jute twine smell warm the second you walk into a room. The scent is mild, which suits bathrooms and entryways where heavy fragrance gets overwhelming.
Press the sticks tight, trim any that stick out unevenly, and tie twice. The wood tone also makes a quiet bridge between green garland and cream ornaments.
Twisted double garland
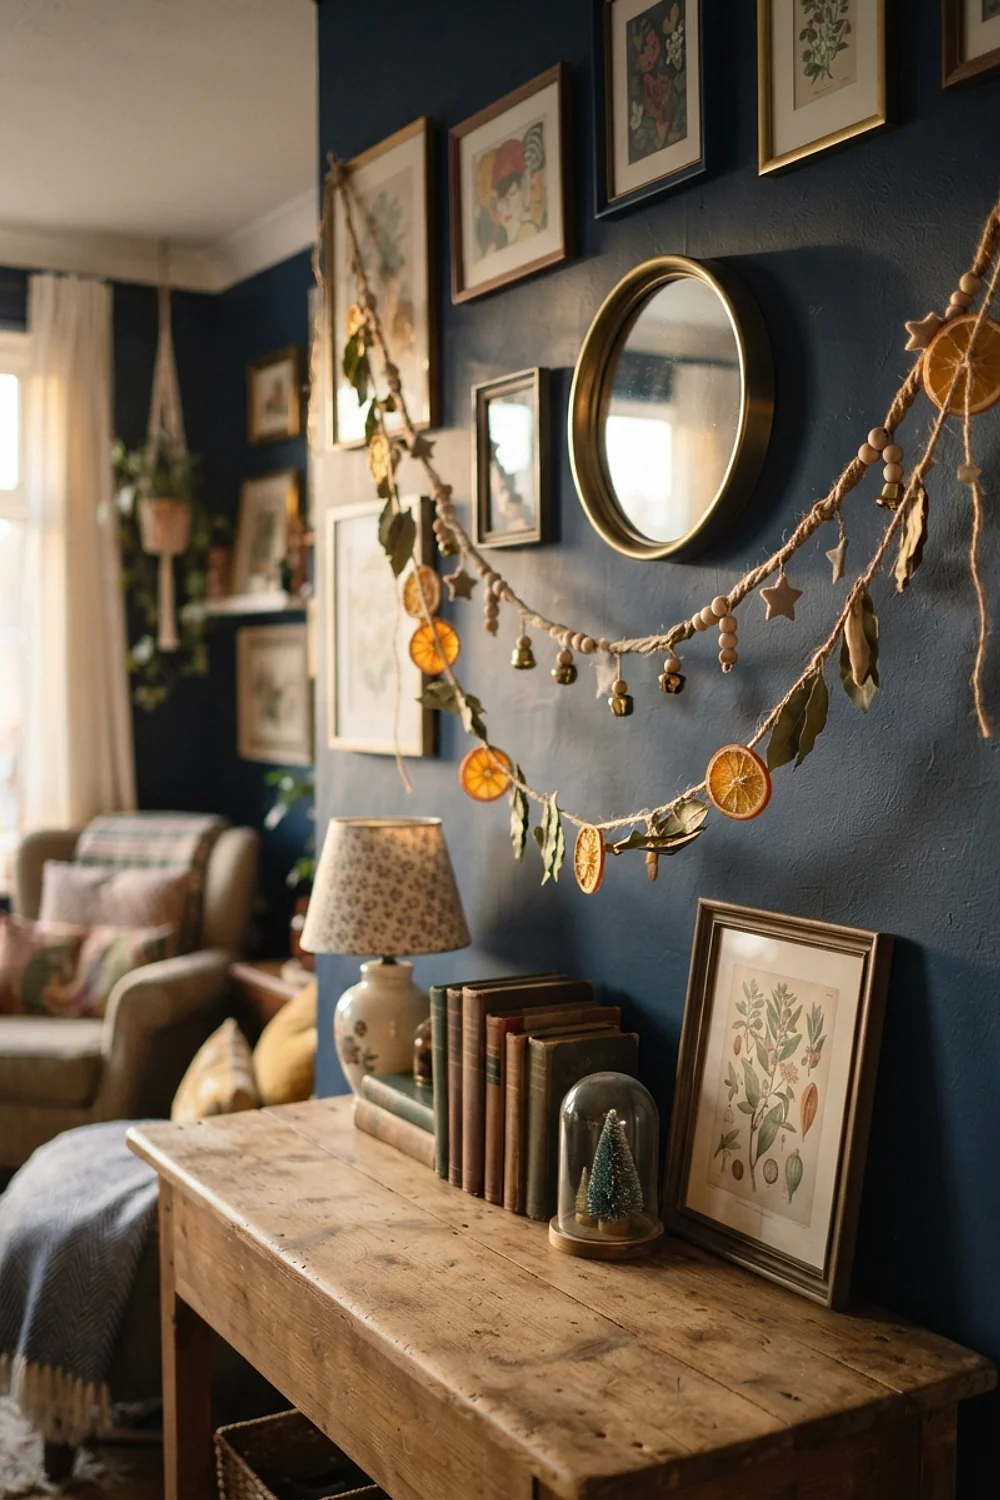
A single 6-foot garland looks sparse on a stair rail. Twist two strands together and the rope fills out to about 5 inches thick, closer to what a florist would build.
Secure it every 18 inches with green floral wire, and fluff the tips outward. It suits a 36-inch front door frame or a mantel, but measure before buying, since a 12-foot staircase needs at least four strands.
What to buy first
Seasonal stock typically lands in September, and the best items, especially glass cylinders and faux greenery, thin out by early December. Shop on a weekday morning for the fullest shelves.
These habits stretch a budget further:
- Check the seasonal aisle, the craft aisle, and the party aisle, since the same item can sit in three places.
- Buy duplicates of anything that works, because dye lots and finishes vary between shipments.
- Pick up spray paint and clay from a craft store with a coupon, as Dollar Tree stocks them inconsistently.
- Thrift stores in late November often carry glass vases for a dollar or two.
Dollar tree crafts diy christmas decor works best when bought in one trip. Matching finishes across two visits is harder than it sounds.
DIY vs store-bought: honest comparison
A pre-lit 24-inch store wreath often runs $40 to $60, while the double-stacked foam version above lands near $12. The DIY version wins on cost and custom sizing, but it loses on durability and time.
- DIY wins for ornaments, garland, candle holders, and gift wrap, where finish and color control matter most.
- Store-bought wins for pre-lit trees and anything with wiring, since a short circuit is not worth the savings.
- Mixing both is the smartest move: buy a decent base and dress it with handmade pieces.
Paint and glue can wear after two or three seasons, so plan on touch-ups. Real talk: the handmade pieces look best in the first year and still pass in the third.
Putting the space together
Start with the palette, then pick five projects rather than all fourteen. A mantel, a door, and a tree each need only two or three pieces to feel finished.
Watch for these common mistakes:
- Mixing more than two colors plus one metal.
- Skipping the primer or rubbing alcohol wipe before spraying plastic.
- Hanging decor at one height instead of staggering it.
- Using high-temp glue on foam or thin plastic.
Here’s the deal: a rainy November Sunday is plenty of time to finish four of these. Spray and clay need drying time, so start those first and glue the rest while they set.
Start with one project
Dollar tree crafts diy christmas decor rewards restraint more than budget. Two colors, matte finishes, and sizes measured against the actual mantel or door do more than any extra purchase.
Save or pin this list so it’s handy when shopping begins. Measure your mantel or door first, then start with the matte-painted ornaments, since they cost the least and change the tree the most.
Frequently Asked Questions
Does hot glue hold on Dollar Tree plastic ornaments?
It holds on rough or scuffed plastic but peels cleanly off glossy surfaces. Rough the spot with fine sandpaper, then use a low-temp glue gun so thin plastic doesn’t warp. For anything that will carry weight, tacky glue plus a 24-hour cure is stronger.
How do I keep dollar tree crafts diy christmas decor from looking cheap?
Repeat one palette, use matte paint on shiny items, and vary heights. Cheap-looking decor usually comes from mismatched colors and uniform sizes, not from the price of the pieces. Adding one natural material, such as wood, twine, or cinnamon, also softens plastic.
When should I shop for the best selection?
September through mid-October gives the widest choice, especially for glass and faux greenery. By early December, popular items are often gone and shelves are restocked unpredictably. Weekday mornings tend to have the fullest displays.
How should I store handmade ornaments after the holidays?
Use clear plastic boxes with cut cardboard dividers so painted pieces don’t rub together. Keep them somewhere dry, since air-dry clay softens in damp basements. Wrap fragile items like glass cylinders in a sheet of tissue paper.