Stop Making These Dollar Tree Winter Decor DIY Mistakes
Most people expect a Dollar Tree haul to look like a Dollar Tree haul, but the pieces that hold up in a real room are the ones styled with restraint. That’s the whole game with dollar tree winter decor diy: a $1.25 pick or plate only looks cheap when it’s handled carelessly.
Below are 17 mistakes that give the budget away, each with the correct fix. Read the bold truth first, then decide which ones are hiding in your own living room.
Dollar tree winter decor diy: Pitfalls to sidestep
Mixing cool-white and warm-white LED strings
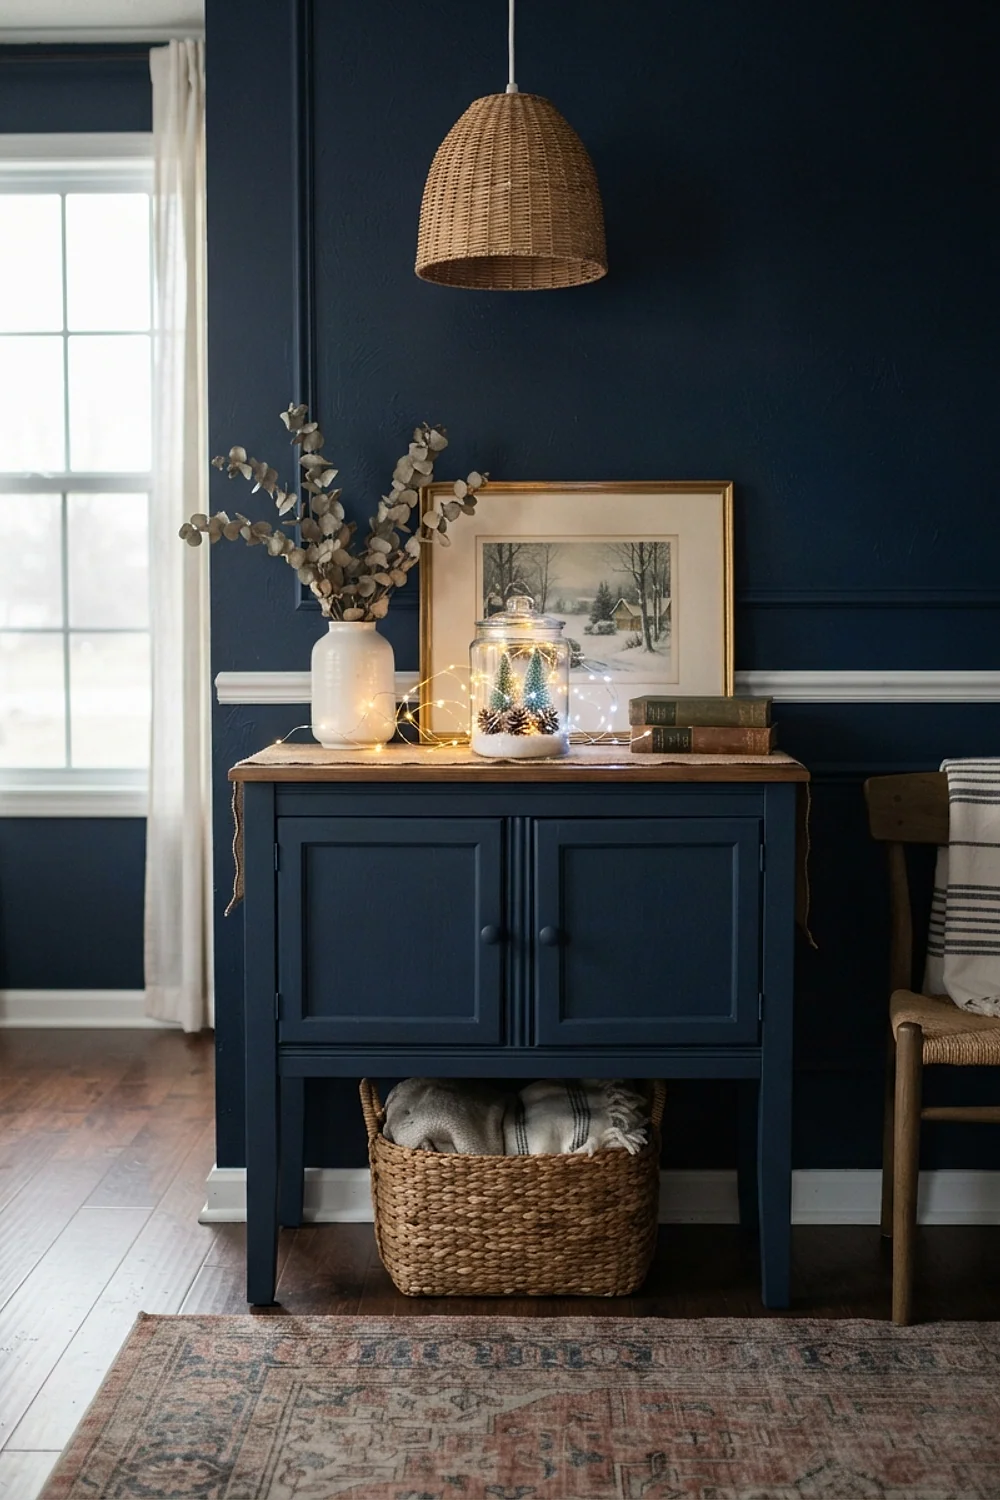
A cool-white string hung beside a warm-white one looks like two rooms stitched together. Packs often don’t print the color temperature clearly, so a blue-white strand (around 6000K) clashes with amber (about 2700K) the moment the lamps come on at dusk.
Pick one temperature for the whole room and hold each pack up against your lamp bulbs before buying. Warm white suits living rooms and bedrooms. Cool white only works against white-flocked branches or a blue-gray palette.
Painting glass jars with plain craft paint
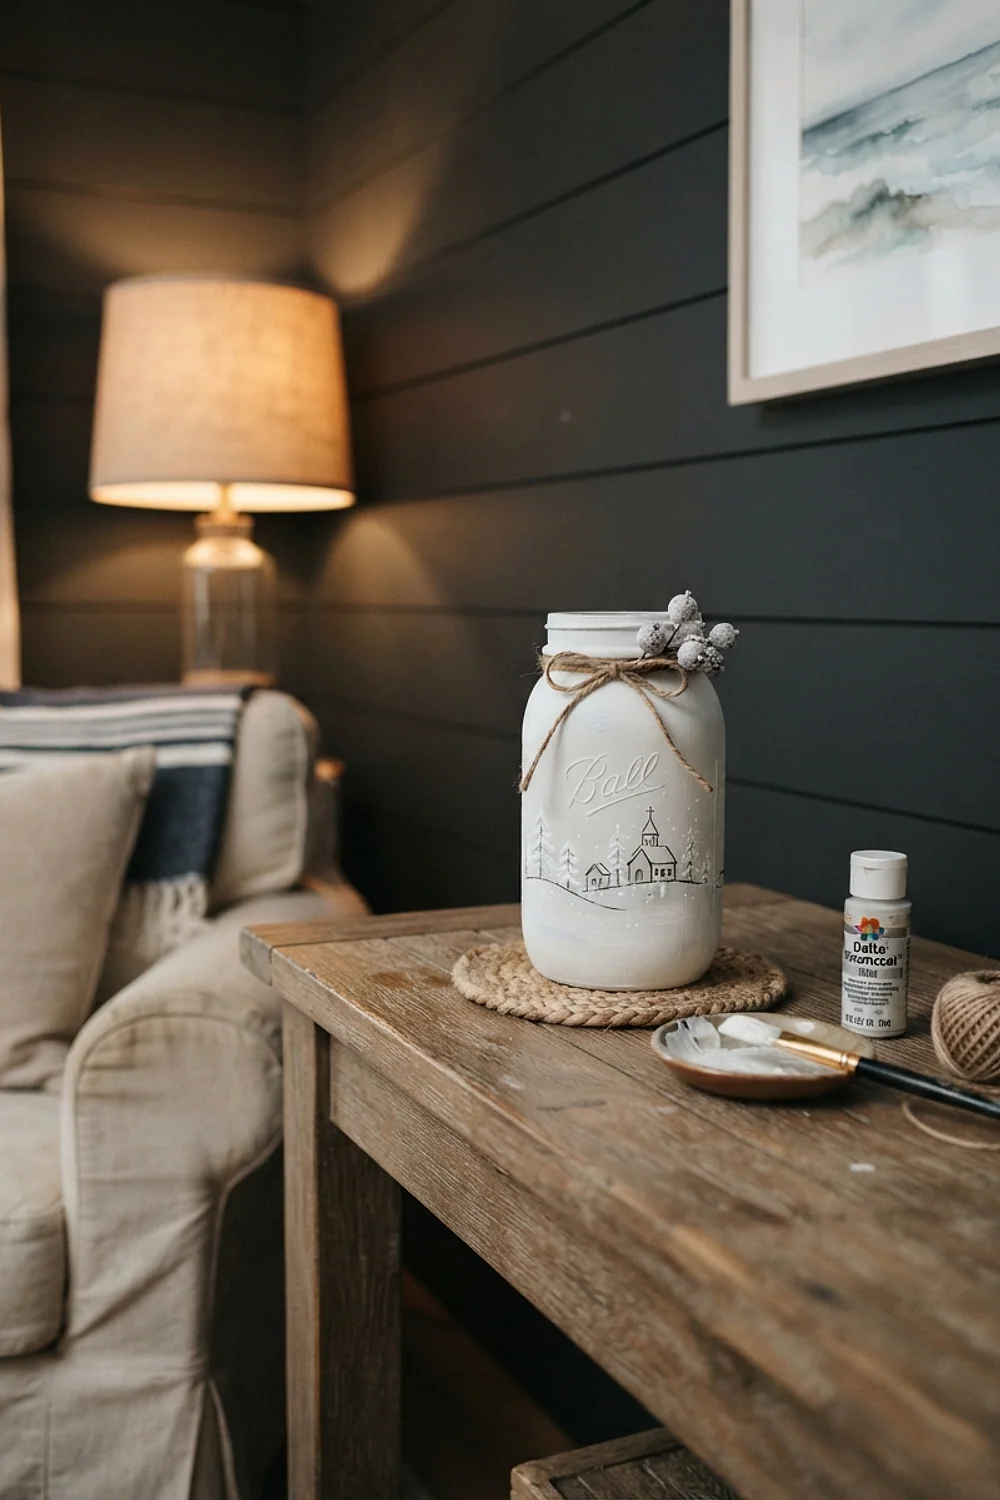
Acrylic craft paint on a glass jar peels in sheets the first time someone wipes it. Glass has no tooth, so the paint sits on top instead of gripping.
Brush on a thin coat of Mod Podge, sprinkle Epsom salt over it for a frosted, icy surface, then seal once dry. It suits mantels and shelves where jars rarely get handled. (Label residue needs a rubbing alcohol scrub first, and that step is tedious but non-negotiable.)
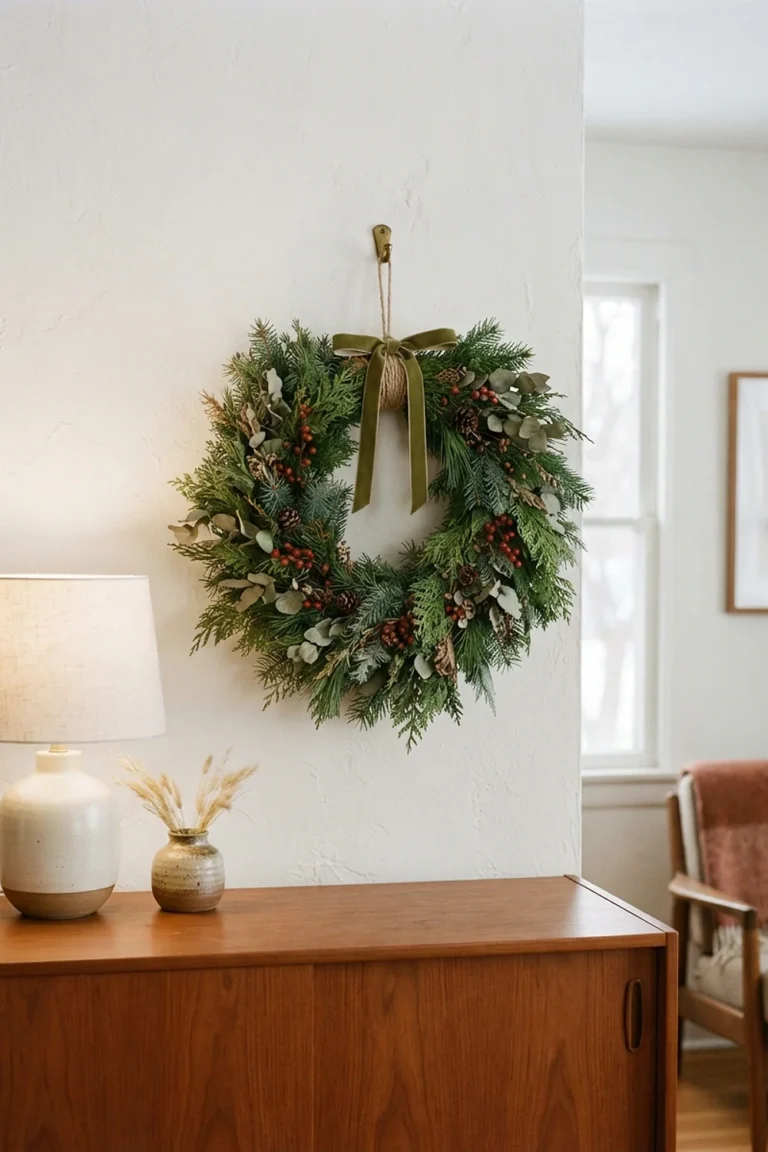
Hanging wreaths from adhesive hooks
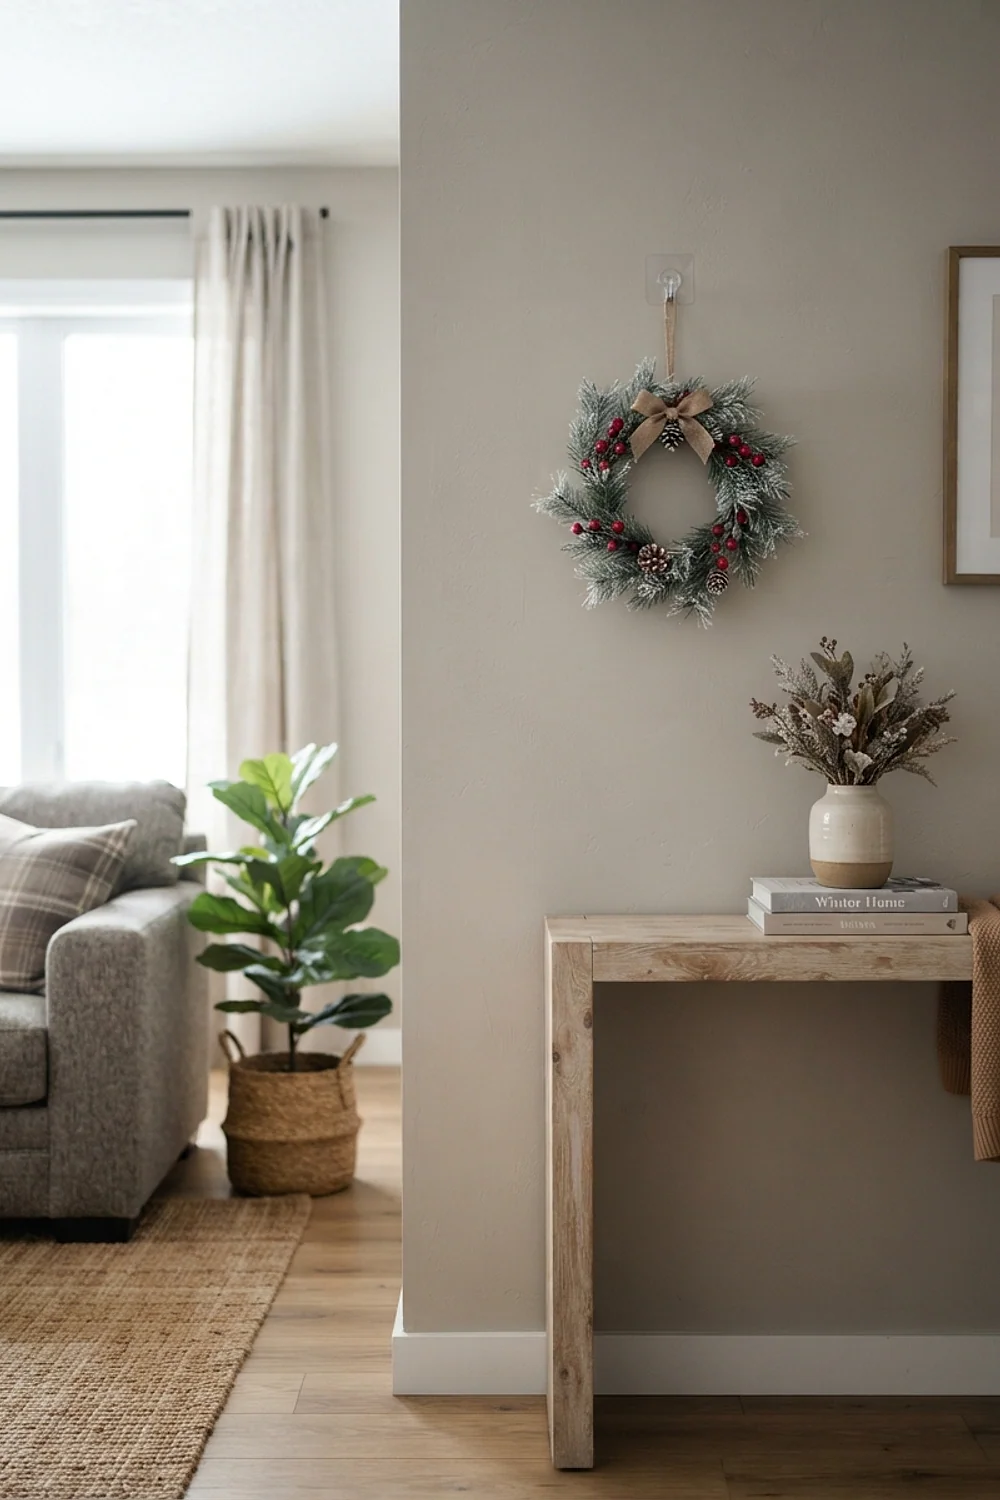
A dressed 12-inch wreath weighs only about 8 ounces, yet a sticky hook on a painted door still lets go overnight. Heating cycles and door slams loosen the bond.
Use an over-the-door hanger, or loop a ribbon over the top edge of the door. This is the right move for rentals and glossy doors, where a nail or stubborn adhesive would leave a mark.
Scattering little pieces across every surface
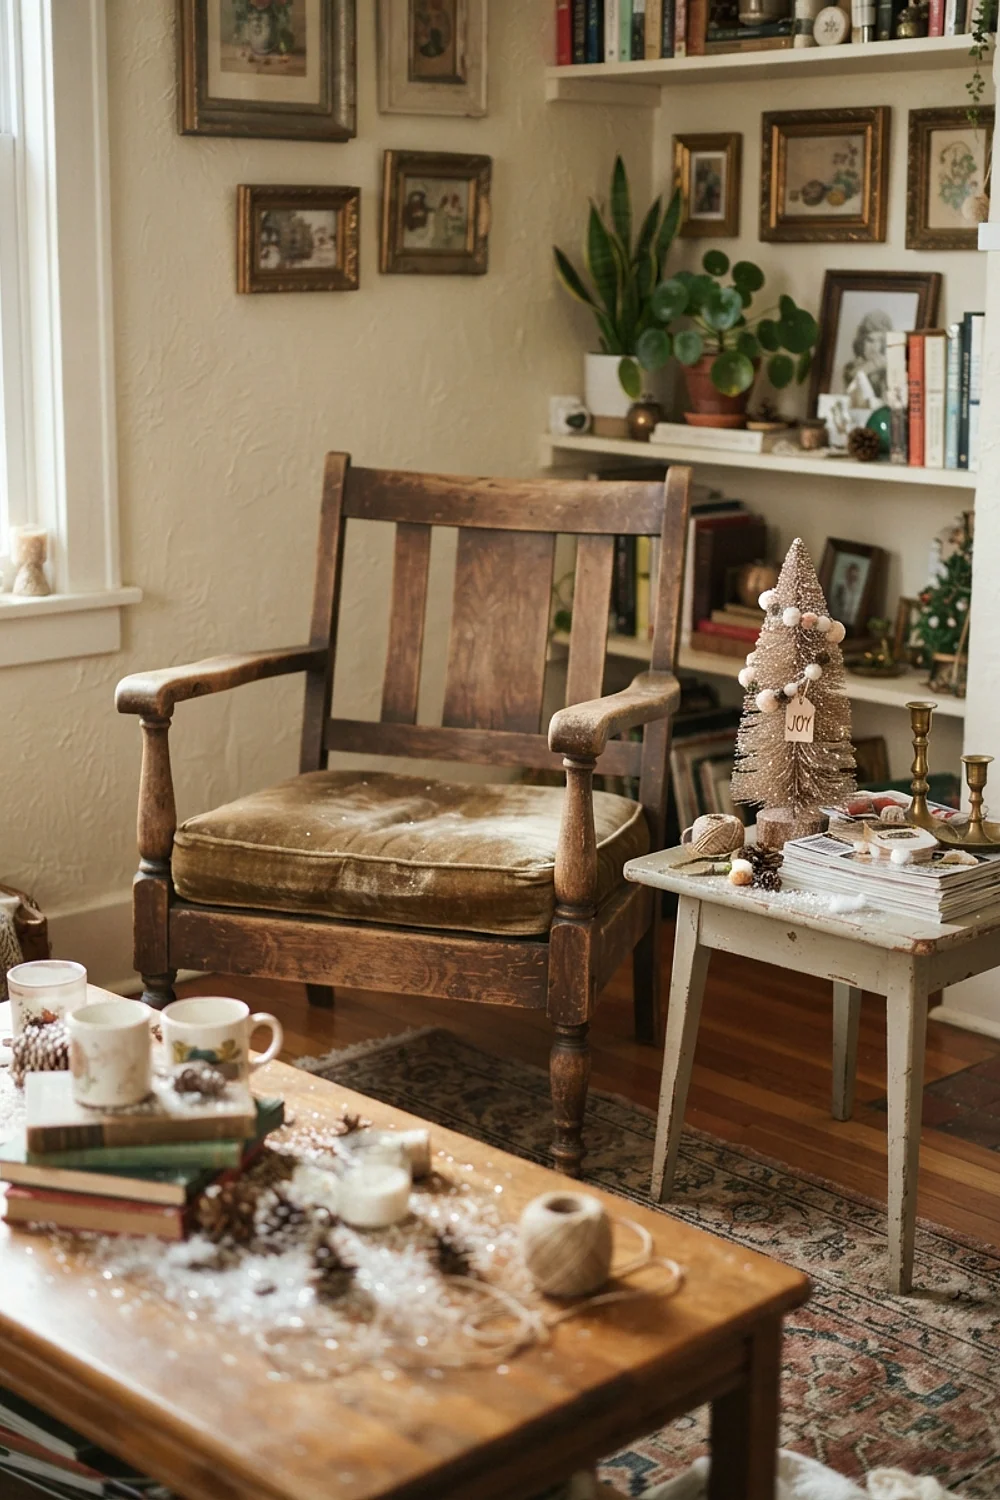
Twelve tiny snowmen on twelve surfaces read as clutter, not decor. The eye has nowhere to land, so nothing gets noticed. Grouping pieces in threes or fives on a single tray lets them read as one deliberate collection.
A 16 by 24 inch tray on a coffee table or sideboard gives a small collection a clear frame, which suits renters and small living rooms with limited surface space. Leave roughly a third of each surface empty, and avoid spreading the pieces back out just because a gap looks bare.
What went wrong
Using a red-and-green palette that expires December 26
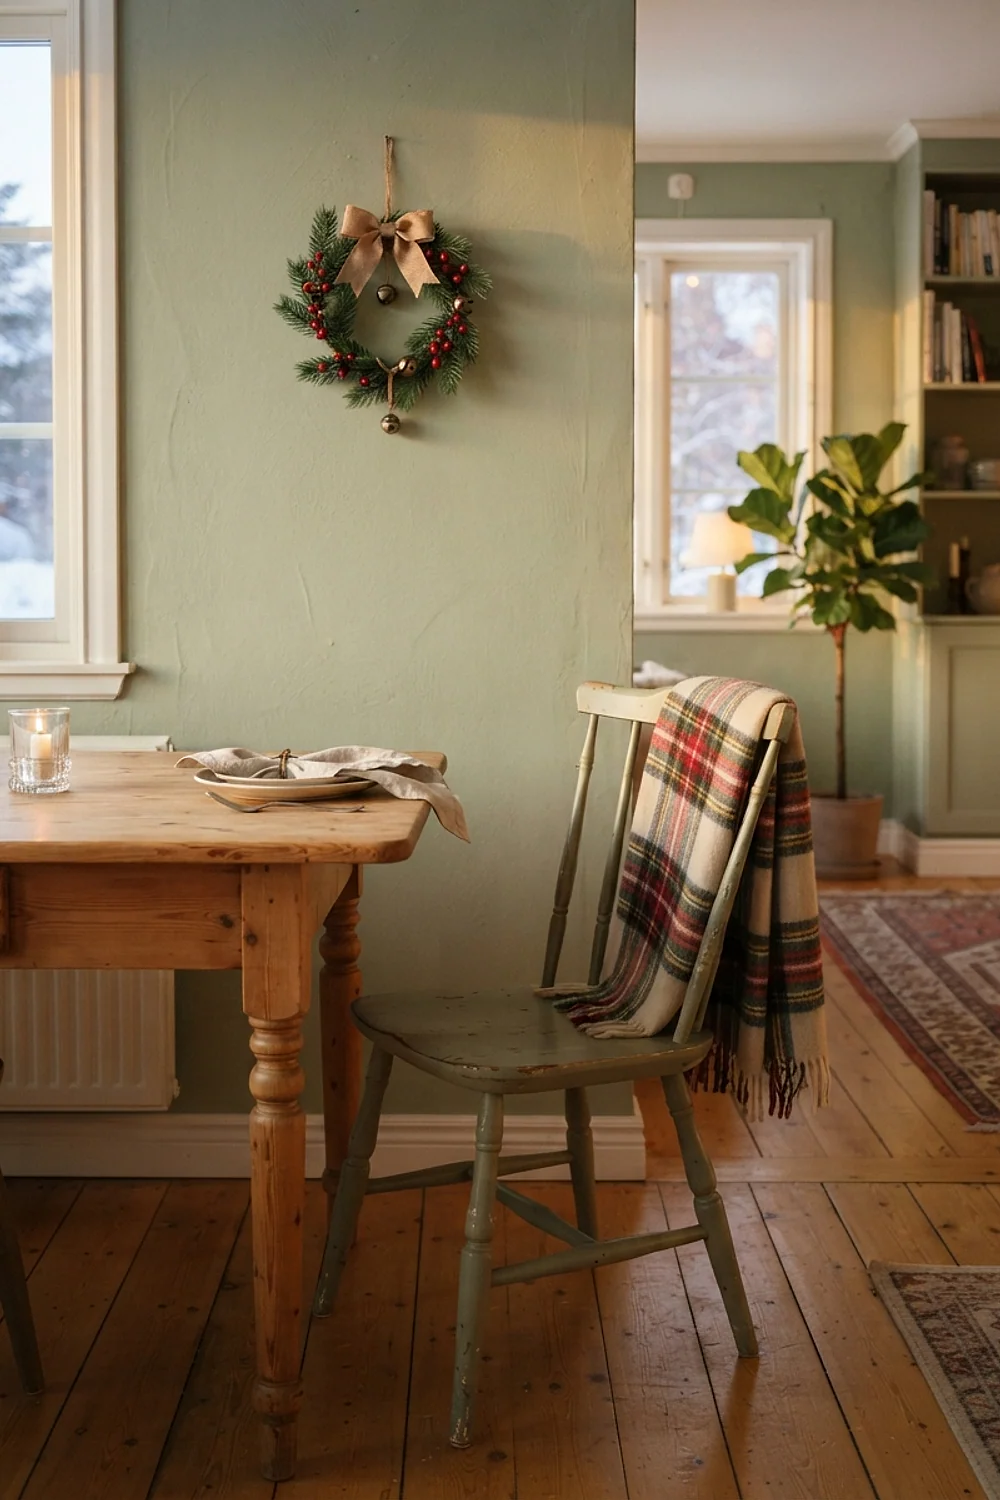
Strict holiday colors make a room look stale by New Year’s Day, and winter runs until March. Late afternoon light in January turns blue-gray around 4pm, which makes saturated red look harsh.
Build around white, silver, pine green, and one deeper note such as navy or charcoal. These tones suit any home that wants decor to last the whole season instead of coming down in two weeks.
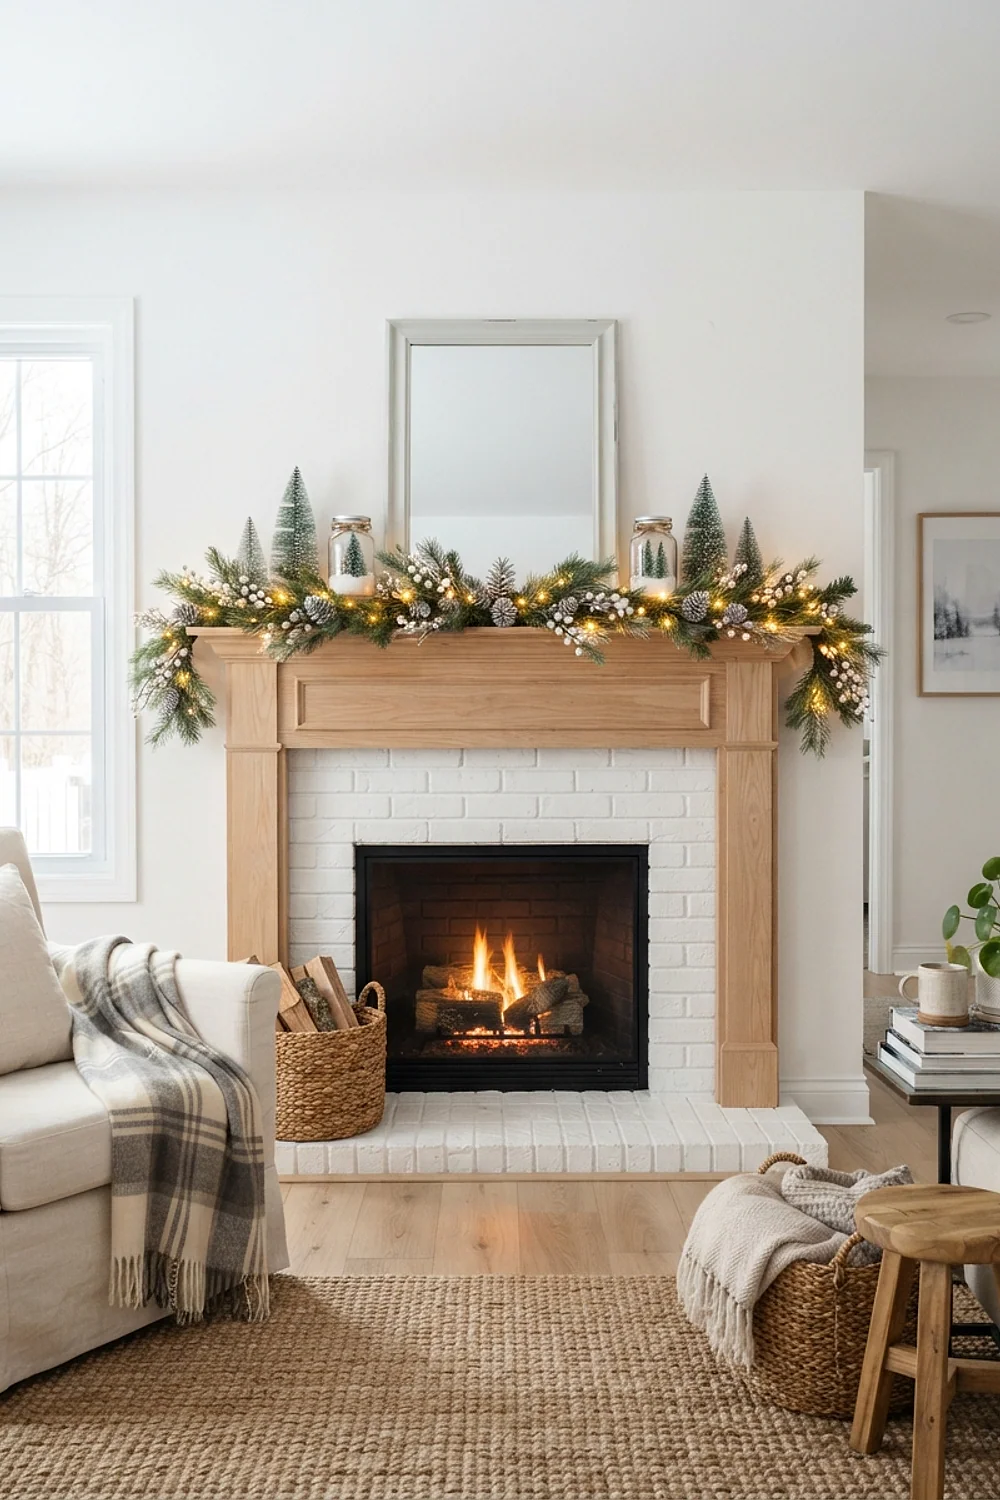
Setting single faux pine picks on a long mantel
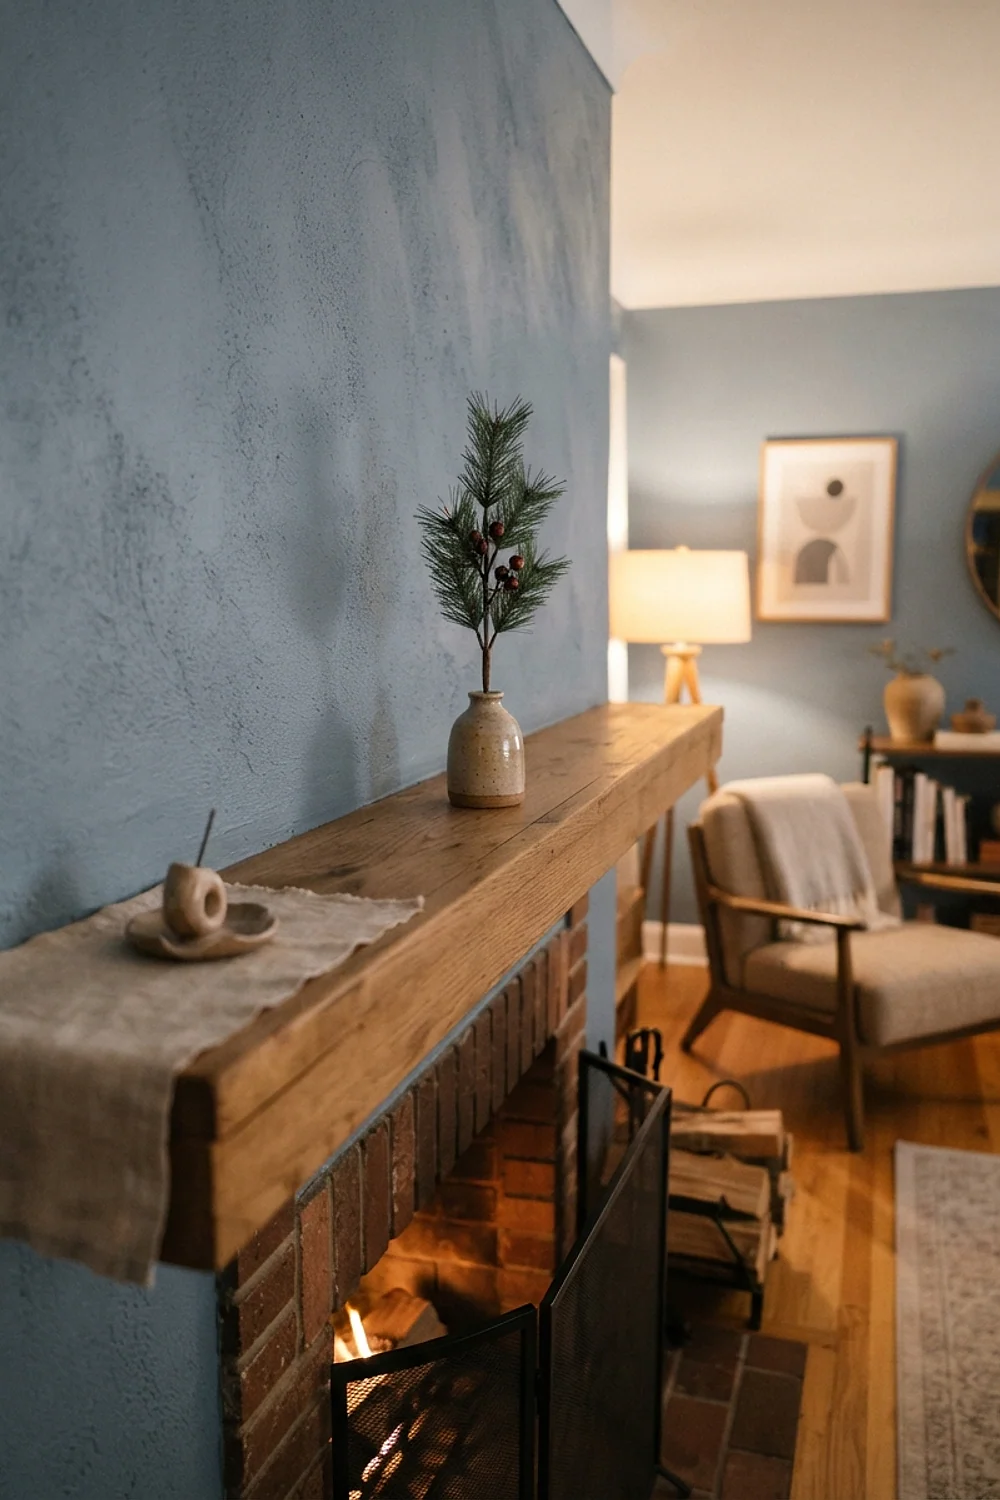
One 18-inch pick on a 60-inch mantel vanishes. Sparse greenery looks like something fell off a wreath, because a single short stem has no mass to match the length of the shelf.
Bundle six to eight stems, wire them together, and run them across half to two-thirds of the mantel length. At $1.25 a stem, that’s about $10 for a garland that reads as full instead of thrifty, which suits a budget holiday refresh. Watch the stem count: fewer than six bundled picks thins out again.
Gluing foam with a standard hot glue gun
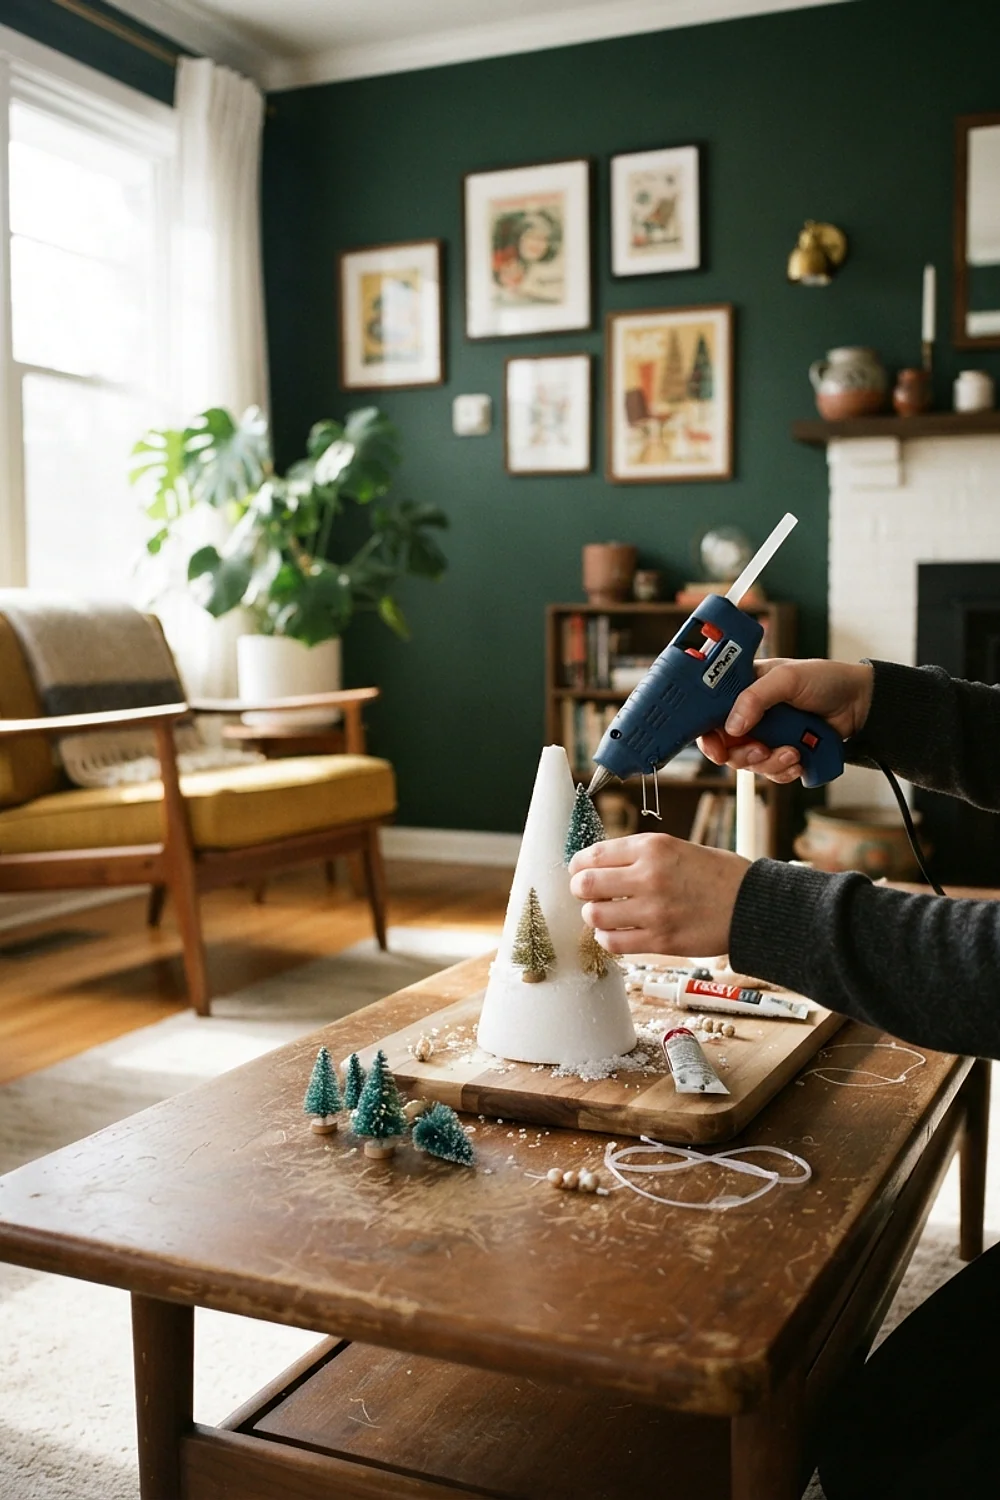
Here’s the counterintuitive part: regular hot glue runs near 380°F, which melts polystyrene wreath forms and foam snowballs into craters. The damage shows up an hour later when the glue shrinks, so a piece that looked fine ends up pitted.
Switch to a low-temp gun (around 250°F), tacky craft glue, or floral pins. Low-temp glue costs a few dollars more and saves every foam piece in the project, which matters most for wreath forms with no spares. Avoid judging the result right away; test a scrap and wait an hour first.
Tossing paper and felt pieces into a loose bin
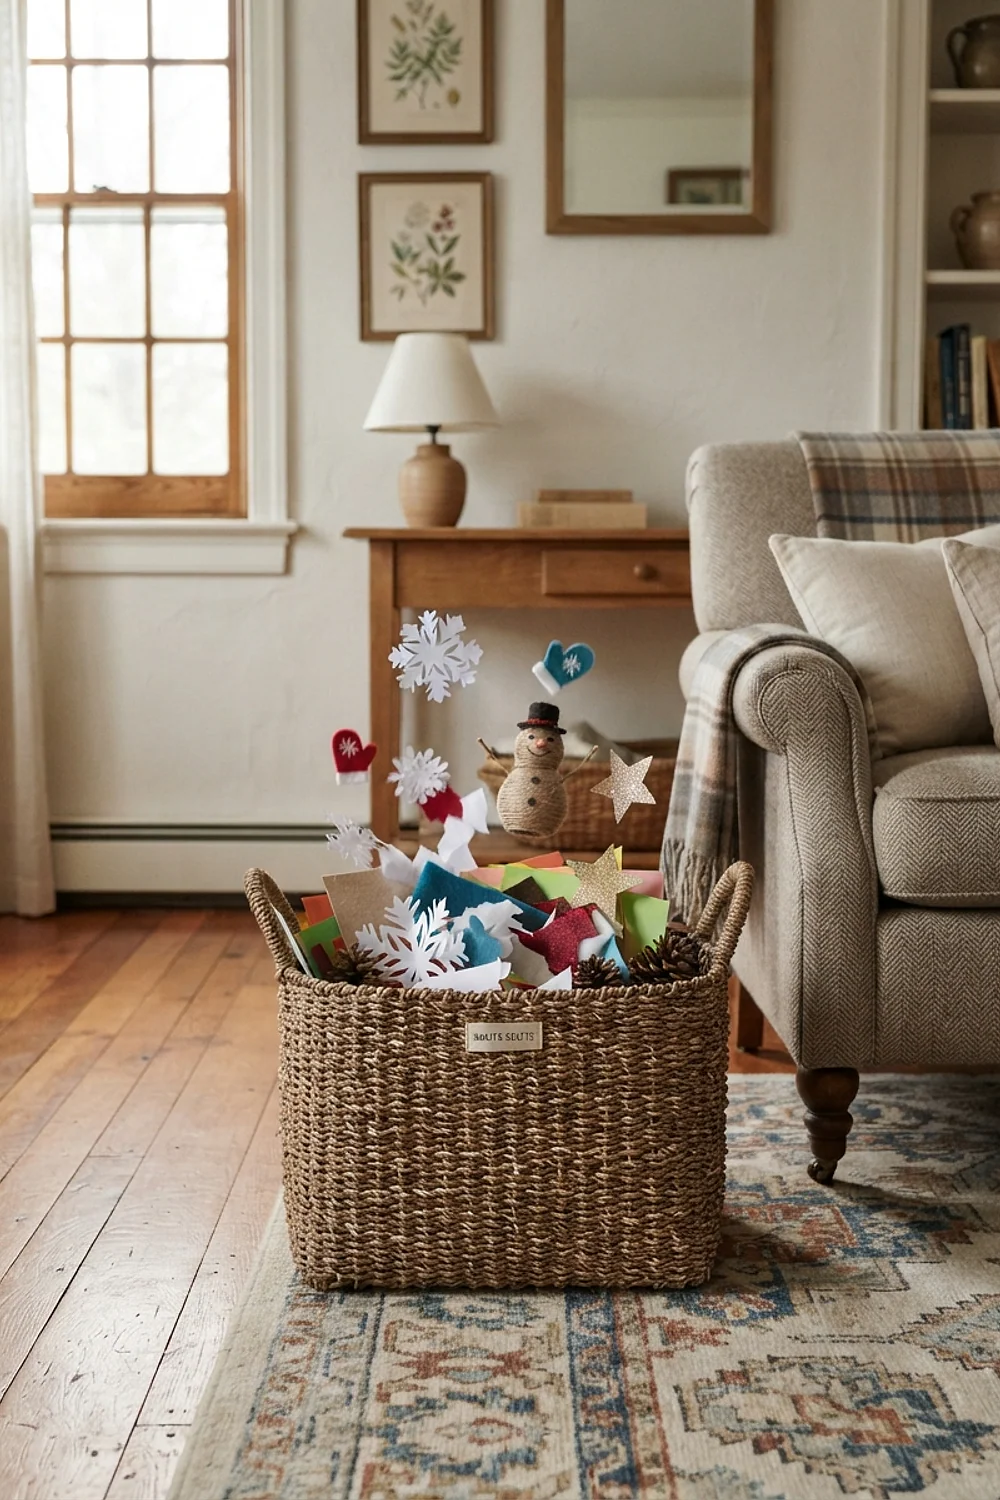
Paper snowflakes and felt stars crumple under a pile of other decor, and by next November they’re creased beyond saving. Plastic ornaments crack the same way.
Flatten each piece between sheets of tissue, then stack them in a shallow under-bed bin about 6 inches tall. Label the lid, so there’s no digging in January when the next project comes along.
Styling tips
Mixing gold and silver without a plan

Gold candlesticks beside silver ornaments beside copper-toned picks leave a room looking unplanned. Dollar Tree stock comes in whatever metallics arrived that week, so a mismatch is the default unless it is corrected.
Choose one finish and unify the rest with matte spray paint, about $7 a can in a hardware store. Two light coats, 15 minutes apart, hide mismatched plastic better than one heavy coat that drips. This suits mantels and tables where several sets share one view; skip glossy paint, which highlights flaws.
Draping tinsel and glitter near seating

Tinsel garland on a sofa arm sheds and scratches, and glitter ends up on every sweater. Nothing about it feels good under a hand, and seating is where hands rest all evening.
Choose textures meant to be touched: yarn pom-pom garlands, felt, knit throws. A pom-pom strand made from chunky white yarn gives the same winter softness, and it won’t leave a sparkle trail on the cushions. This suits households with kids, pets, or dark upholstery. Keep any metallic pieces on a high shelf, away from where people lean.
Setting flameless candles in harsh white light

Flameless tea lights with a steady blue-white glow look like emergency lighting. They need to flicker and lean amber, or the effect falls flat, since real candlelight moves and warms the room.
Choose flicker models, cluster three in a clear glass holder, and set them at different heights. Add a timer so they switch on as the afternoon light fades, usually around 4:30pm in midwinter. This suits renters, homes with kids or pets, and anyone who cannot use real flames; skip cool-white bulbs even when the price is lower.
Tying bows from limp satin ribbon

Satin ribbon sags within a day, especially on a wreath. The loops flatten and the tails curl because nothing inside the ribbon holds the shape against gravity.
Wired ribbon, 2.5 inches wide, holds a shape because the edge wire can be pinched and re-bent. It suits wreaths, banisters, and tree toppers, and a bow can be reshaped each time it droops. Avoid narrow ribbon for big bows, since thin widths look spindly; stay near 2.5 inches.
Staging problems that show up in photos and in person
Taping greenery to stair rails
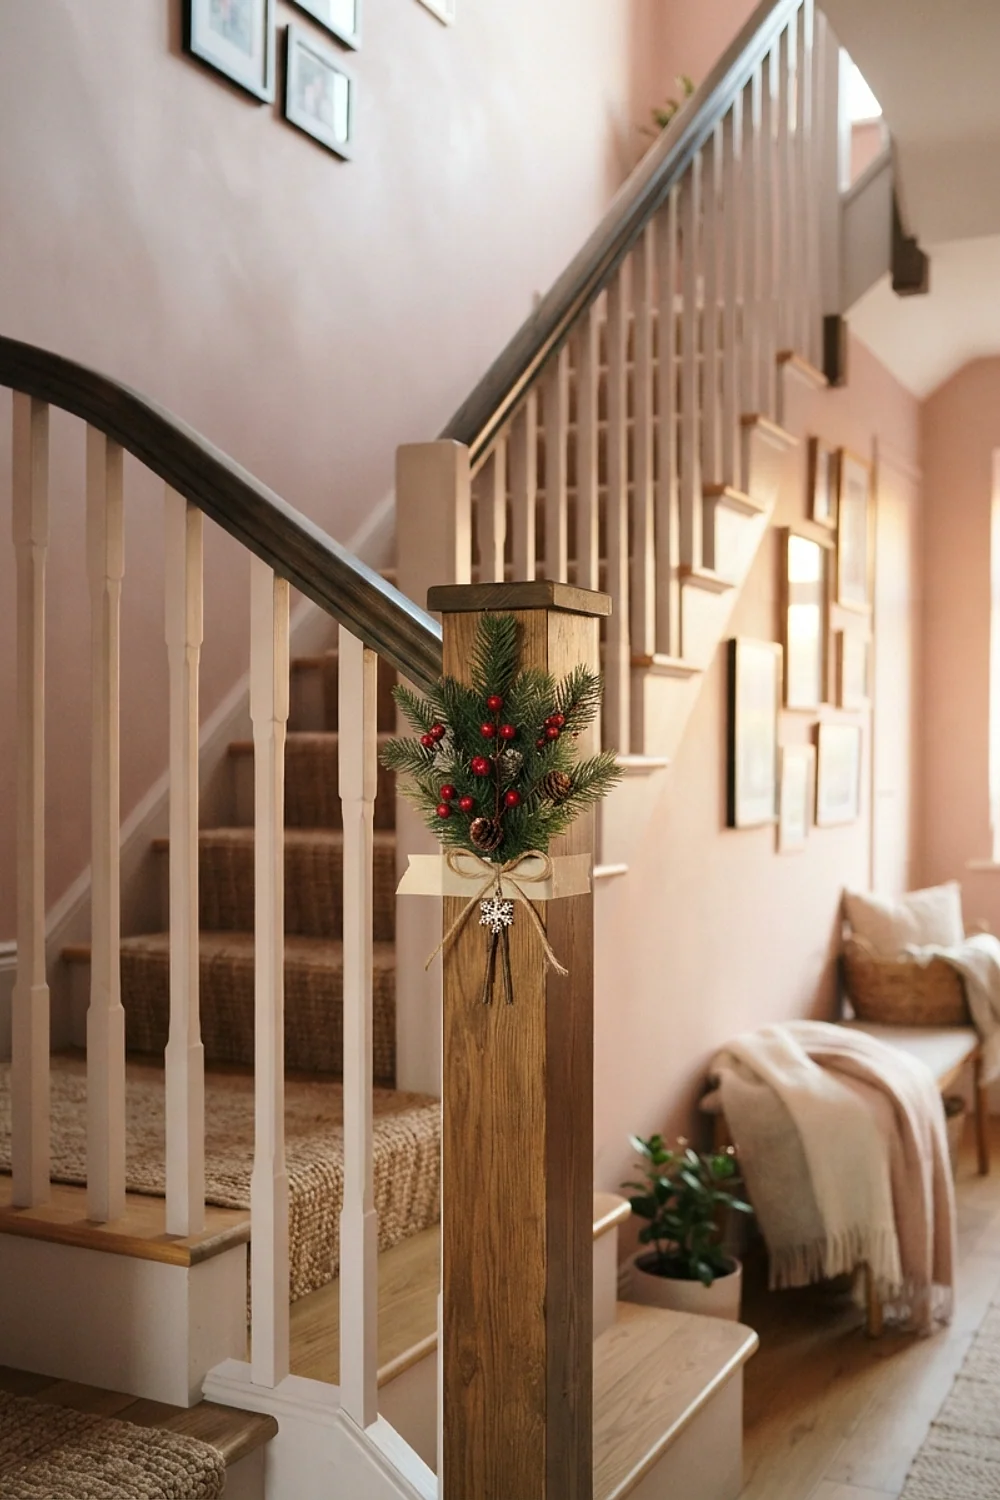
Tape pulls paint off banisters and lets garland slide by evening. It also leaves a gummy line that’s hard to remove, which is a problem on rental stairs or freshly painted wood.
Secure greenery with green floral wire or zip ties every 8 inches, tucking the tails behind a stem. The attachment disappears and the garland stays put through a whole season of foot traffic. Avoid pulling wire so tight that it crushes the stem or scratches the rail; snug is enough.
Setting every piece at the same height

A row of objects at one height looks like a shelf in a discount aisle. The eye needs a hill to climb, and varied heights give it a path from front to back.
Build risers by gluing a plate to a candlestick with E6000, about $2.50 per riser. Aim for three levels, roughly 3, 6, and 9 inches, so the tallest piece sits at the back. This suits mantels, shelves, and buffet tables. Let the glue cure fully, a day or more, before loading a riser, or it can tip.
Using five colors when three will do

Five competing colors turn a vignette into a craft fair table. The room can’t settle on a mood, because every hue pulls attention in a different direction.
Stick to a 60-30-10 split: a dominant white, a secondary pine or navy, and a small accent in metallic. Tape a few pieces to the wall and check them in late afternoon light before committing. This suits small rooms and mixed bargain-bin stock. Avoid letting the metallic accent creep past 10 percent, or it starts competing with the white.
Dropping tiny ornaments into an oversized vase

Ornaments of 2.5 inches rattling in a 10-inch hurricane vase look lost. The glass swallows them and the display reads as unfinished, since the gaps show more than the ornaments do.
Use ornaments of 4 inches or larger, or mix sizes from 2 to 4 inches and fill the vessel to about two-thirds. A smaller footprint gives a tighter, fuller look on a console or dining table. Avoid filling to the rim, which hides the shape of individual pieces.
Leaving a project at 80 percent done
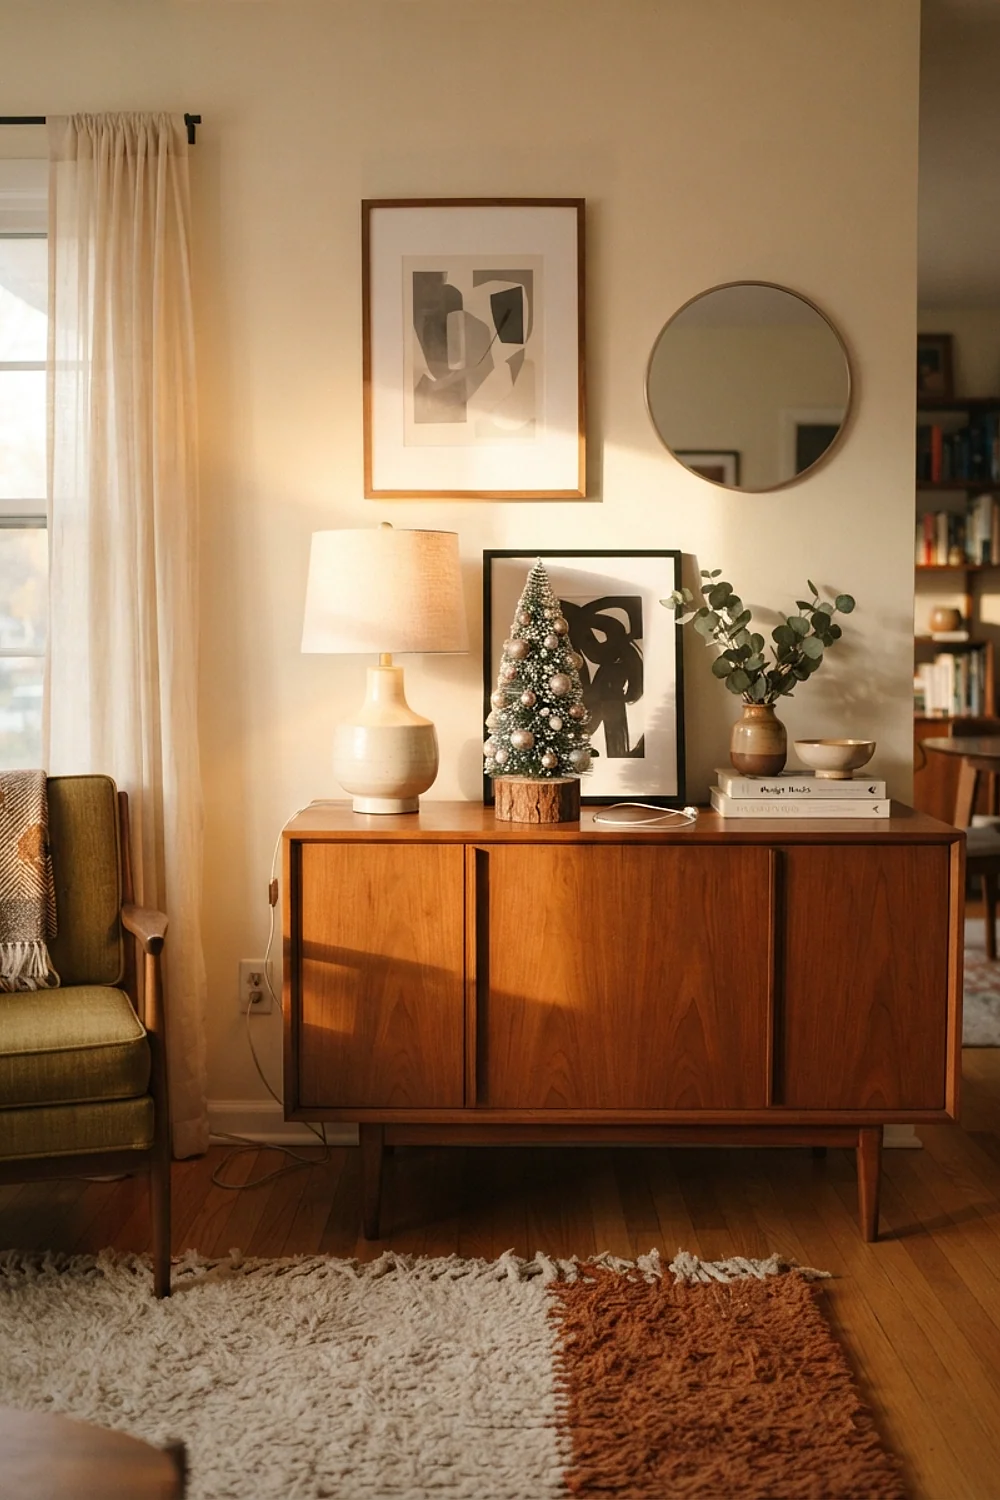
Half-measures are seductive. A wreath with no bow, a jar with one coat of frosting, a garland that’s “basically done” will stay that way until February.
Finish each project in a single afternoon, and let drying time work for you. Mod Podge feels dry in 20 minutes but cures for 24 hours, so plan the glue steps first. Actually, no, scratch that: plan the drying around the glue steps, and do the styling last.
Walking through the setup
The fastest route is to decide before shopping, not while standing in the aisle. A quick plan prevents the extra trips that turn one afternoon into a month.
- Choose one color temperature, one metallic, and three colors.
- Measure the mantel, table, or door before buying anything.
- Buy a low-temp glue gun and a can of matte spray paint.
- Finish one project completely before starting the next.
- Photograph the room at 4pm to check how it reads in fading light.
Work in that order and the cheap pieces start looking intentional. Skipping the plan is how a $20 project becomes a $45 one.
When to call a professional
Dollar tree winter decor diy stays safe for most projects, but a few jobs deserve a licensed hand. Anything that touches wiring or heavy loads is worth paying for.
- Hardwired lighting or new outlets for outdoor displays.
- Mounting a heavy mirror or shelf above a fireplace.
- Anything near an active chimney or gas log.
- Plaster or tile walls where drilling can crack a surface.
Battery strings and glued crafts don’t need an electrician. Heat, load, and live current do.
Things that elevate the room
Winter decor works when it’s planned, sized to the room, and completed. Every mistake above comes down to one habit: rushing a purchase or a step that deserved ten more minutes. Dollar tree winter decor diy rewards that patience more than almost any other budget project.
Save or pin this list so it’s on hand when the shopping basket fills up. Then pick one idea to try first, and measure your mantel or table before heading to the store.
Frequently Asked Questions
How much should a full mantel garland cost?
Plan on about $10 to $15 for six to eight stems and a roll of wire, using $1.25 picks. A 60-inch mantel looks full at that amount, and ribbon or ornaments add a few dollars more.
Can I use these projects in a rental?
Yes. Choose over-the-door hangers, tension rods, and removable hooks rated for the weight. Avoid nails, and test any adhesive on a hidden spot first, since painted rental walls often peel.
What tools does dollar tree winter decor diy need?
A low-temp glue gun, wire cutters, a can of matte spray paint, and E6000 adhesive cover nearly everything on this list. Add a tape measure to check sizes before buying.
How do I keep Dollar Tree pieces from looking cheap?
Limit the palette to three colors and one metallic finish, then group items in odd numbers at varied heights. Consistent finish and scale matter more than the price on the tag.