Cheap DIY Thanksgiving Decorations From Thrifted Finds
Most seasonal decor is overpriced for what it is, and a thrift store shelf beats the holiday aisle for character every time. The good news is that cheap diy thanksgiving decorations come together in one weekend with a glue gun, a can of matte spray paint, and a few hours of rummaging.
Below are eleven projects with a difficulty level, a time estimate, and the tools each one needs. Start on a gray November Sunday, pick three, and the whole table is done by evening.
Cheap diy thanksgiving decorations you can build this weekend
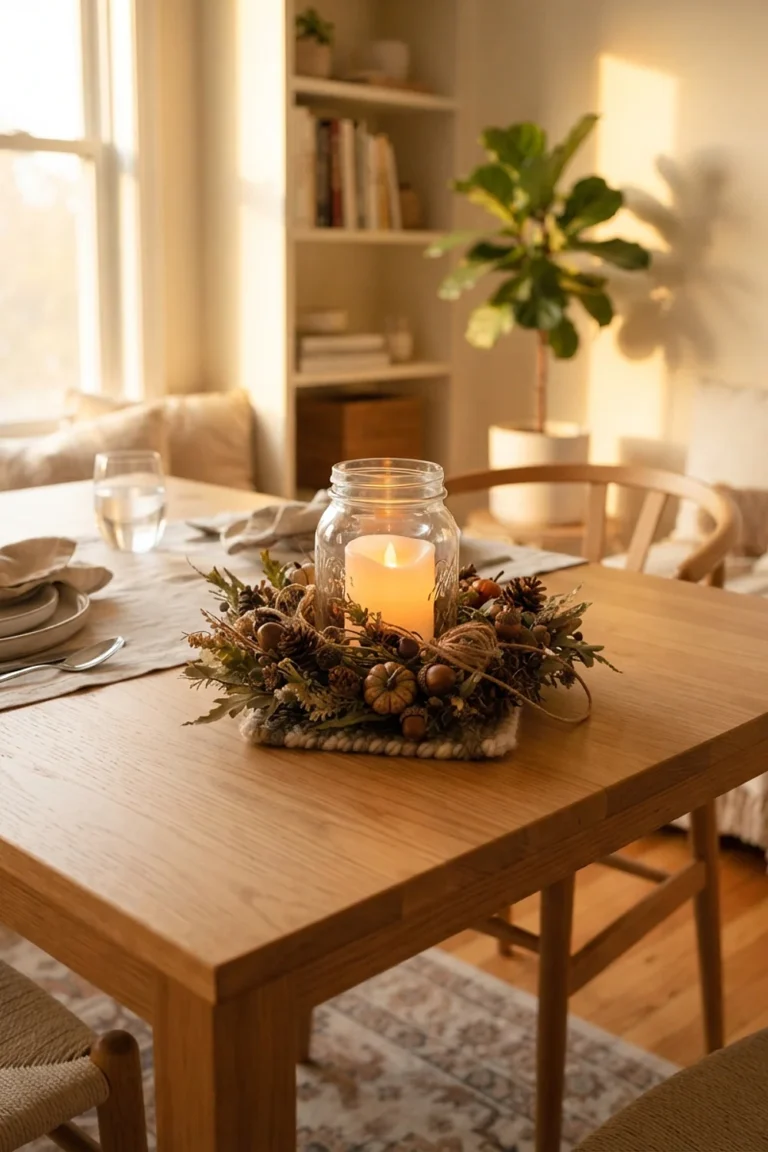
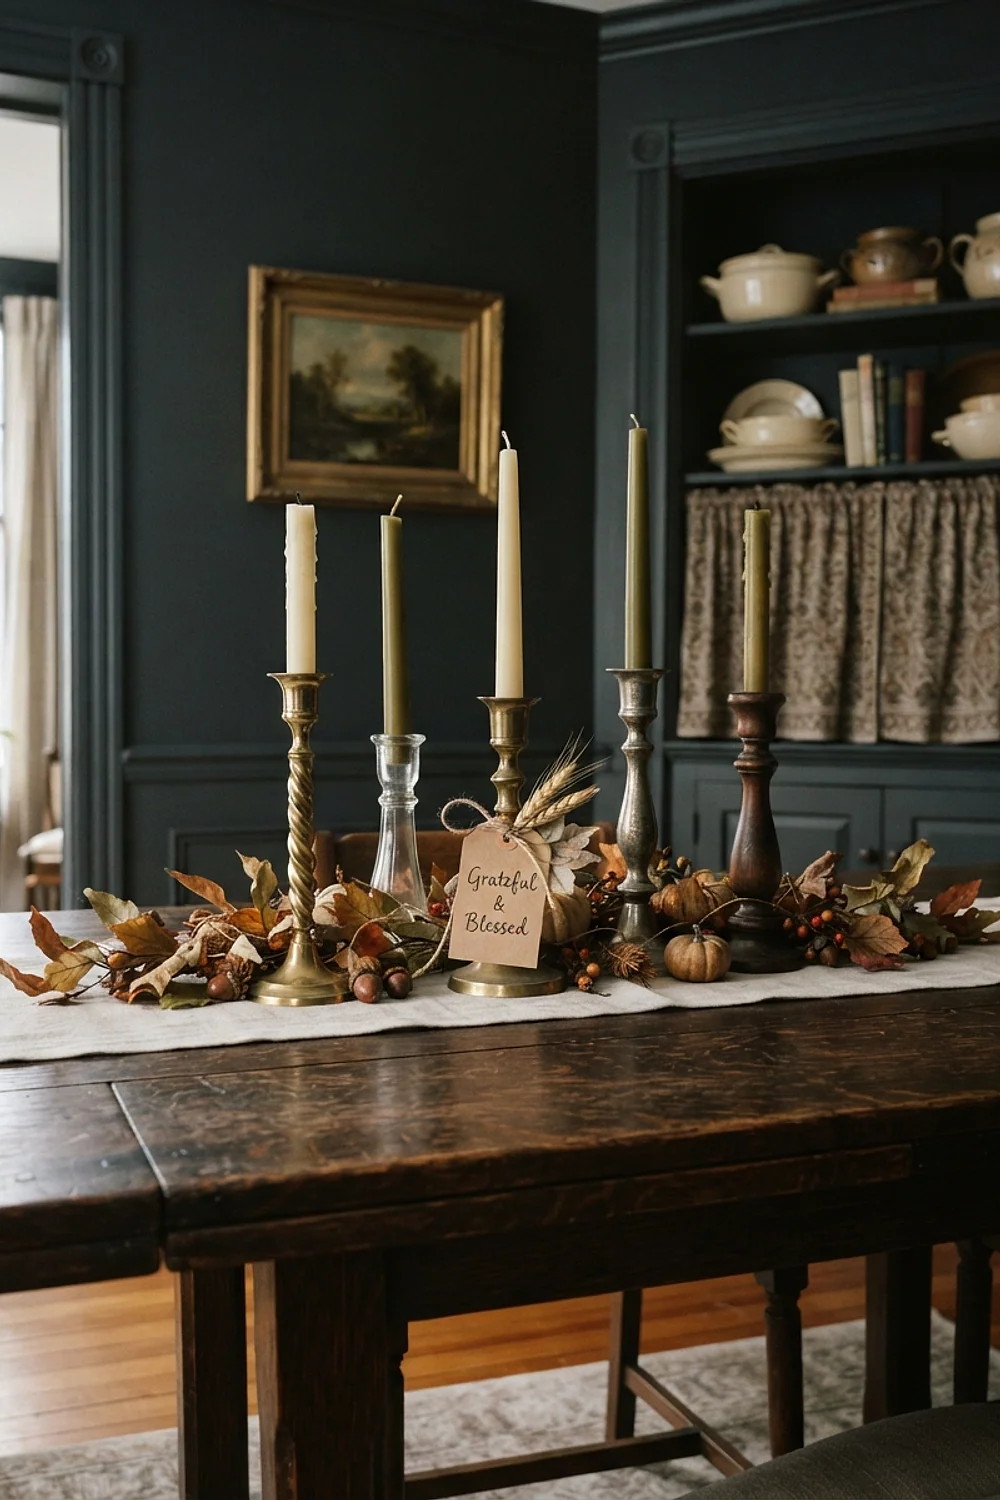
Mismatched candlesticks grouped as a centerpiece
Five thrifted candlesticks in brass, glass, and wood make a centerpiece that looks collected rather than bought. Difficulty is beginner, time is about 30 minutes, and the only tool is a rag with rubbing alcohol to lift price-sticker residue.
Vary the heights between 4 and 12 inches and repeat one material, such as two brass pieces, so the group reads as intentional. Thrift stores usually price these at $1-4 each. Skip tapers thinner than the socket, because wobbly candles drip onto the runner.
Thrift-store vases in matte spray paint
Glossy ceramic vases turn velvety after one coat of matte spray paint, and a burnt orange or deep olive reads far more autumn than seasonal-aisle plastic. It’s beginner level, about 45 minutes of work plus an hour of drying. You need spray paint such as Rust-Oleum 2X Ultra Cover, newspaper, and a cardboard box.
Conventional advice says spray outdoors, but below 50°F the paint turns tacky and dries with an orange-peel texture. A garage with the door cracked 12 inches and a box fan running gives a smoother finish than a cold porch in late November. Two thin coats beat one heavy one.
A wool blanket cut into a table runner
A thrifted wool blanket in plaid or herringbone becomes a runner in 40 minutes with fabric scissors, a yardstick, and iron-on hem tape. Cut it 14 inches wide and 90 inches long, which hangs 9 inches past each end of a 72-inch table.
Wool is the comfort play here, since it muffles plate clatter and feels good under a forearm. Beginners can handle it (the cut edge frays after a few washes, so treat it as a one-season runner unless you hem it). Check the blanket for moth holes before cutting.
Glass jar luminaries wrapped in tracing paper
Tracing paper wrapped around a glass jar diffuses an LED tea light into a soft amber glow just as the late November sun drops around 4:30pm. Beginner level, 20 minutes, with a glue stick and scissors.
Choose warm-white LEDs rated near 2200K, because cool-white ones look like a dentist’s waiting room. Real flames and paper don’t mix, so stay with LEDs on this one. Three to five jars on a sideboard throw enough light for a whole dining room.
More cheap diy thanksgiving decorations for the table and mantel
A wooden crate riser that doubles as storage
Flipped on its side, a thrifted wooden crate lifts a pumpkin cluster 6-8 inches off the table and gives the arrangement layers. It’s beginner level, 15 minutes, with sandpaper and a tack cloth as the only tools. A sturdy one costs about $4-8.
After the holiday it holds napkins, linens, or spare candles in a closet, so it earns its shelf space. Sand every splinter, since a snagged wool runner is hard to forgive. Pick a crate at least 10 inches deep or the pumpkins will tip.
A low runner arrangement that keeps sightlines clear
Build the arrangement down the center of the table in a line, with every piece under 12 inches tall. People routinely stack a 20-inch vase of branches in the middle and then wonder why nobody can talk across the turkey. If a seated guest can’t see the person opposite, the arrangement is too tall.
Run masking tape in a 12-inch-wide strip, set the pieces inside it, and sit down to check sightlines. No skill is needed and it takes 15 minutes. Leave 18 inches of elbow room per place setting outside the strip.
Tea-stained paper leaf garland
Steep four black tea bags in two cups of hot water, brush it over printer paper, and let the sheets dry flat for an hour. The paper turns a soft parchment tan. Cut leaf shapes and glue them to twine with a glue stick, which takes about 90 minutes including drying.
Limit the palette to three tones, such as tea-tan, rust, and mustard, because five colors read like a classroom bulletin board. Brush a few leaves with watered-down acrylic for the accent shades. A 6-foot garland needs about 30 leaves.
Painted-pumpkin place cards with a metallic pen
Mini craft pumpkins about 3 inches wide hold a guest’s name in gold or copper paint pen, and they double as a favor. Beginner level, 25 minutes for eight places. Wipe each one with a damp cloth first so the ink grips.
Block capitals read better across a plate than cursive unless your handwriting is steady. Real pumpkins sweat and smear the ink, so foam or paper-mache ones are the safer pick for anyone prepping ahead.
Door, pitcher, and frame projects to finish the weekend
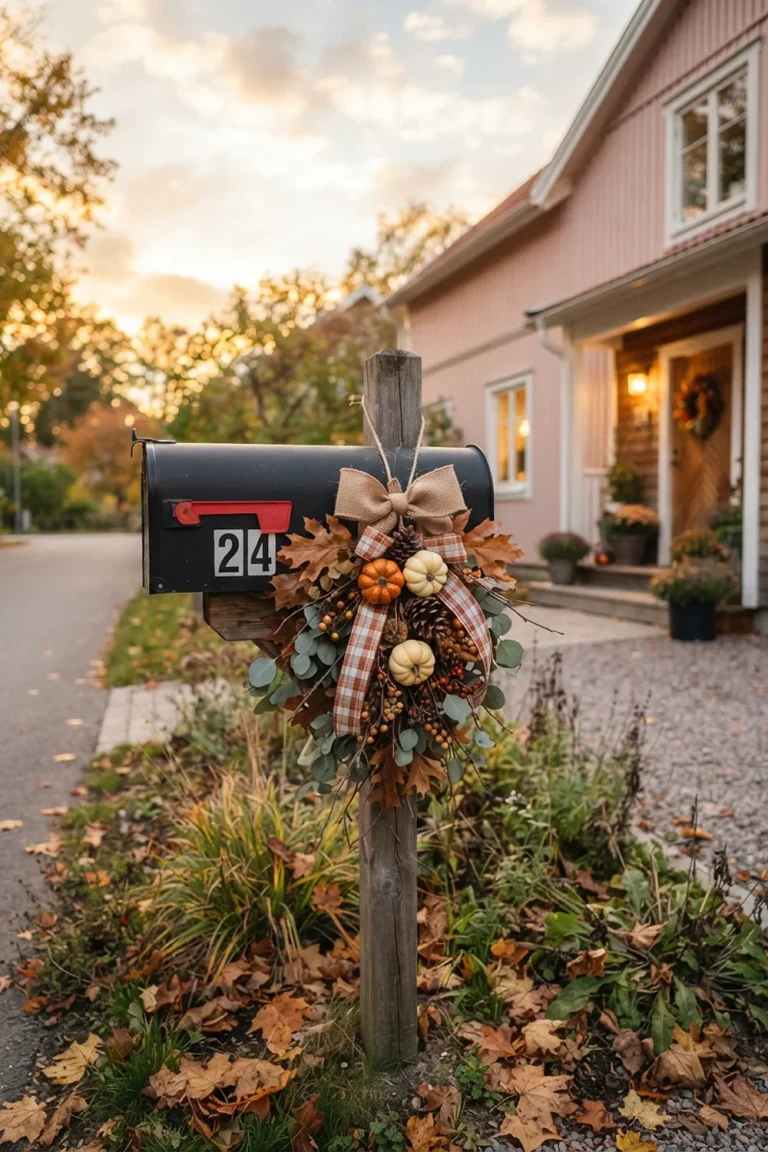
An oversized grapevine wreath for the front door
A 24-inch grapevine wreath reads from the sidewalk, while a 12-inch one vanishes against a standard 36-inch door. It’s intermediate only because of hot glue burns. You need a glue gun, wire cutters, and floral wire, and it takes about an hour.
Cluster faux leaves, dried wheat, and three small gourds in the lower left third and leave the rest bare. Mist the faux leaves with matte sealer first, because shine is what gives plastic away. A full circle of material looks heavy and fussy.
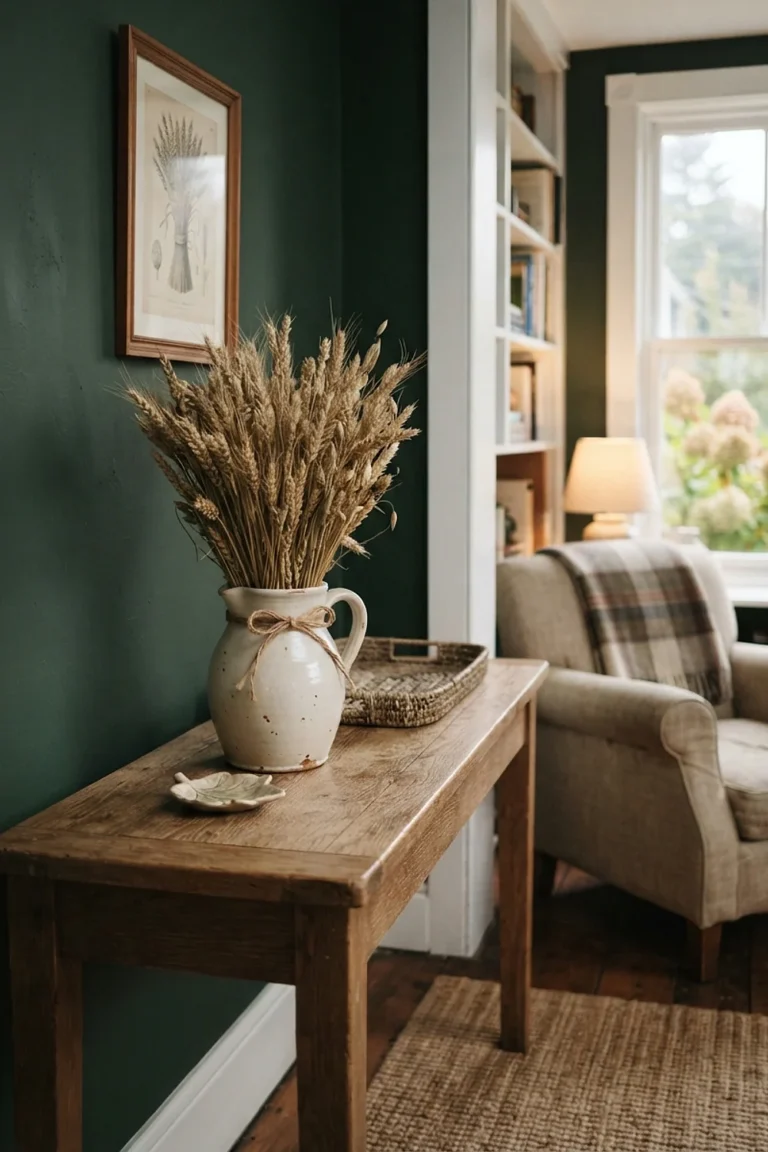
Bare branches in a thrifted pitcher
Bare branches and dried stems hold their shape all November in a thrifted pitcher, while fresh-cut leaves curl or drop within two days. Beginner level, ten minutes, with pruning shears and a handful of river stones. Cut stems about 1.5 times the pitcher’s height.
Five to seven stems with air between them look sculptural, and a packed bundle looks like yard waste. Drop the stones in the bottom so a tall arrangement doesn’t tip. This one suits a console or sideboard better than the dining table.
A thrifted frame turned into a gratitude board
A glass-fronted 11×14 frame with kraft paper or linen behind the glass becomes a dry-erase board that guests write on during dinner. Beginner level, 20 minutes, with a screwdriver and a fine-tip dry-erase marker. Pick a frame with a fold-out stand so it rests on the sideboard.
The glass wipes clean, so the board lasts into December. Keep the backing dark, such as navy or charcoal linen, so marker lines show up. Skip ornate frames with wavy glass, which throws glare in window light.
Shopping guide
Cheap diy thanksgiving decorations lean on the same short kit across nearly every project, so one trip covers it. Buy these first and the rest comes from thrift shelves:
- A hot glue gun with high and low settings (about $8)
- Matte spray paint in one or two autumn colors
- Fabric scissors and a yardstick
- Iron-on hem tape
- Tracing paper and a glue stick
- Warm-white LED tea lights
- Fine sandpaper and a tack cloth
- Pruning shears and floral wire
- Foam mini pumpkins and a gold paint pen
Weekday mornings tend to be quieter at thrift stores, which gives first pick of new donations. Look for brass, heavy glass, and unchipped ceramic, and walk past anything with a cracked glaze.
Combining the projects without crowding the table
Three or four pieces do more than eleven. Use this order when planning:
- Choose one hero, such as the candlestick group, and place it first.
- Add one texture, such as the wool runner, under it.
- Repeat one color from the hero in a second spot, like the place cards.
- Stop at five pieces total and clear anything that crowds a plate.
If the table still feels bare, move the extra projects to the mantel, door, or sideboard instead of stacking them on the table.
When DIY isn’t worth it
Cheap diy thanksgiving decorations stop making sense once a project needs a tool or skill you’d have to buy first. A hand-sewn 120-inch tablecloth takes hours and costs more in fabric than a $25 linen one off the shelf.
Skip anything involving lamp wiring or open flame near fabric. Large faux floral arrangements also rarely pay off, since matching stem colors by hand tends to look patchy next to a single good store-bought bundle.
Pick projects where thrifted material does the heavy lifting and the build is mostly arranging, gluing, or painting. That’s where the savings and the character both show up.
Start with one table, one afternoon
Cheap diy thanksgiving decorations pay off most when the project count stays small and the materials come from thrift shelves. Candlesticks, a wool runner, and a few painted vases cover most dining tables.
Save or pin this list so it’s ready when you start shopping. Measure your table width first, then build the candlestick centerpiece as project one.
Frequently asked questions
How much do cheap diy thanksgiving decorations cost for a full table?
Most projects run $5-15 each when the base pieces are thrifted. A centerpiece, runner, and eight place cards typically land near $40-50 in total.
Do cheap diy thanksgiving decorations work in a rental?
Yes, because nothing here needs nails or drilling. Hang the wreath on an over-the-door hook and keep the rest on tables and shelves.
How far ahead can these be made?
Painted vases, the paper garland, and the gratitude frame hold for weeks, so make them up to two weeks early. Add real gourds and any fresh stems no more than three days before the meal.
What spray paint finish works best on thrifted glass and ceramic?
Matte hides flaws and looks more like stoneware than gloss does. Use a bonding primer on glass first, let the paint cure 24 hours, and don’t use painted pieces for food.